Wood Bead Easter Bunnies
Create your own adorable Easter decorations with these charming wood bead bunnies! These delightful little creatures are the perfect addition to your Easter festivities, adding a touch of whimsy and charm to your home. Made from wooden beads and a few simple craft supplies, these bunnies are easy to make and can be customized to suit your personal style. These wood bead Easter bunnies are not only fun to make, but they also make a delightful addition to your Easter celebrations!
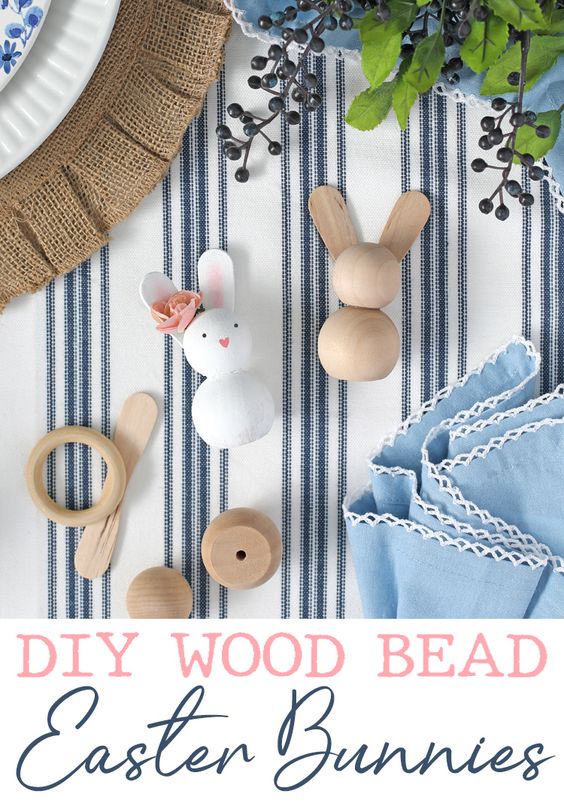
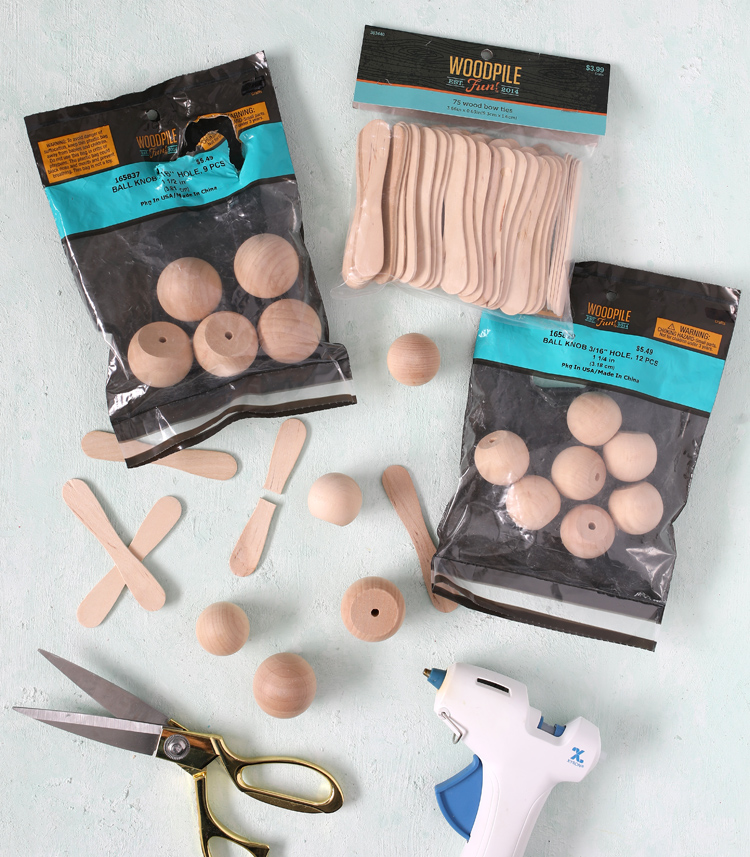
To make wood bead bunnies, you will need the following:
Materials
- Wood Ball Knobs – 1 1/2″
- Wood Ball Knobs – 1 1/4″
- Wood Bow Ties
- Wood Rings – 1 7/8″ (If you want to make napkin rings)
- Glass Jar with Wood Lid (If you want to make Easter candy jars)
- Sharp Scissors
- Hot Glue Gun + Glue Sticks
Instructions
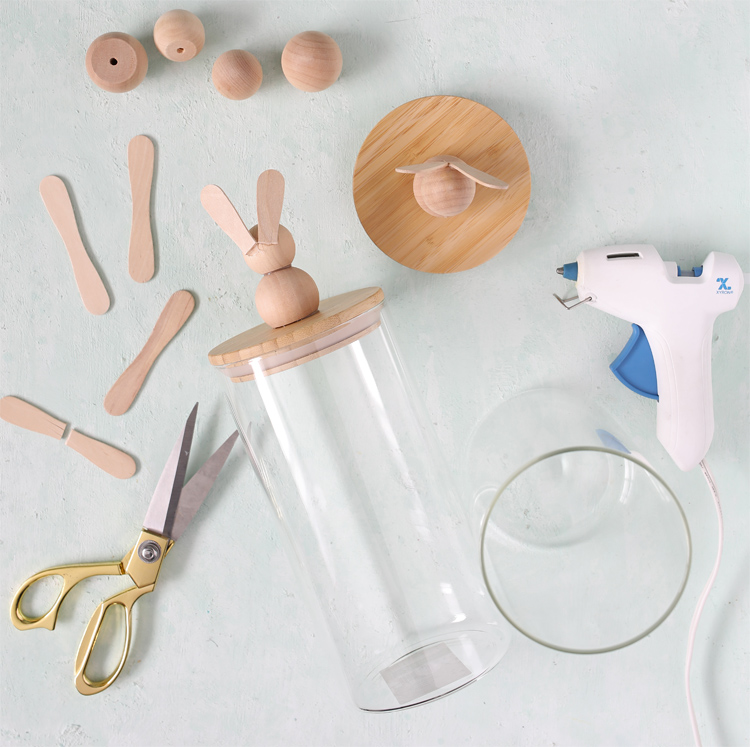
Step 1: Place a dab of hot glue on the flat bottom of the smaller bead, then glue it to the top of the larger wood bead. This forms the bunny’s head.
Step 2: Cut the wood bow tie piece in half with sharp scissors. Attach the two pieces to the back of the smaller wooden bead. This forms the bunny’s ears.
For Napkin Rings: Use hot glue to attach a ring to the back of the bunny at the neck joint.

For Candy Jars: Use hot glue to attach the wooden bunny to the top center of the candy jar lid.
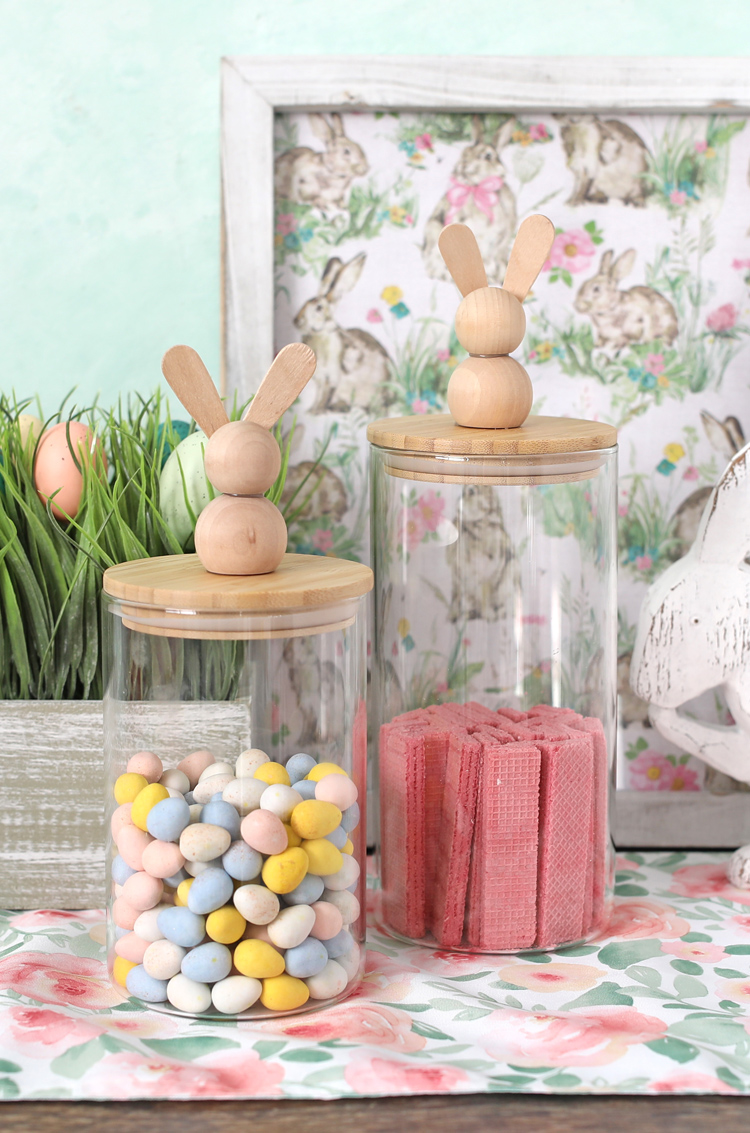
Now all that’s left is to fill the jars with your favorite Easter treats. Yum!
You can leave the bunnies raw wood or paint them. Totally depends on your personal preference, but I couldn’t resist showing you how cute they look painted.
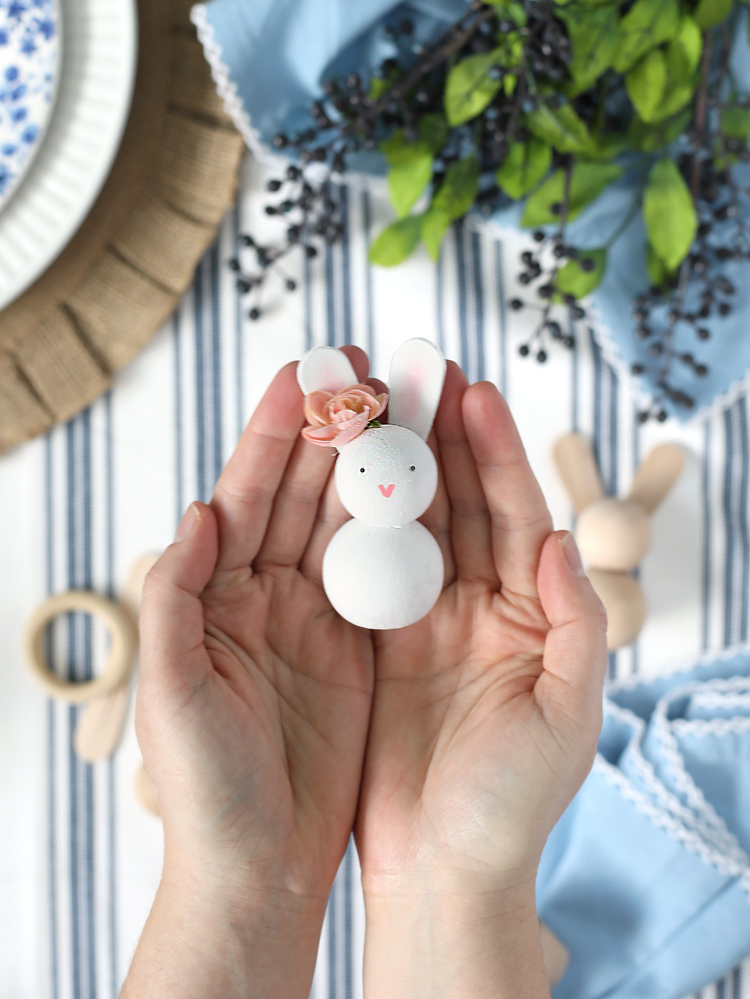
Gah! The little heart nose is my fave! I just used acrylic craft paint, a tiny paint brush for the details and a little pink flower I found in my craft stash.