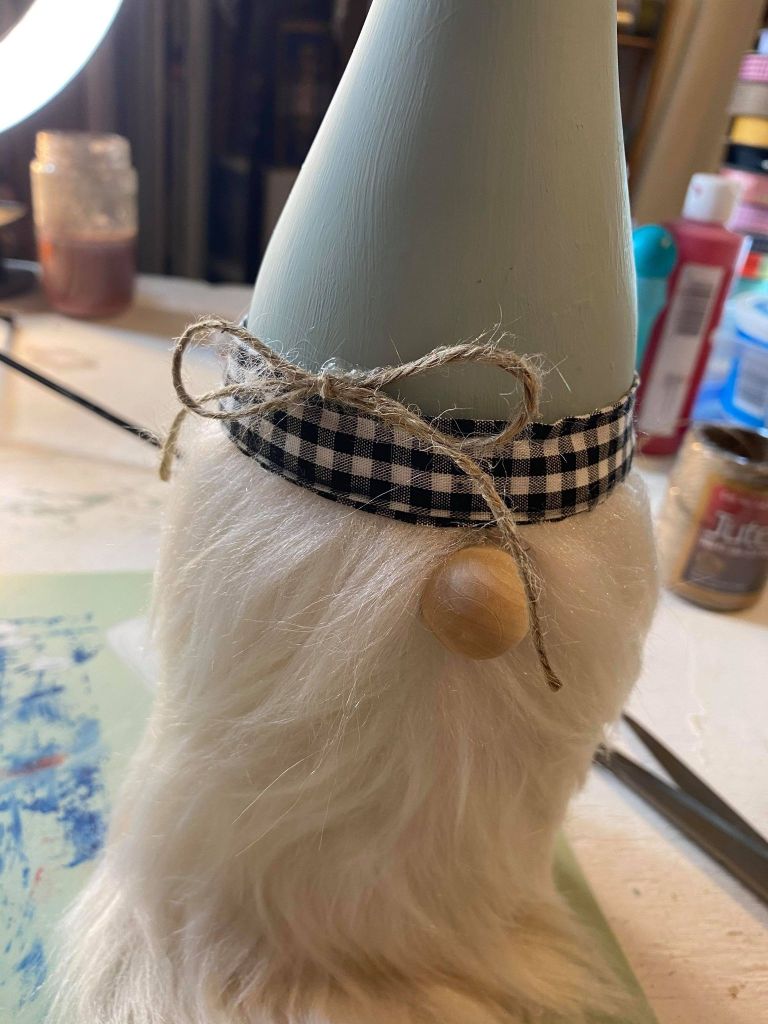
DIY Wine Bottle Gnome
Creating a DIY Wine Bottle Gnome is a fun and creative project that will add a touch of whimsy to your home decor. To make your own adorable gnome, start by painting a wine bottle in your favorite colors. Next, gather some felt, faux fur, and a wooden bead to craft the gnome's hat, beard, and nose. Glue these pieces onto the bottle and add some finishing touches like googly eyes or buttons for added charm. This delightful little gnome will surely bring a smile to your face every time you see it, making it a delightful addition to any room in your home. Happy crafting!
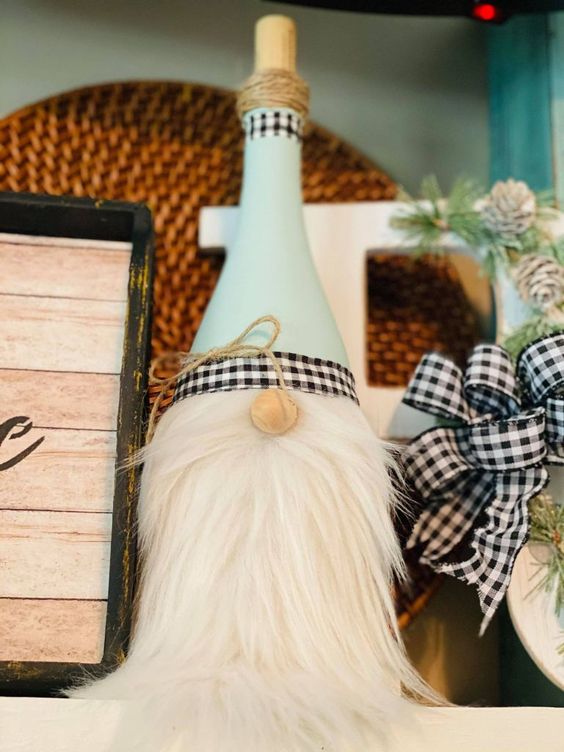
Supplies needed for this wine bottle gnome diy :
- Empty wine bottle (if you don’t drink wine, you can find them at thrift stores!
- Chalk paint
- Paint brush
- Fabric of your choice
- A wine bottle cork
- Scissors
- Tacky glue
- Hot glue
- Twine
- Faux fur fabric
- Wood bead
- Lemon or orange essential oil (for removing labels)
Step one: Clean your wine bottle
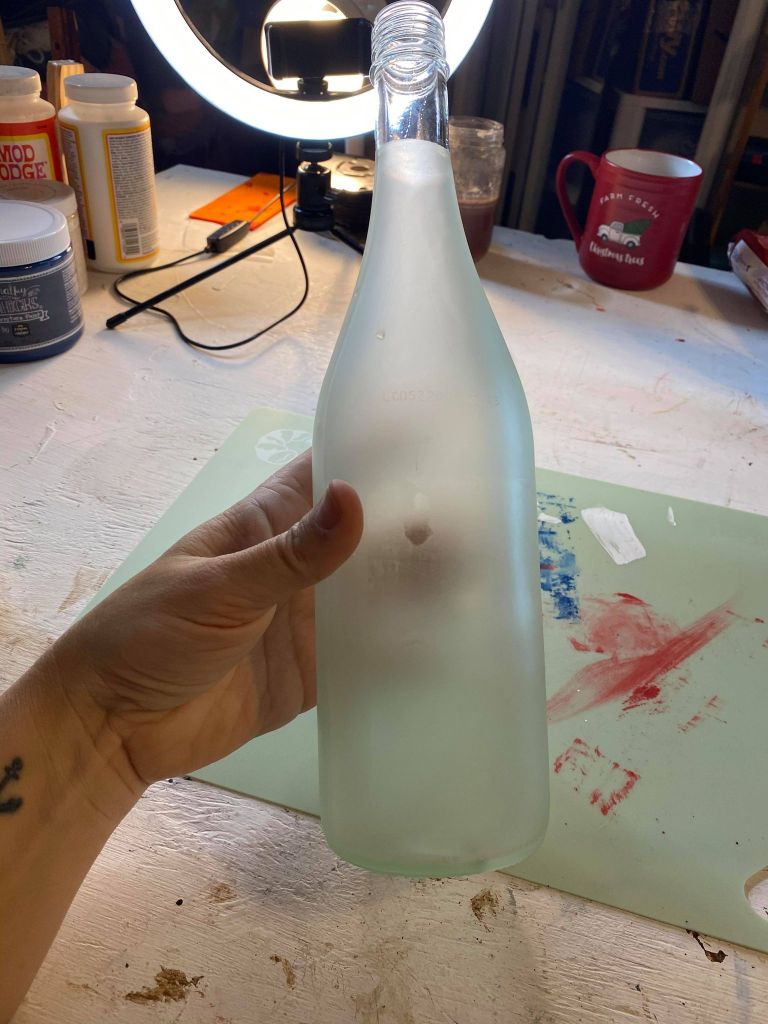
The first thing to do is clean the label from your bottle. I like to use orange or lemon essential oil for this. See the instructions for how to remove these labels >HERE<. Once your label has been removed, make sure to use soap and water and alcohol to clean off all of the oils as well.
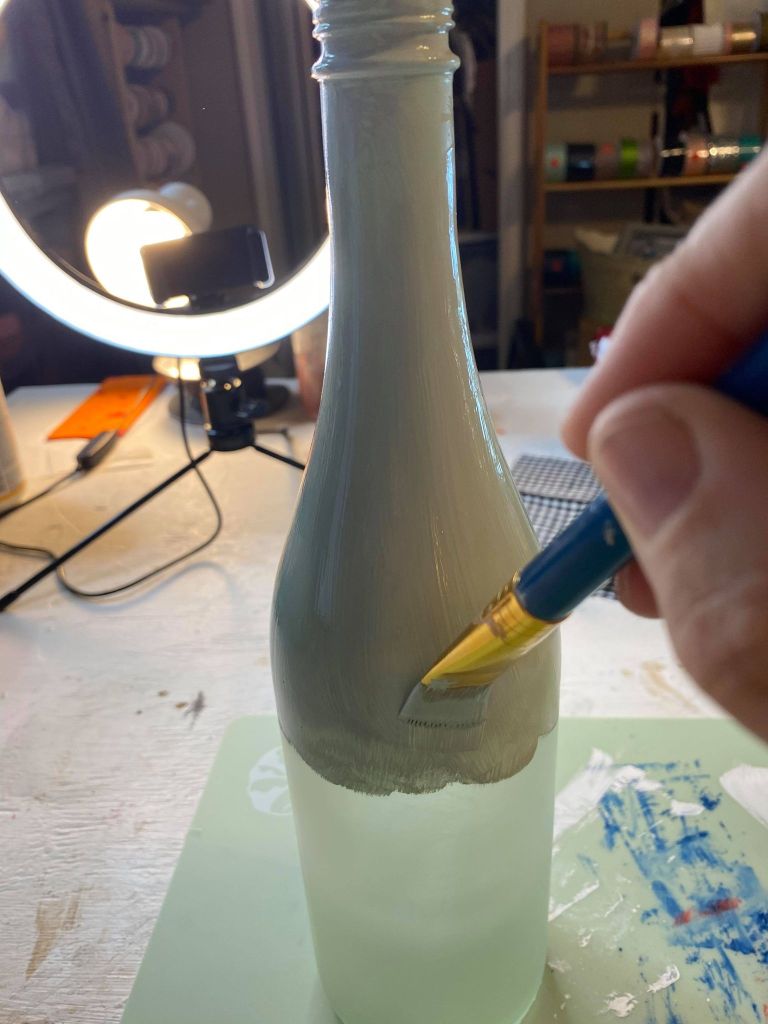
Step two: Paint the neck of the wine bottle
The next thing that I did was paint the neck of the bottle. You could paint the entire thing but I am going to be covering the bottom part of the bottle with fabric so painting the entire bottle is not necessary. This will help save on paint also.
Step three: Measure and cut your fabric for the bottom of the wine bottle
This gnome is a farmhouse style fella, so I chose this aqua chalk paint with this black and white gingham fabric. I just eyeballed how much fabric that I would need by placing the bottle on the fabric and wrapping it around the bottle.
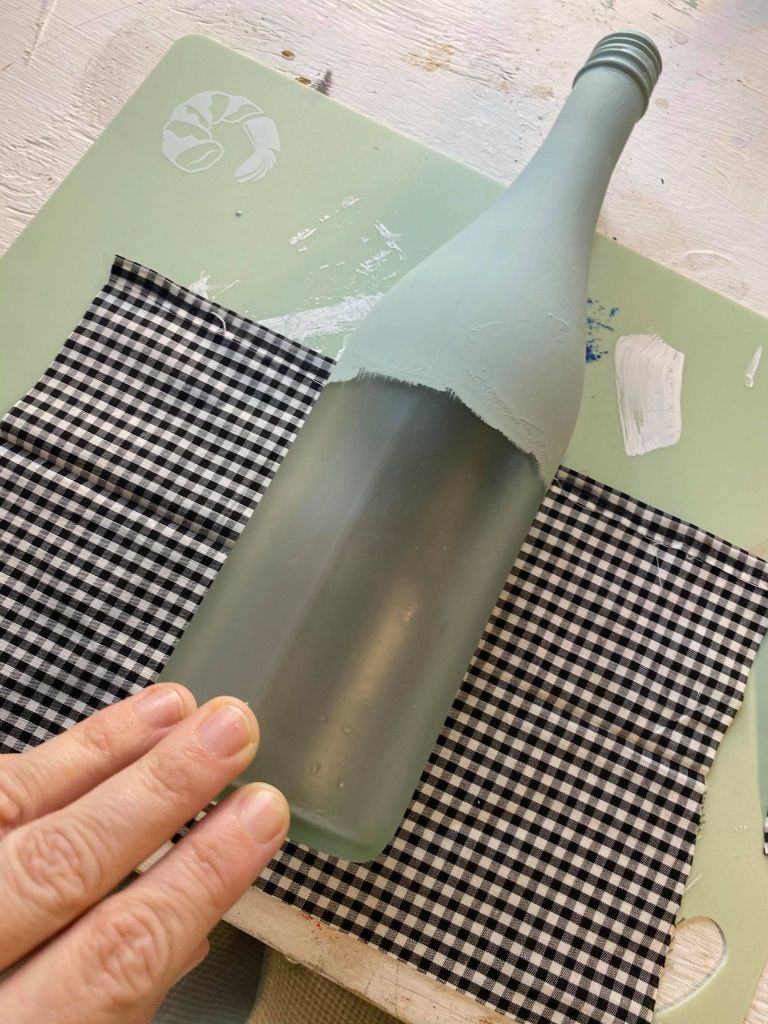
The nice thing about this pattern and others like it, like buffalo plaid, is that you can get a nice straight line edge without having to measure.
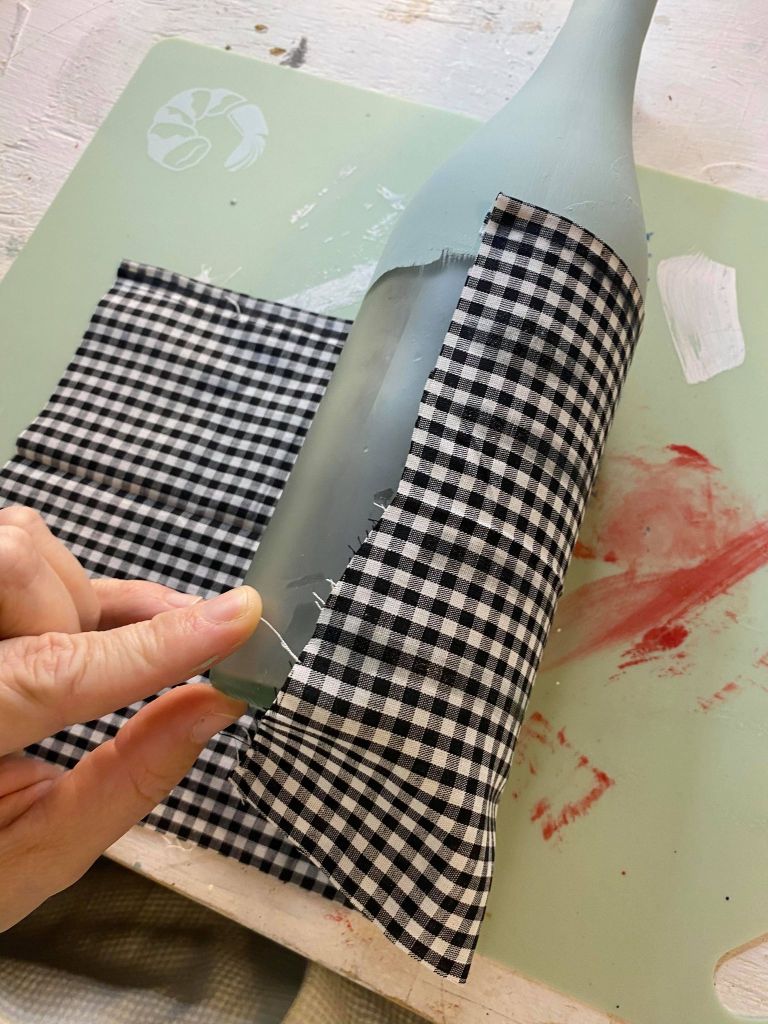
Step four: Glue your fabric onto your wine bottle
Tacky glue is what I used to adhere the fabric to the bottle. One tip, I don’t suggest using hot glue on glass because it is not permanent. I left a little bit of an overhang at the bottom that I will close up.
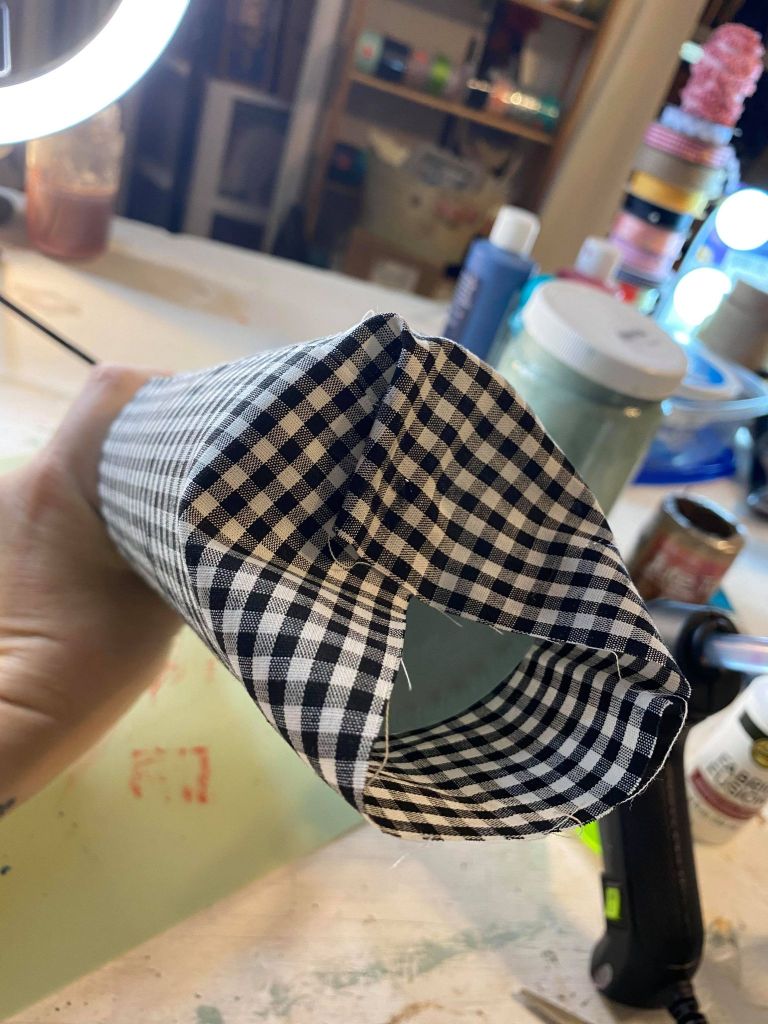
For this step, I used hot glue since I was gluing fabric to fabric. You could also use fabric glue or E 6000 glue for this step. You end up with a really nice finish. If you plan to handle your gnome quite a bit, I do suggest using mod podge to seal the paint.

Step five: Cut some faux fur for a gnome beard
Next, I cut my fur for the beard using faux fur fabric. I used an X-Acto knife and cut the fabric on the back of the fur.
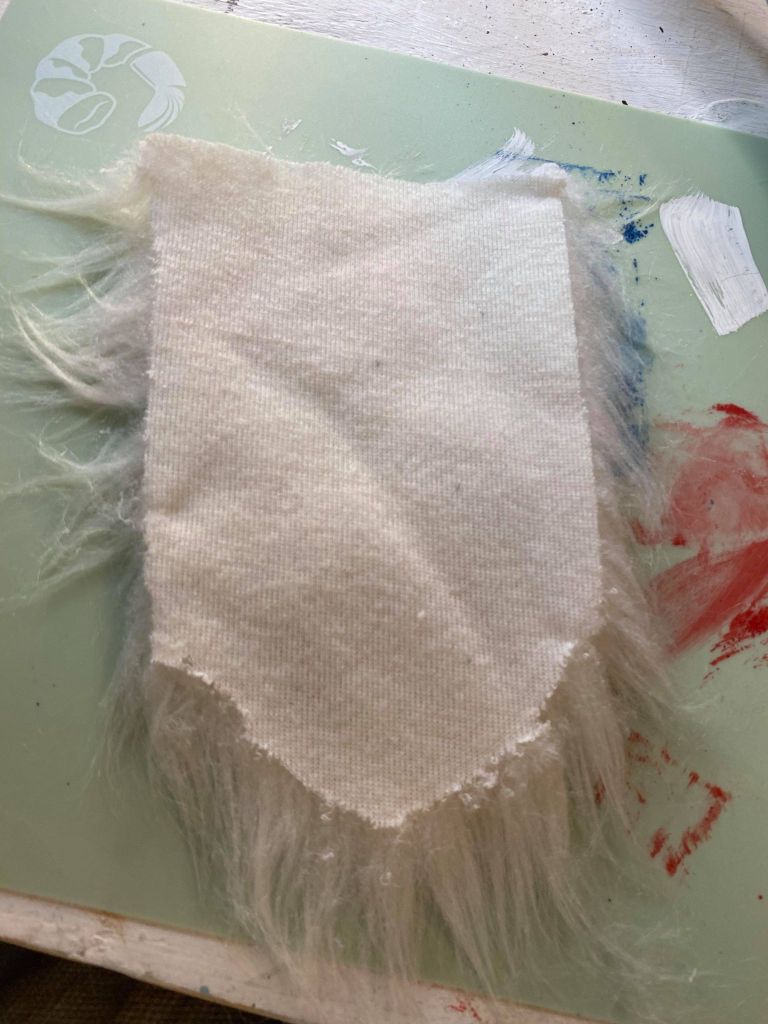
I do not suggest using scissors on the front of the fur because you will cut the length of the fur that you need for the beard to hang correctly.
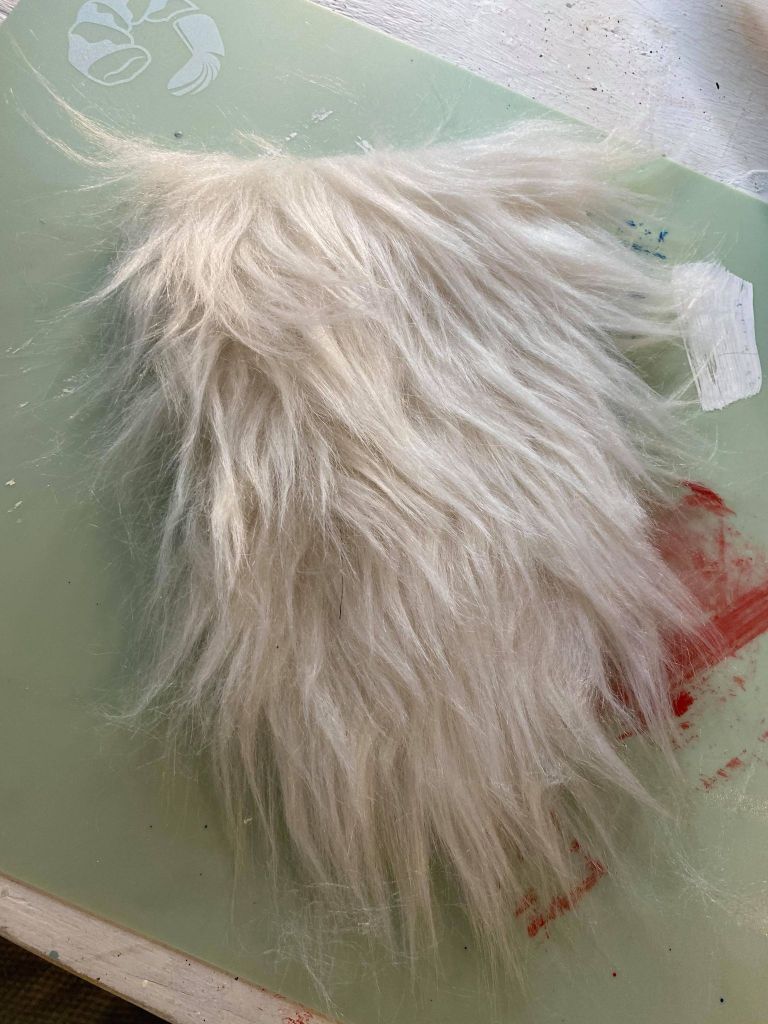
Step six: Glue the beard onto the wine bottle
After the beard was cut, I hot glued it to the backside of my fabric where I joined the fabric pieces together. This hides that join so you have a seamless finish all the way around.
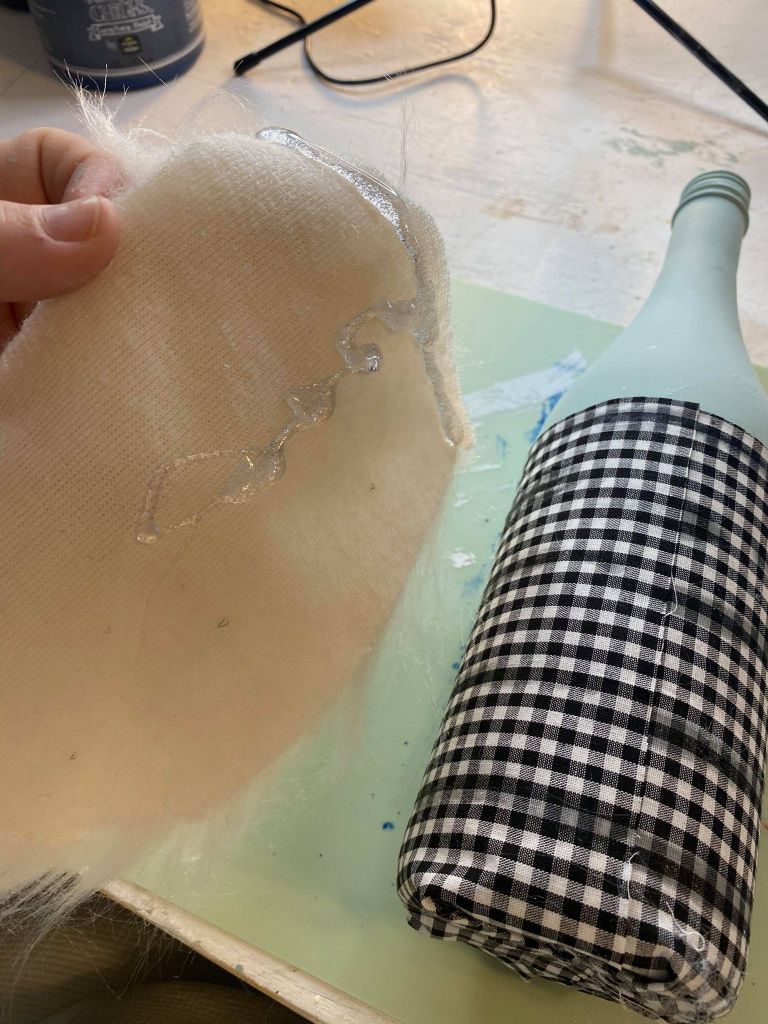
How fun is this wine bottle gnome already?!
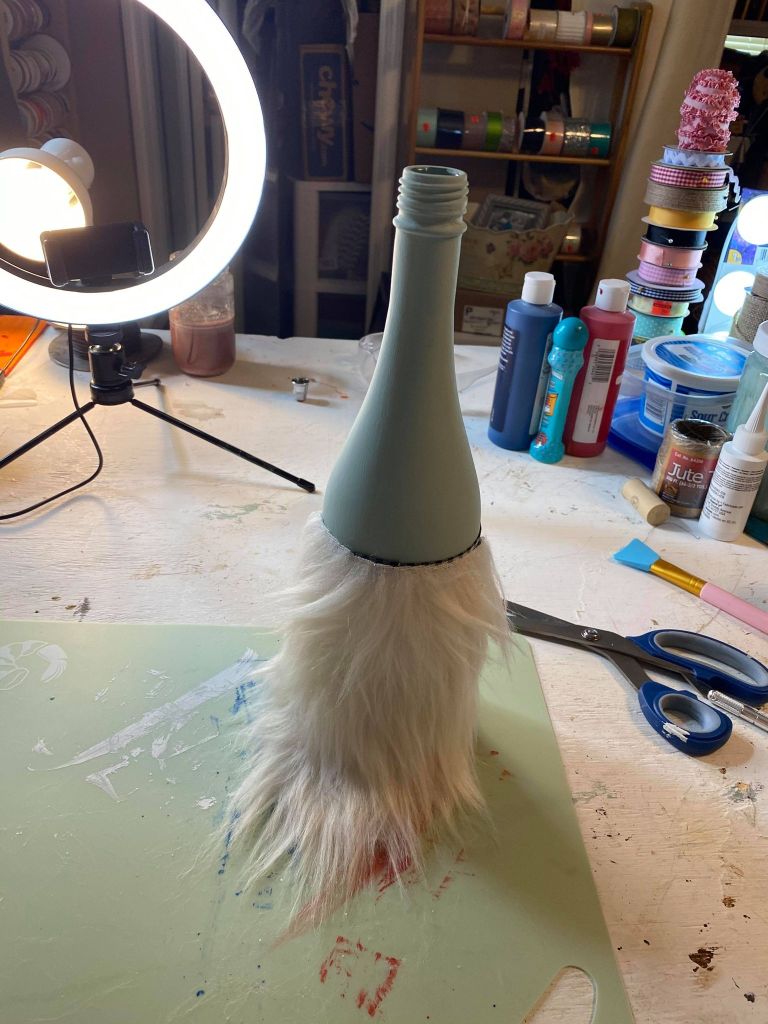
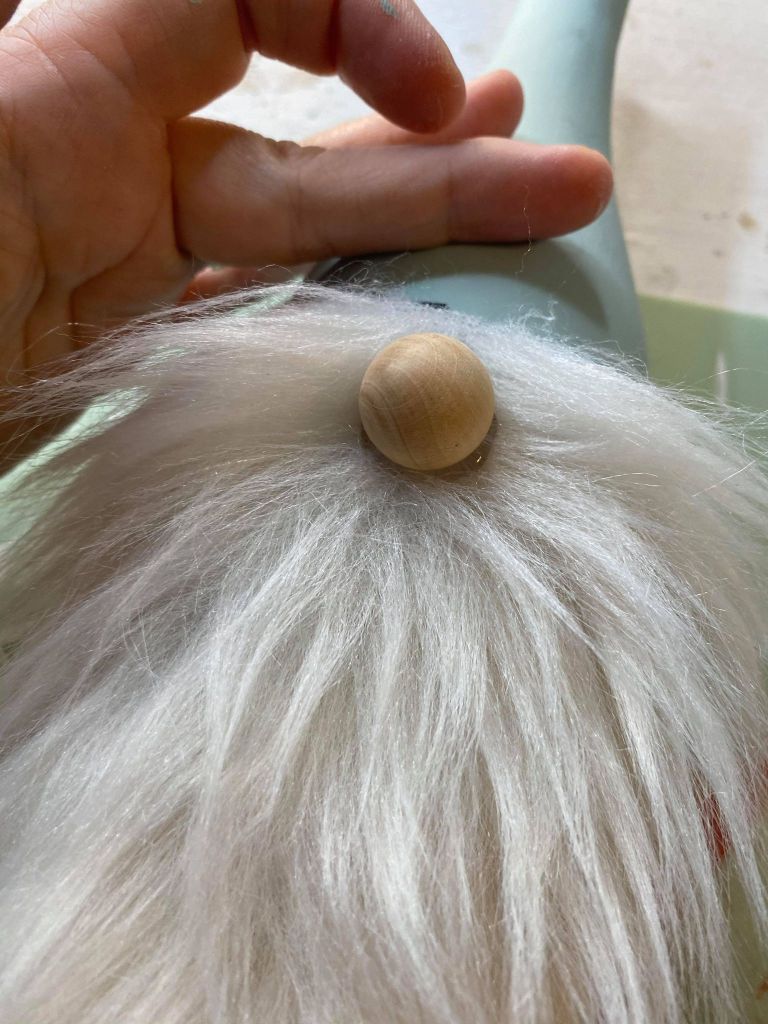
Step seven: Add a wood ball for the nose of your gnome
Now it’s time for a nose! These wooden balls from Hobby lobby are perfect for these gnome projects. I placed a dab of hot glue and sunk my nose right down into the top of the beard to create a little mustache.
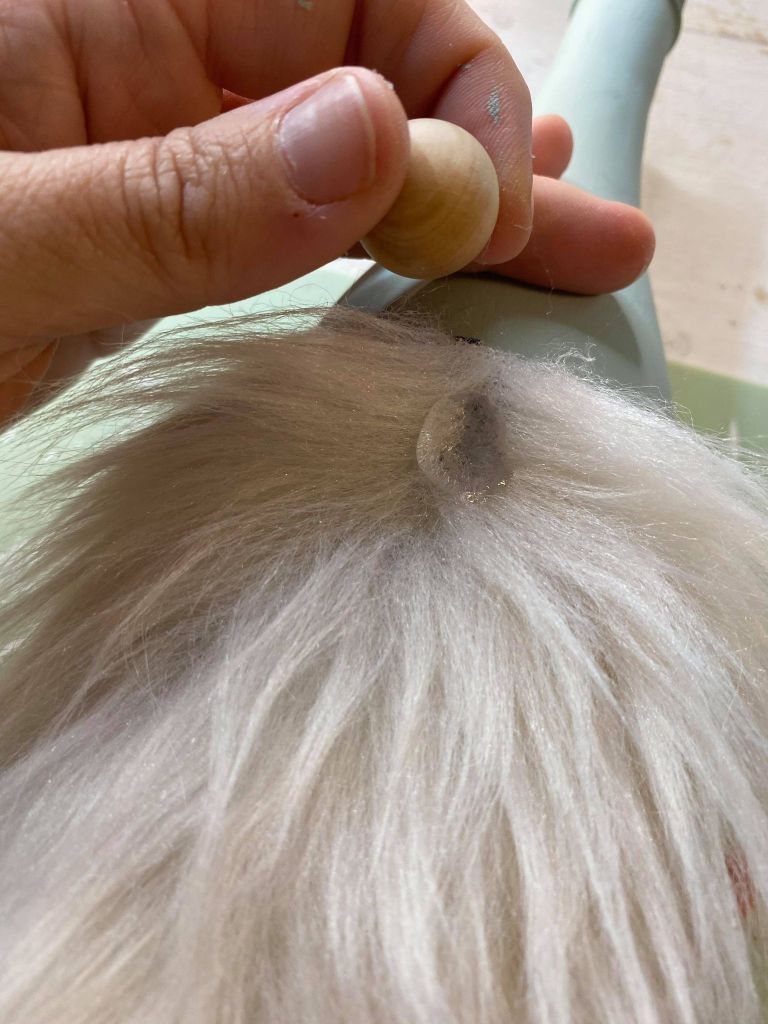
You can use any round object for this step. Just use what you have. That is one of my mottos!
Step eight: Add some trim above the gnome nose
Next, I created a piece of trim out of that same fabric to cover the top cut edge of the beard to give it a nice finish. He’s cute already!
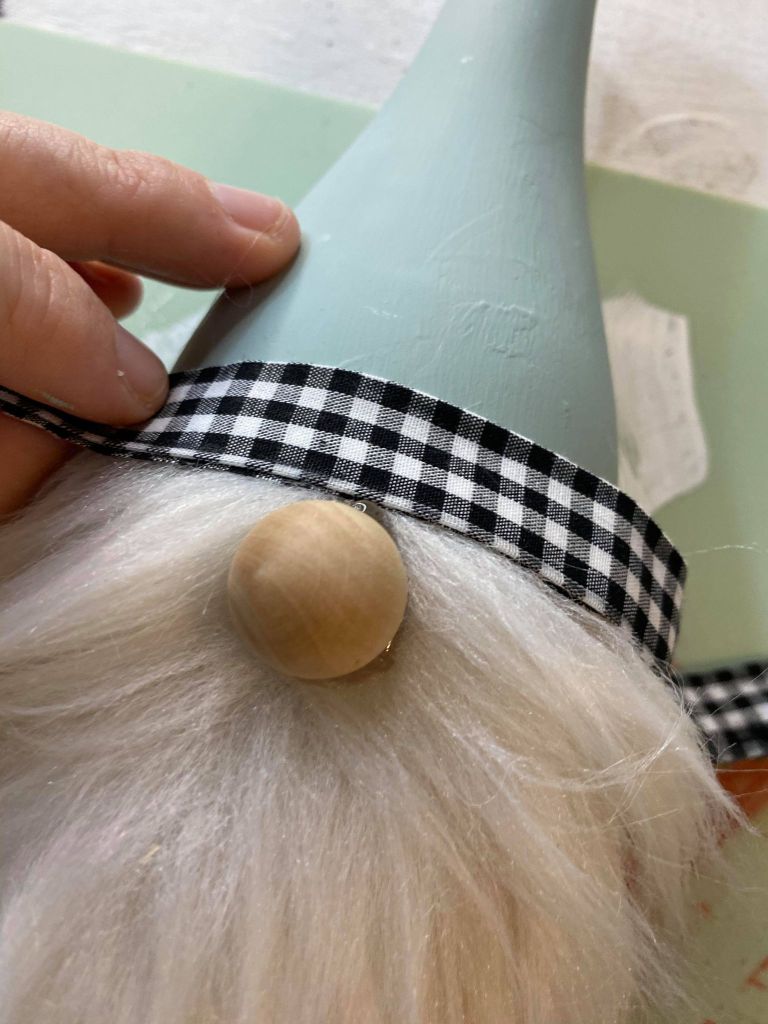
I did use hot glue for this part because I was gluing the trim onto the Fur and the fabric instead of the glass.
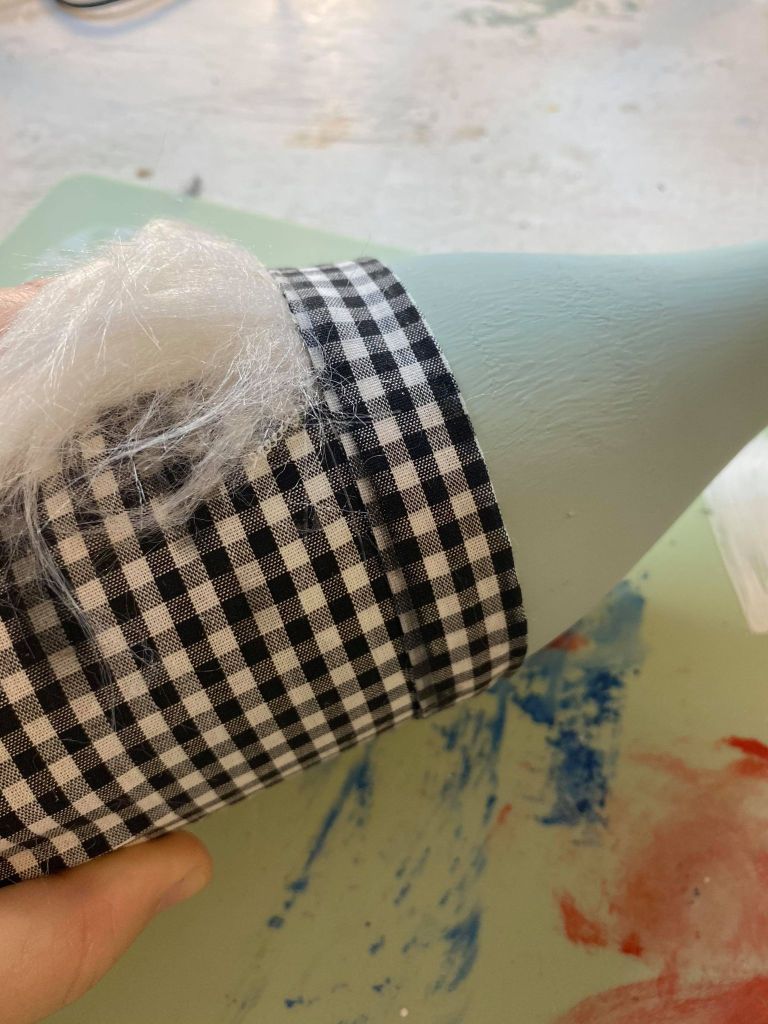
Step nine: Add your cork topper
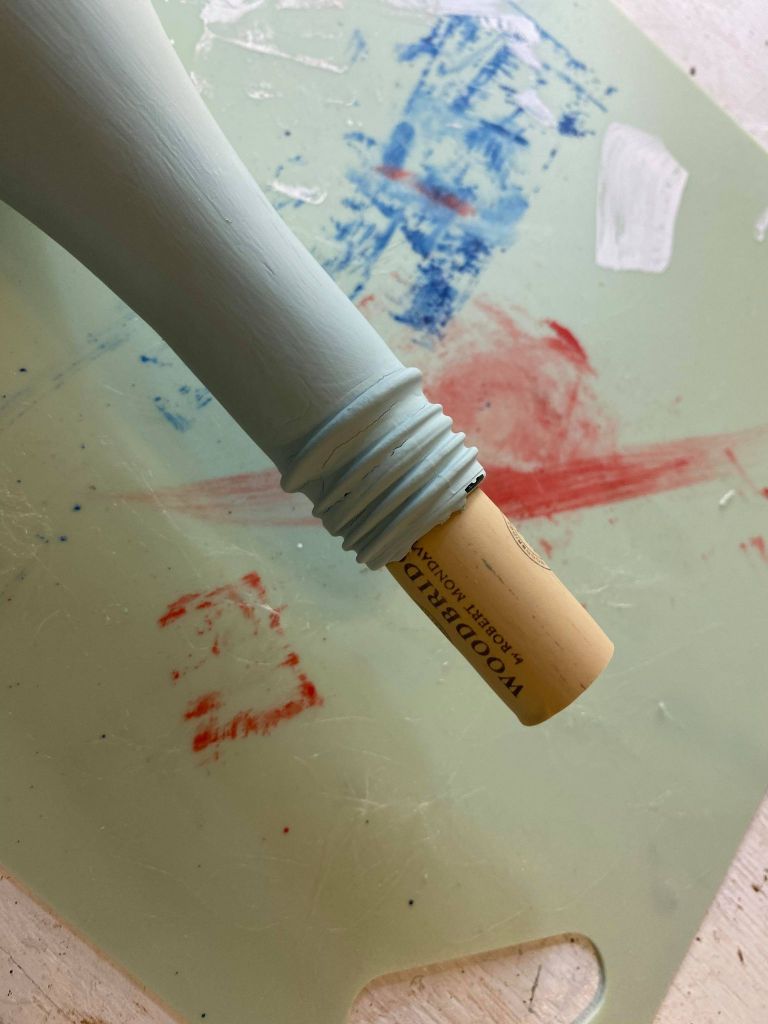
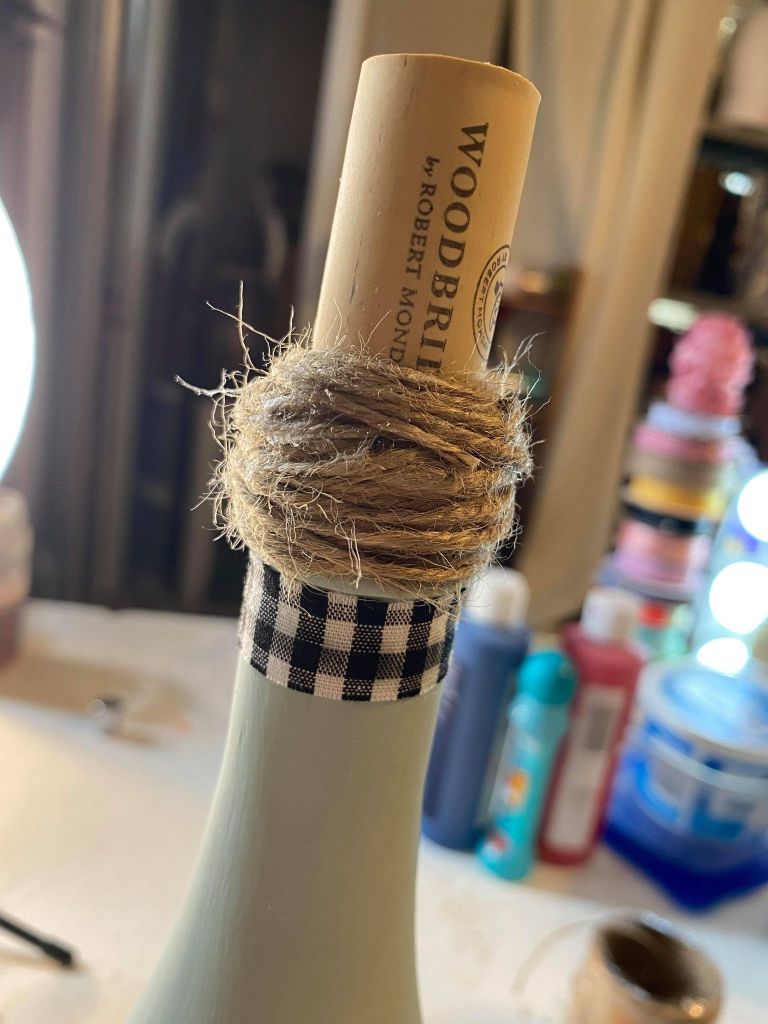
To finish the top, of course I added a cork because he is a wine bottle gnome after all.
Step ten: Add twine and a bowtie to your wine bottle gnome
Also, to cover up the bottle top threads, as this was a screwtop wine bottle, a little bit of twine was the perfect touch!
The last little detail was a small twine bowtie right on the trim.
