Crochet Burlap Angel Ornament
Creating a Crochet Burlap Angel Ornament is a delightful way to add a touch of charm and warmth to your holiday decor. The combination of rustic burlap with intricate crochet patterns gives this ornament a unique and cozy aesthetic that is sure to stand out on your tree. Whether you are an experienced crocheter or a beginner looking for a fun project, crafting these ornaments can be a rewarding and enjoyable activity. The angel's delicate details and ethereal design make it a perfect addition to any Christmas tree, bringing a sense of whimsy and nostalgia to your home during the holiday season. So grab your crochet hook and burlap fabric, and let your creativity soar as you bring this adorable angel ornament to life!
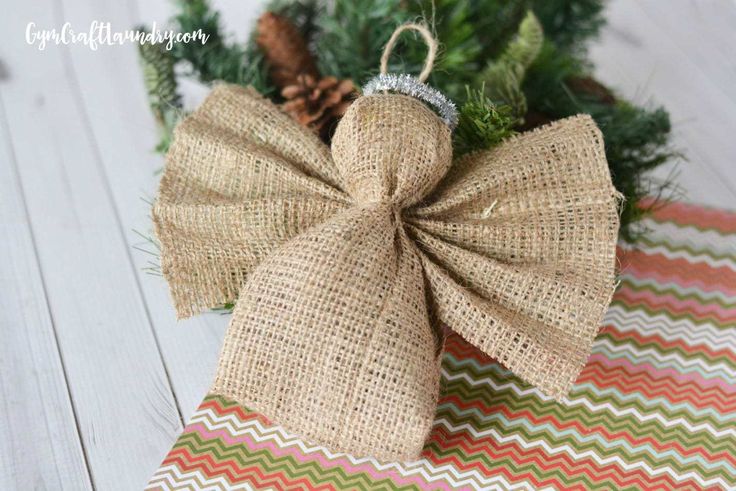
Materials:
- 6″ Wide Tight Weave Burlap Ribbon
–6″ x 10″ for the body and 6″ x 6″ for the wings - Jute Twine
- Plastic Shopping Bag
- Scissors
- Ruler or Tape Measure
- Silver Pipe Cleaner
- Tape
- Hot Glue
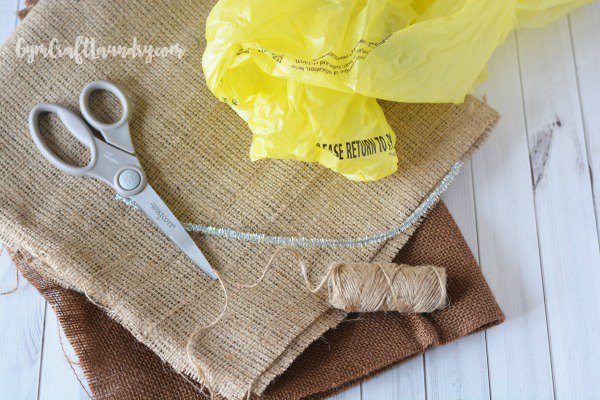
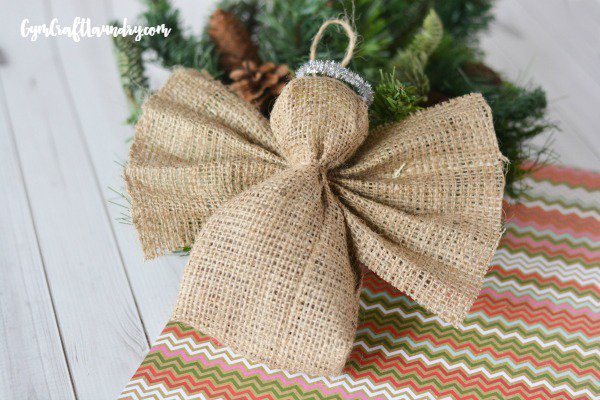
Directions for this no sew Angel Ornament:
First, prepare your materials!
Cut a piece of twine, about 12″ long and set aside, but within reach.
Ball up the plastic bag tightly and secure with tape.
Place your piece of body burlap onto a flat surface. Measure about 2″ in from one end and place your plastic bag ball in the center.
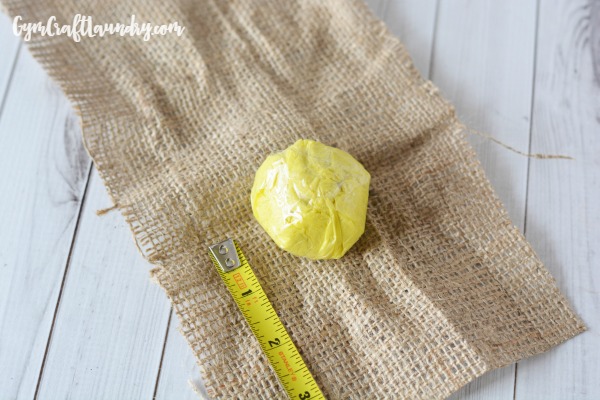
Wrap the burlap around the ball/head and hold the end tightly. Secure with the twine.
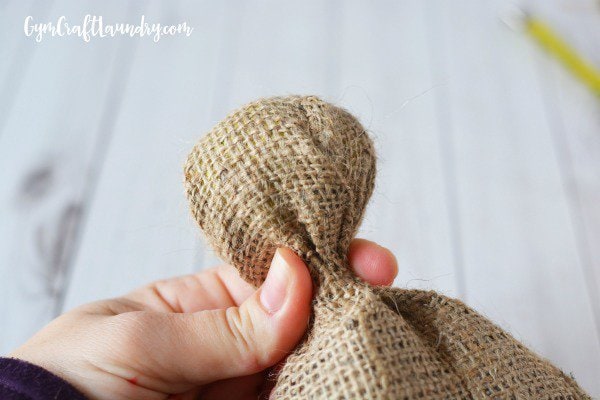
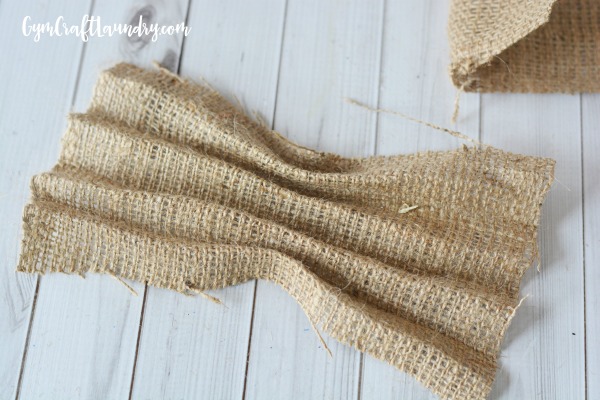
Fold your smaller piece of burlap into an accordion fold and press firmly to create creases.
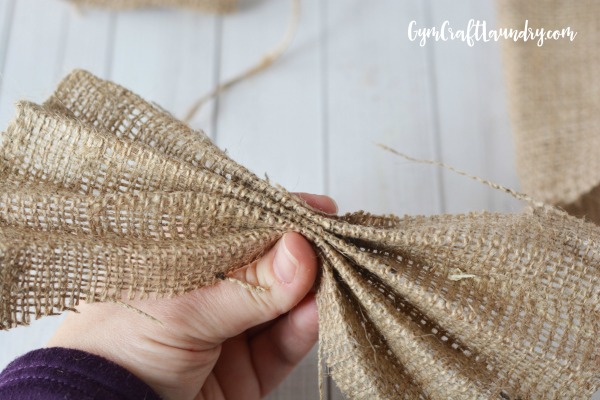
Pinch in the center and place the wings, behind the head and secure them with the twine.
Wrap the bottom portion of the body up and around to the back of the head and secure with twine.
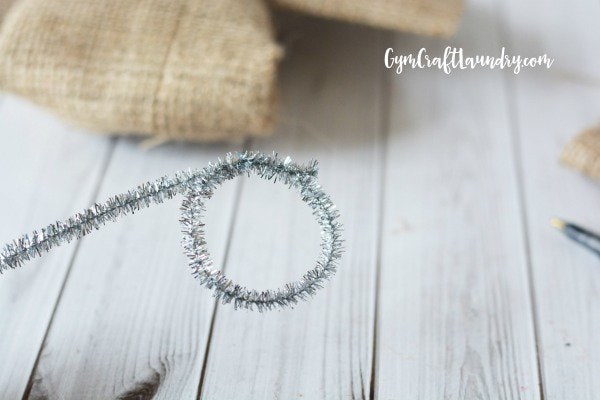
Fold a silver chenille stem into a circle, about the size of a half dollar and wrap the ends together to secure. Affix the halo to the top of the head with hot glue.
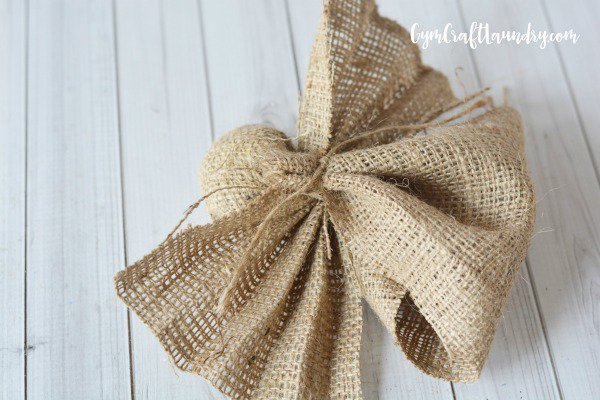
Tie a small piece of twine using a slip knot and affix to the back of the head with hot glue.
Why is it called crochet angel? I see no crochet in it.