How to Make an Earring Holder Using Junk Finds
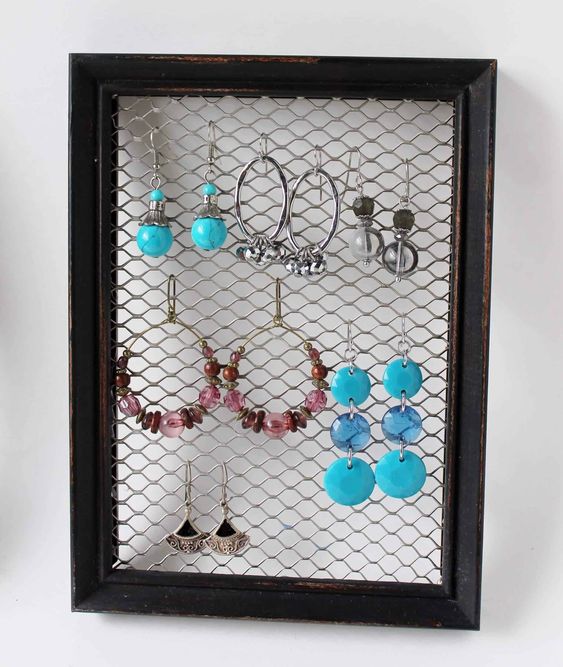
Looking for a creative way to organize your earrings? Say goodbye to tangled messes and hello to a stylish DIY earring holder! This fun and easy project will not only keep your earrings organized but also add a touch of personal flair to your space. Hang your newly created earring holder on the wall or prop it up on a dresser or vanity. Now you have a beautiful and functional way to store and showcase your earrings. No more searching for a matching pair or untangling knots - everything is neatly displayed and easily accessible. Plus, the personalized touch of the fabric and design adds a unique element to your space.
Materials for Making the Earring Holder
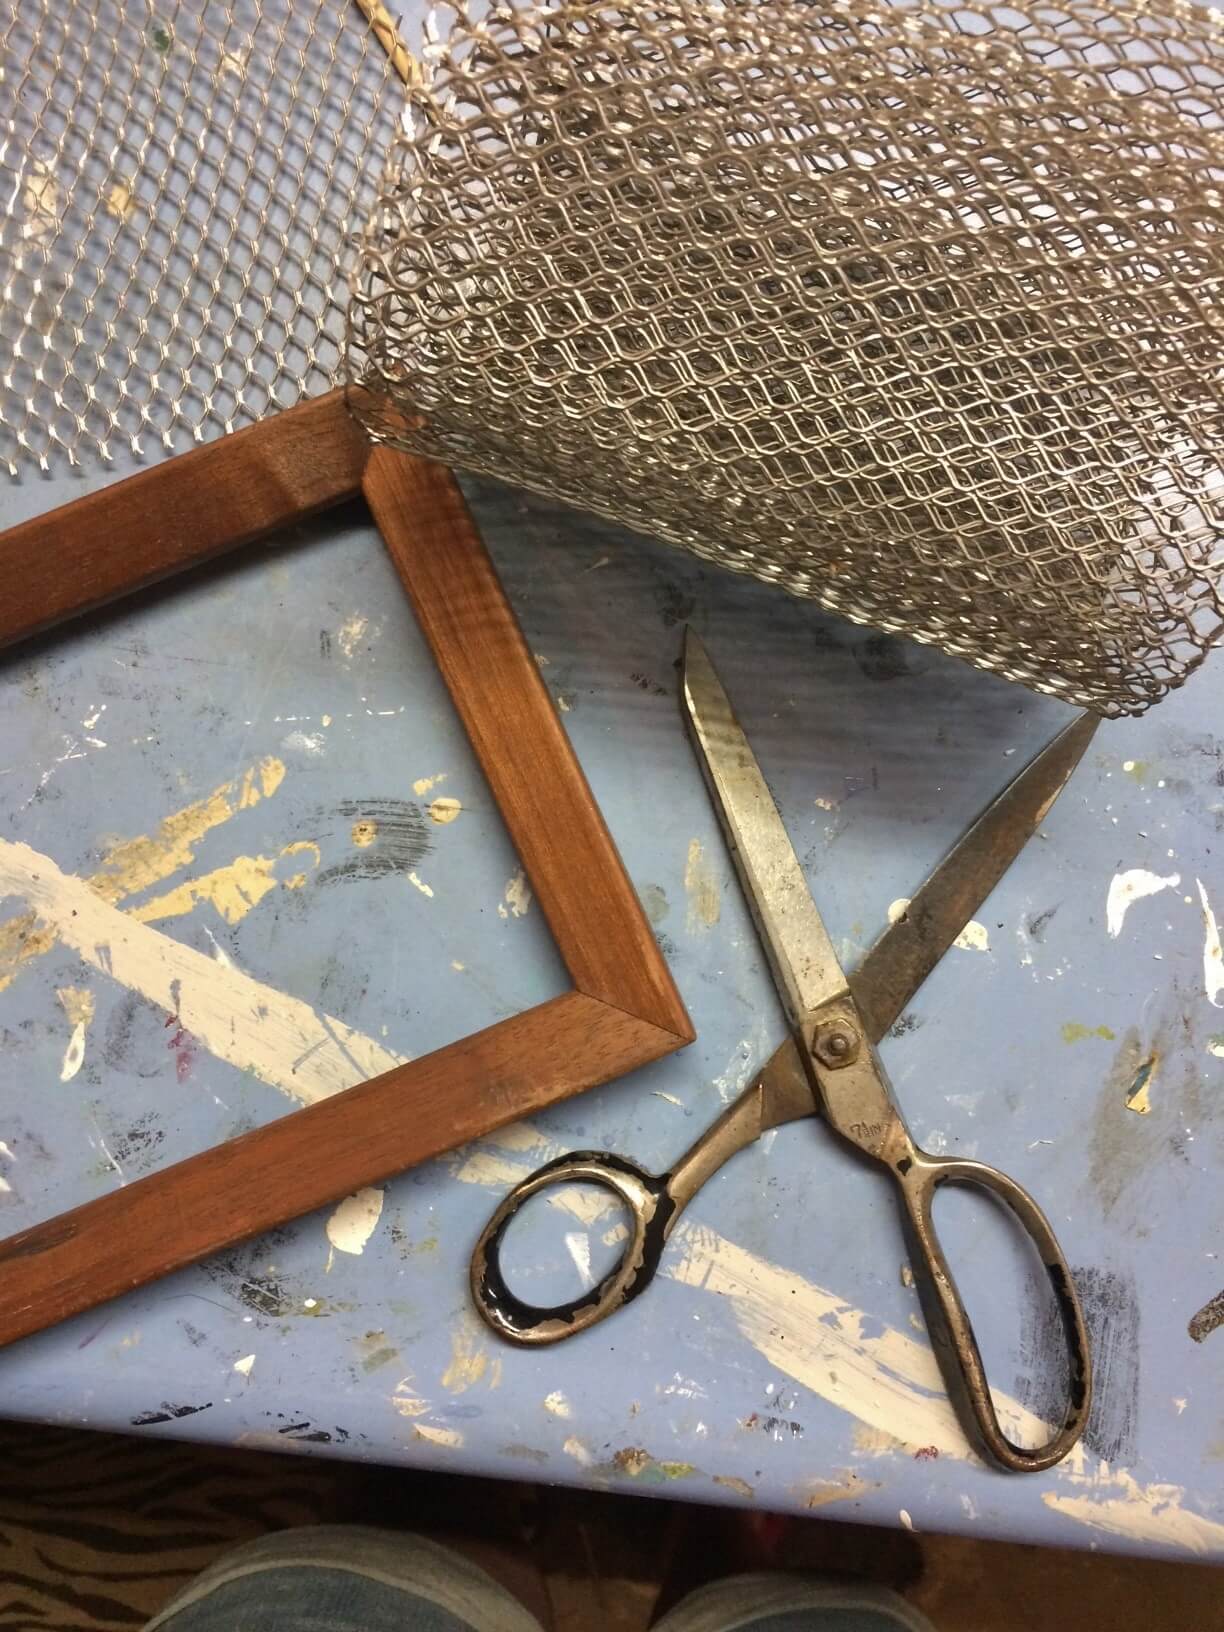
- Vintage metal gutter guard
- 5″ x 7″ wooden frames (I picked mine up at a garage sale)
- Heavy duty scissors
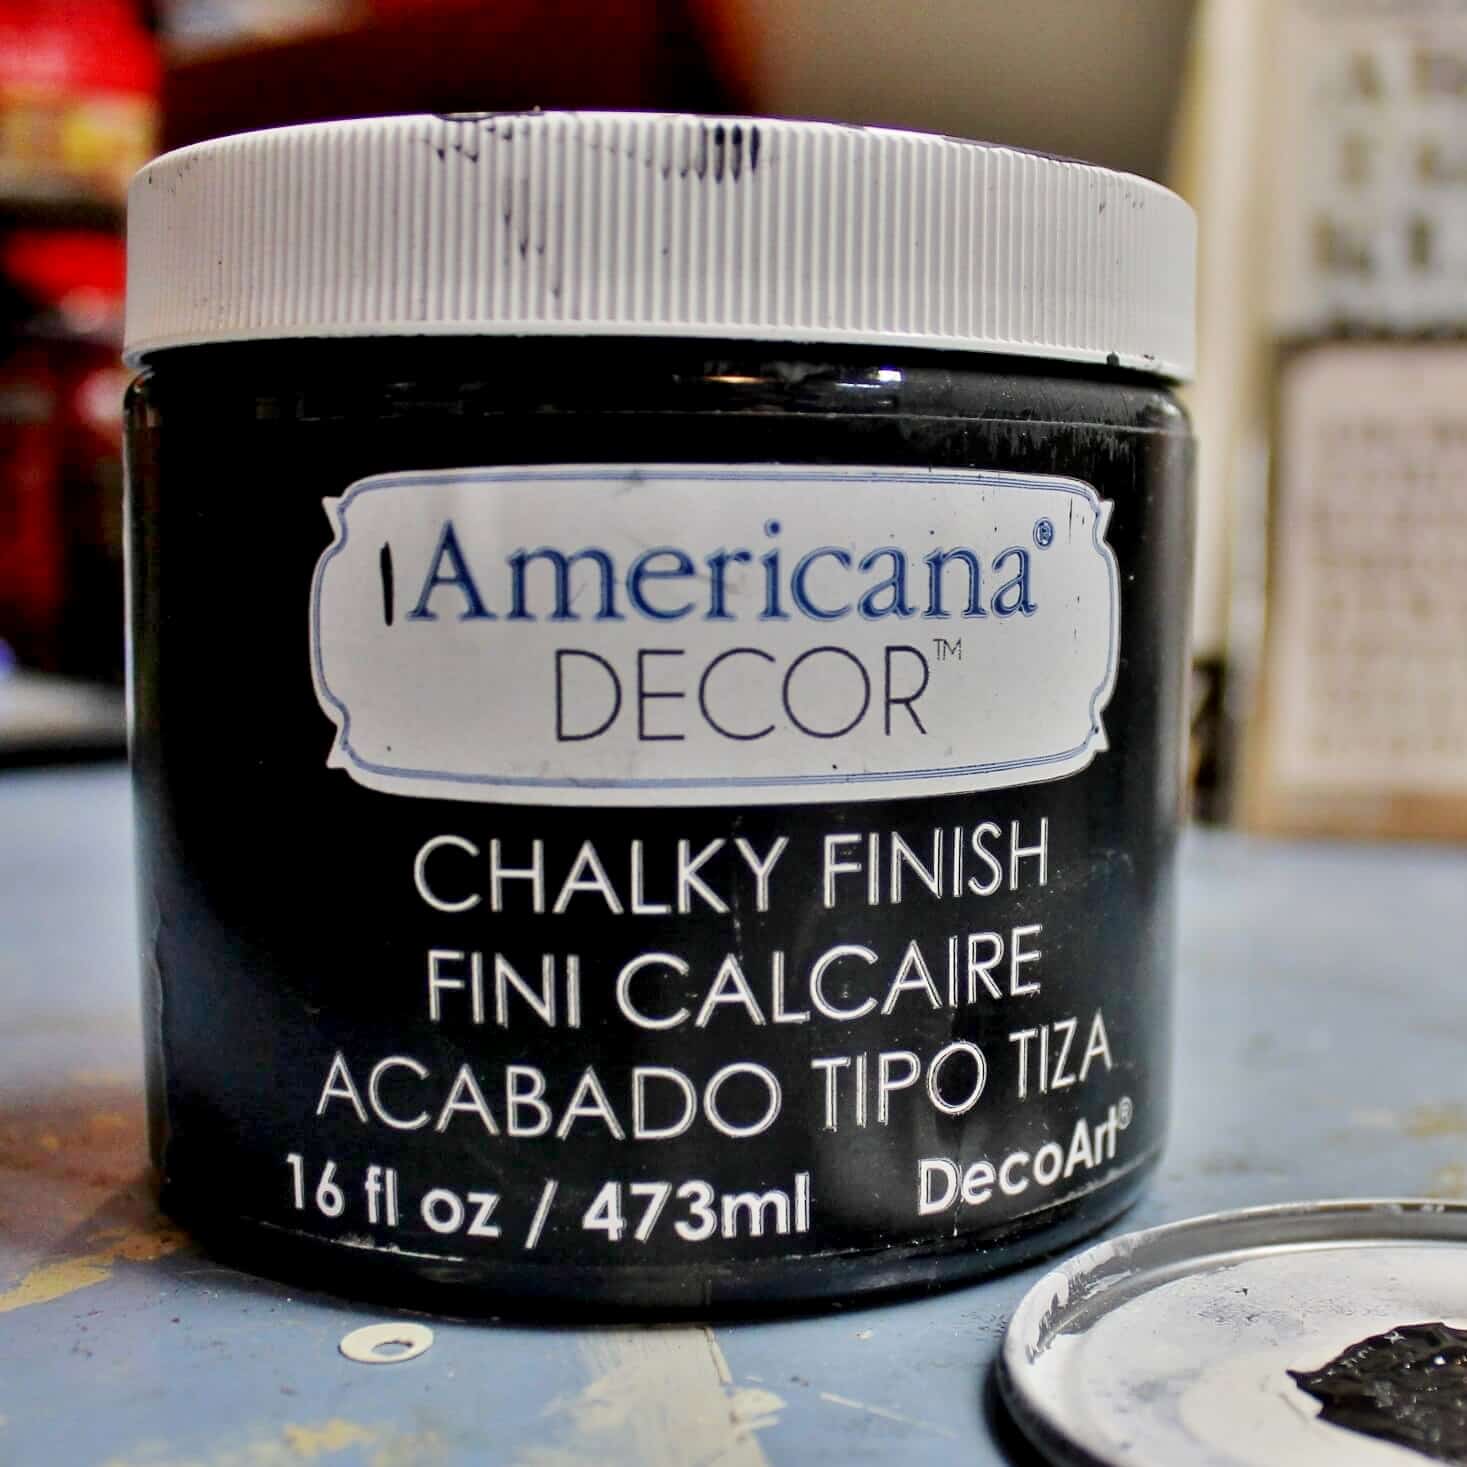
- Black chalk paint
- Sandpaper
- Paste wax
- Hot glue gun
- Claw hanger
How to Make the Earring Holder
Step 1: Paint the frame with one coat of black chalk paint.
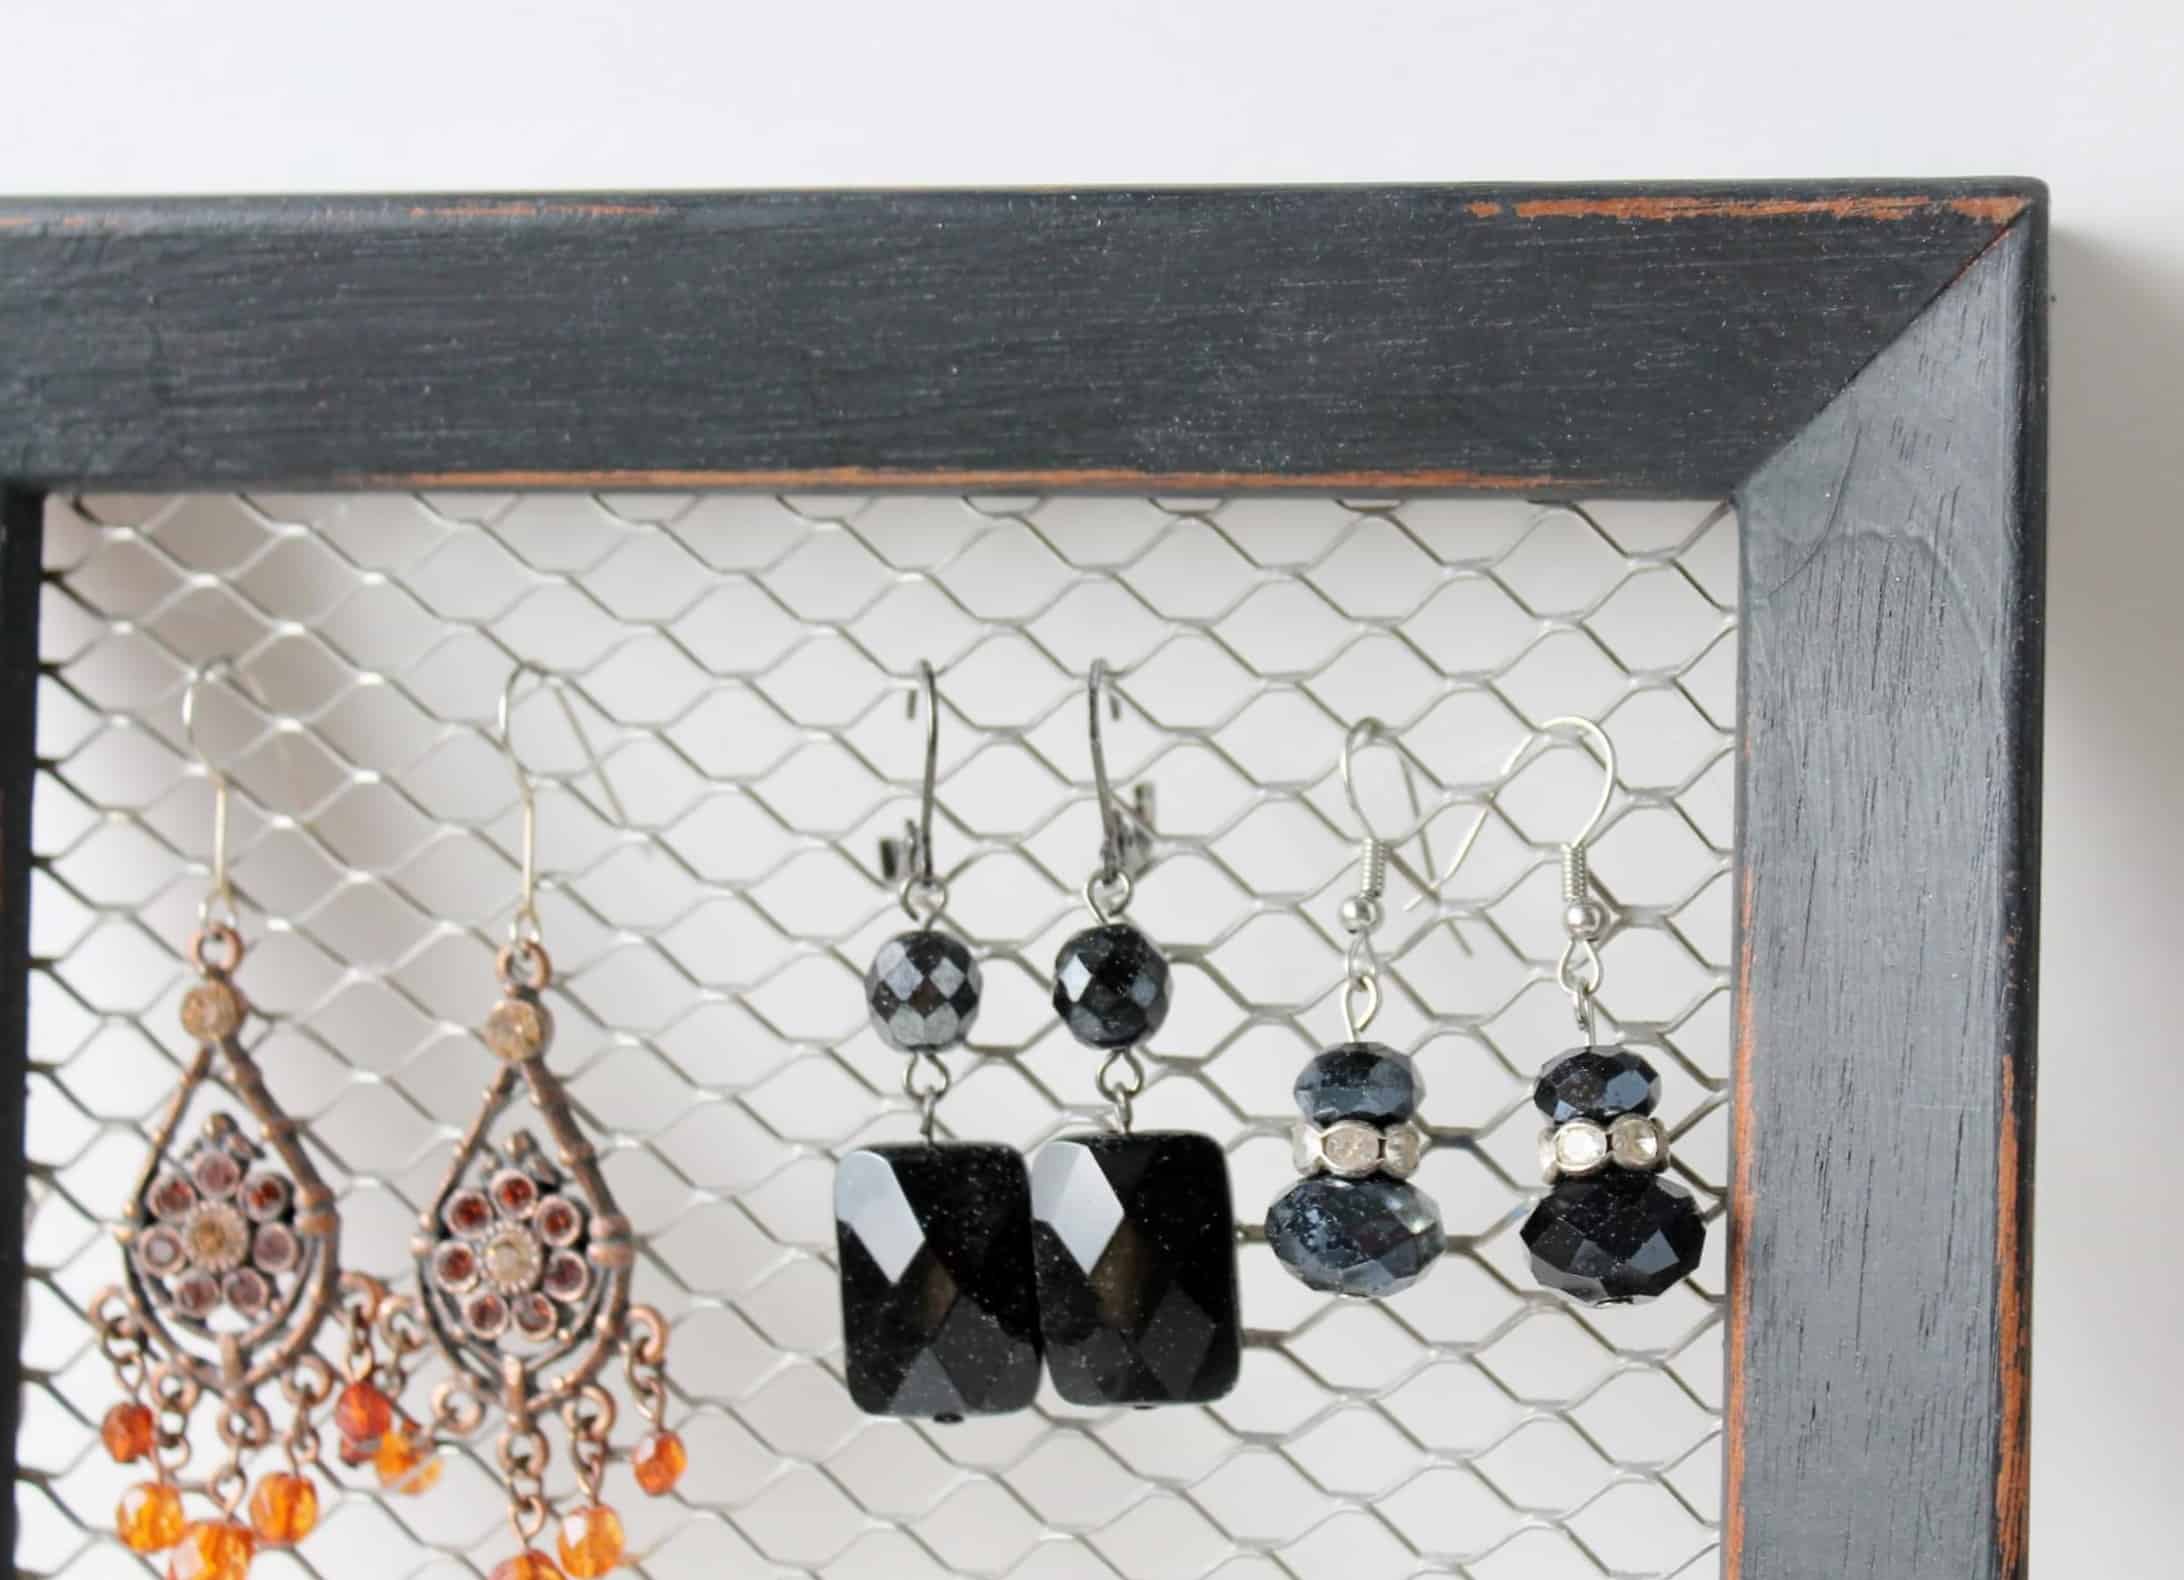
Step 2: Distress the edges and corners of the frame with sandpaper to give it an aged look, if you like.
Step 3. Give the frame a coat of paste wax, let it sit for ten minutes, buff it out with a lint-free cloth.
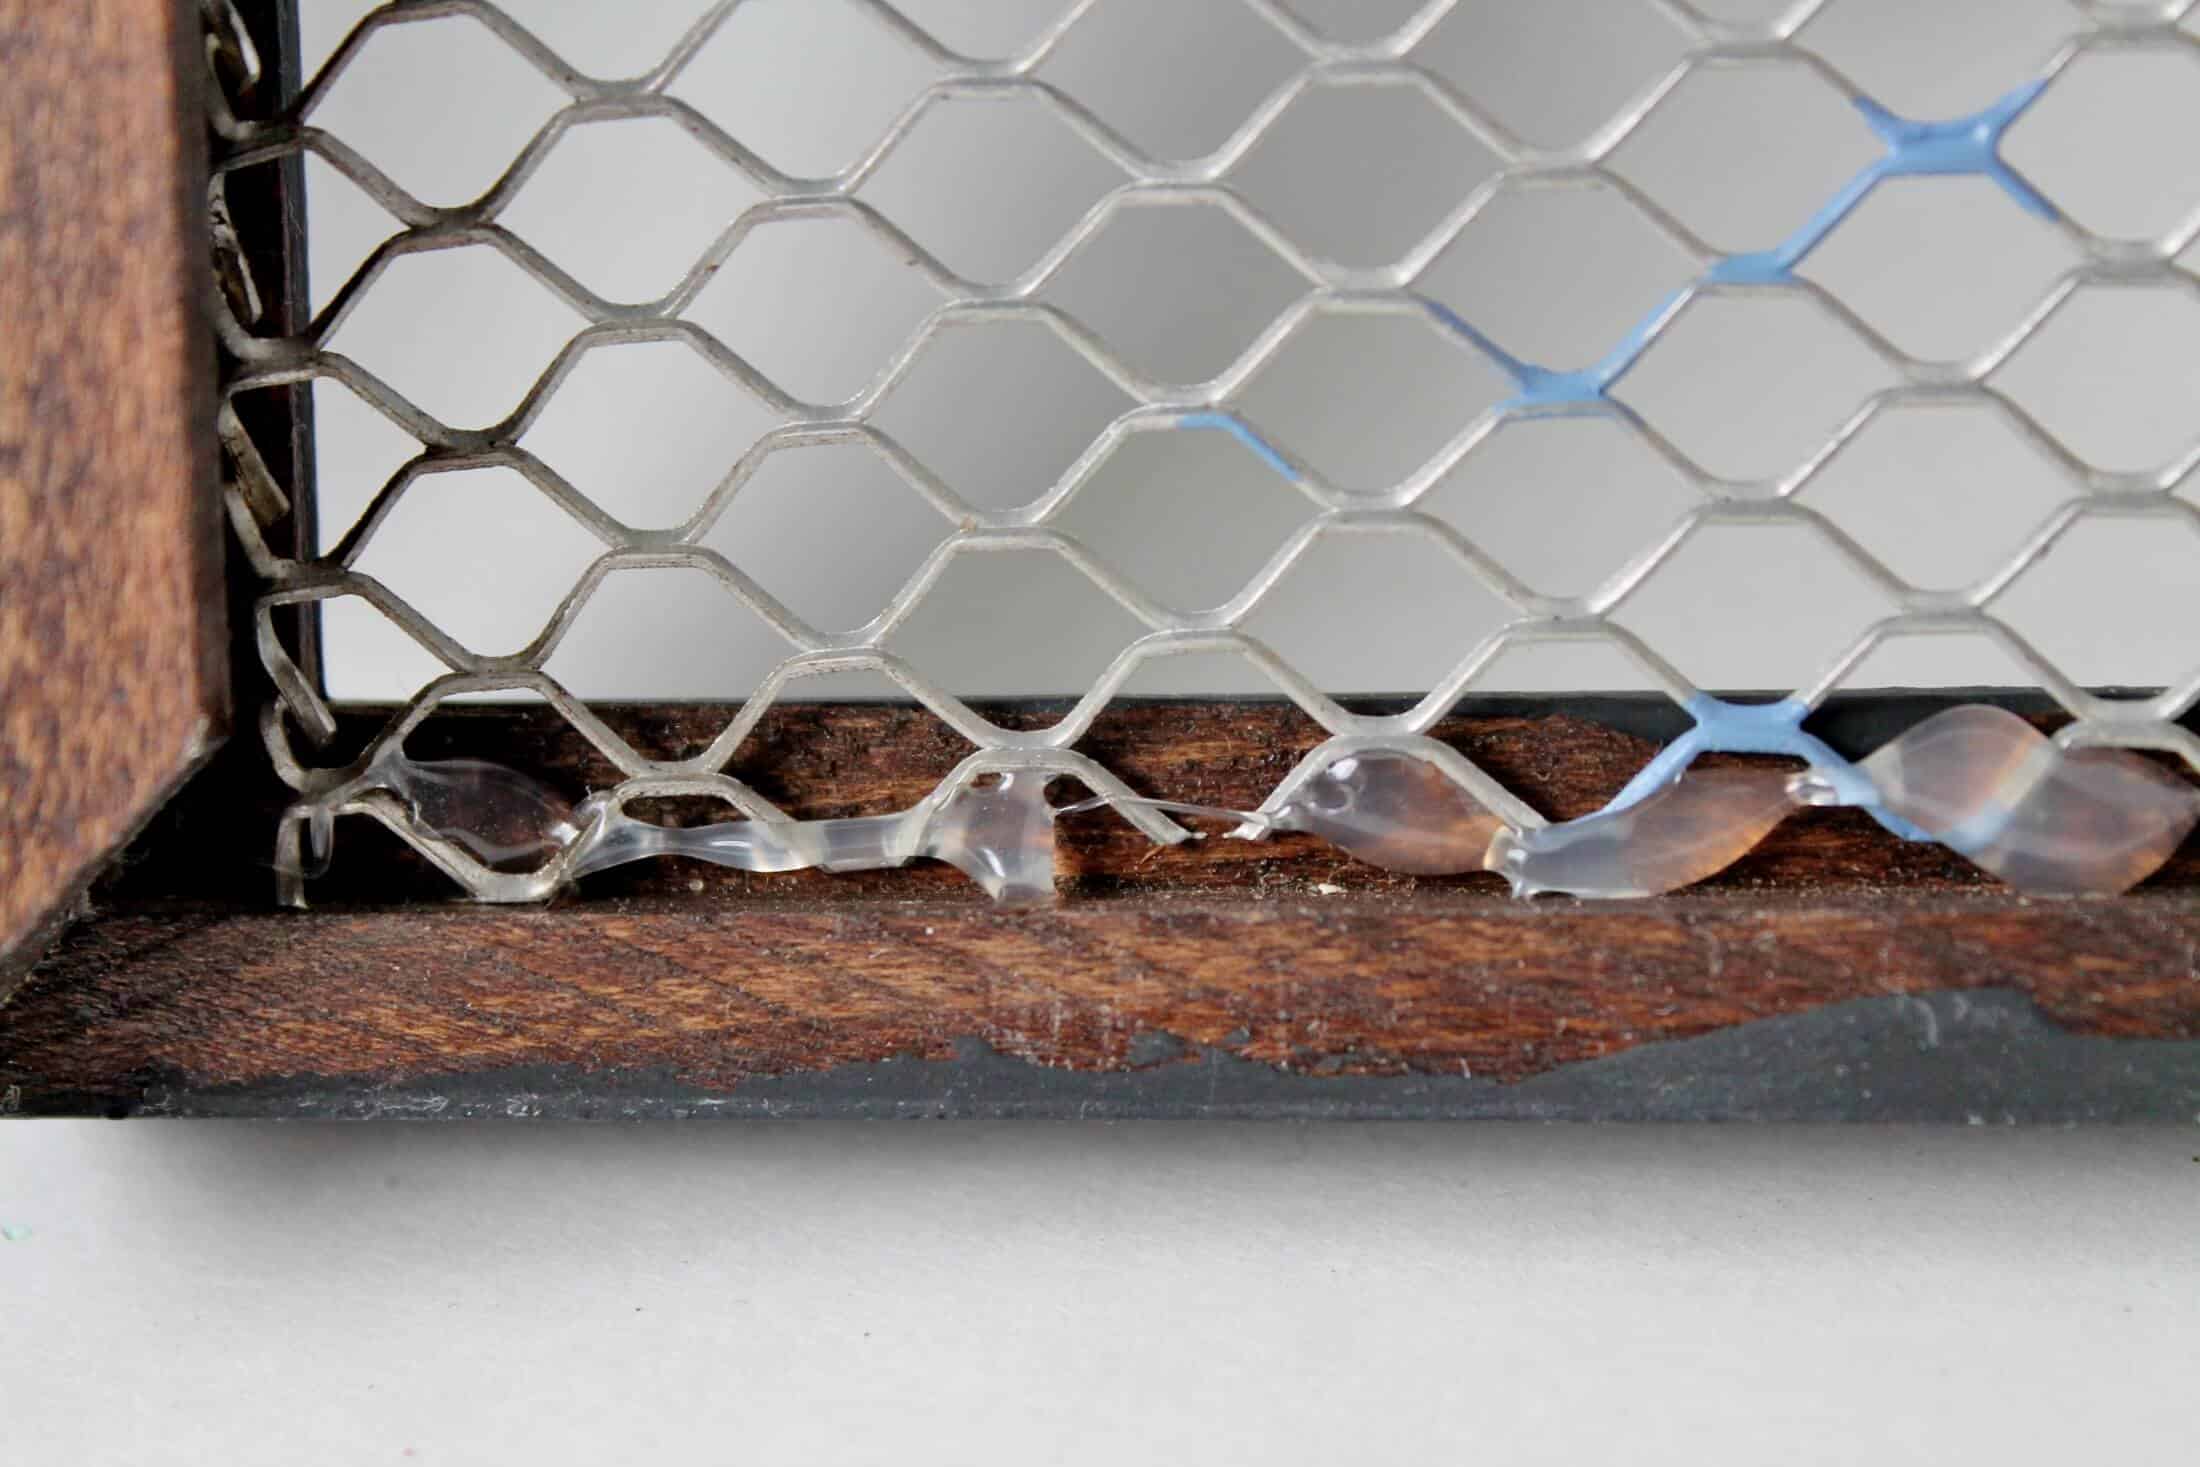
Step 4: Cut the vintage gutter guard to fit your frame, using heavy duty scissors.
Step 5: Glue the piece of gutter guard into place with a hot glue gun.
Step 6: Attach a claw hanger to the top of the back of the holder. And you’re done!
Earring Holders Using Junk Finds
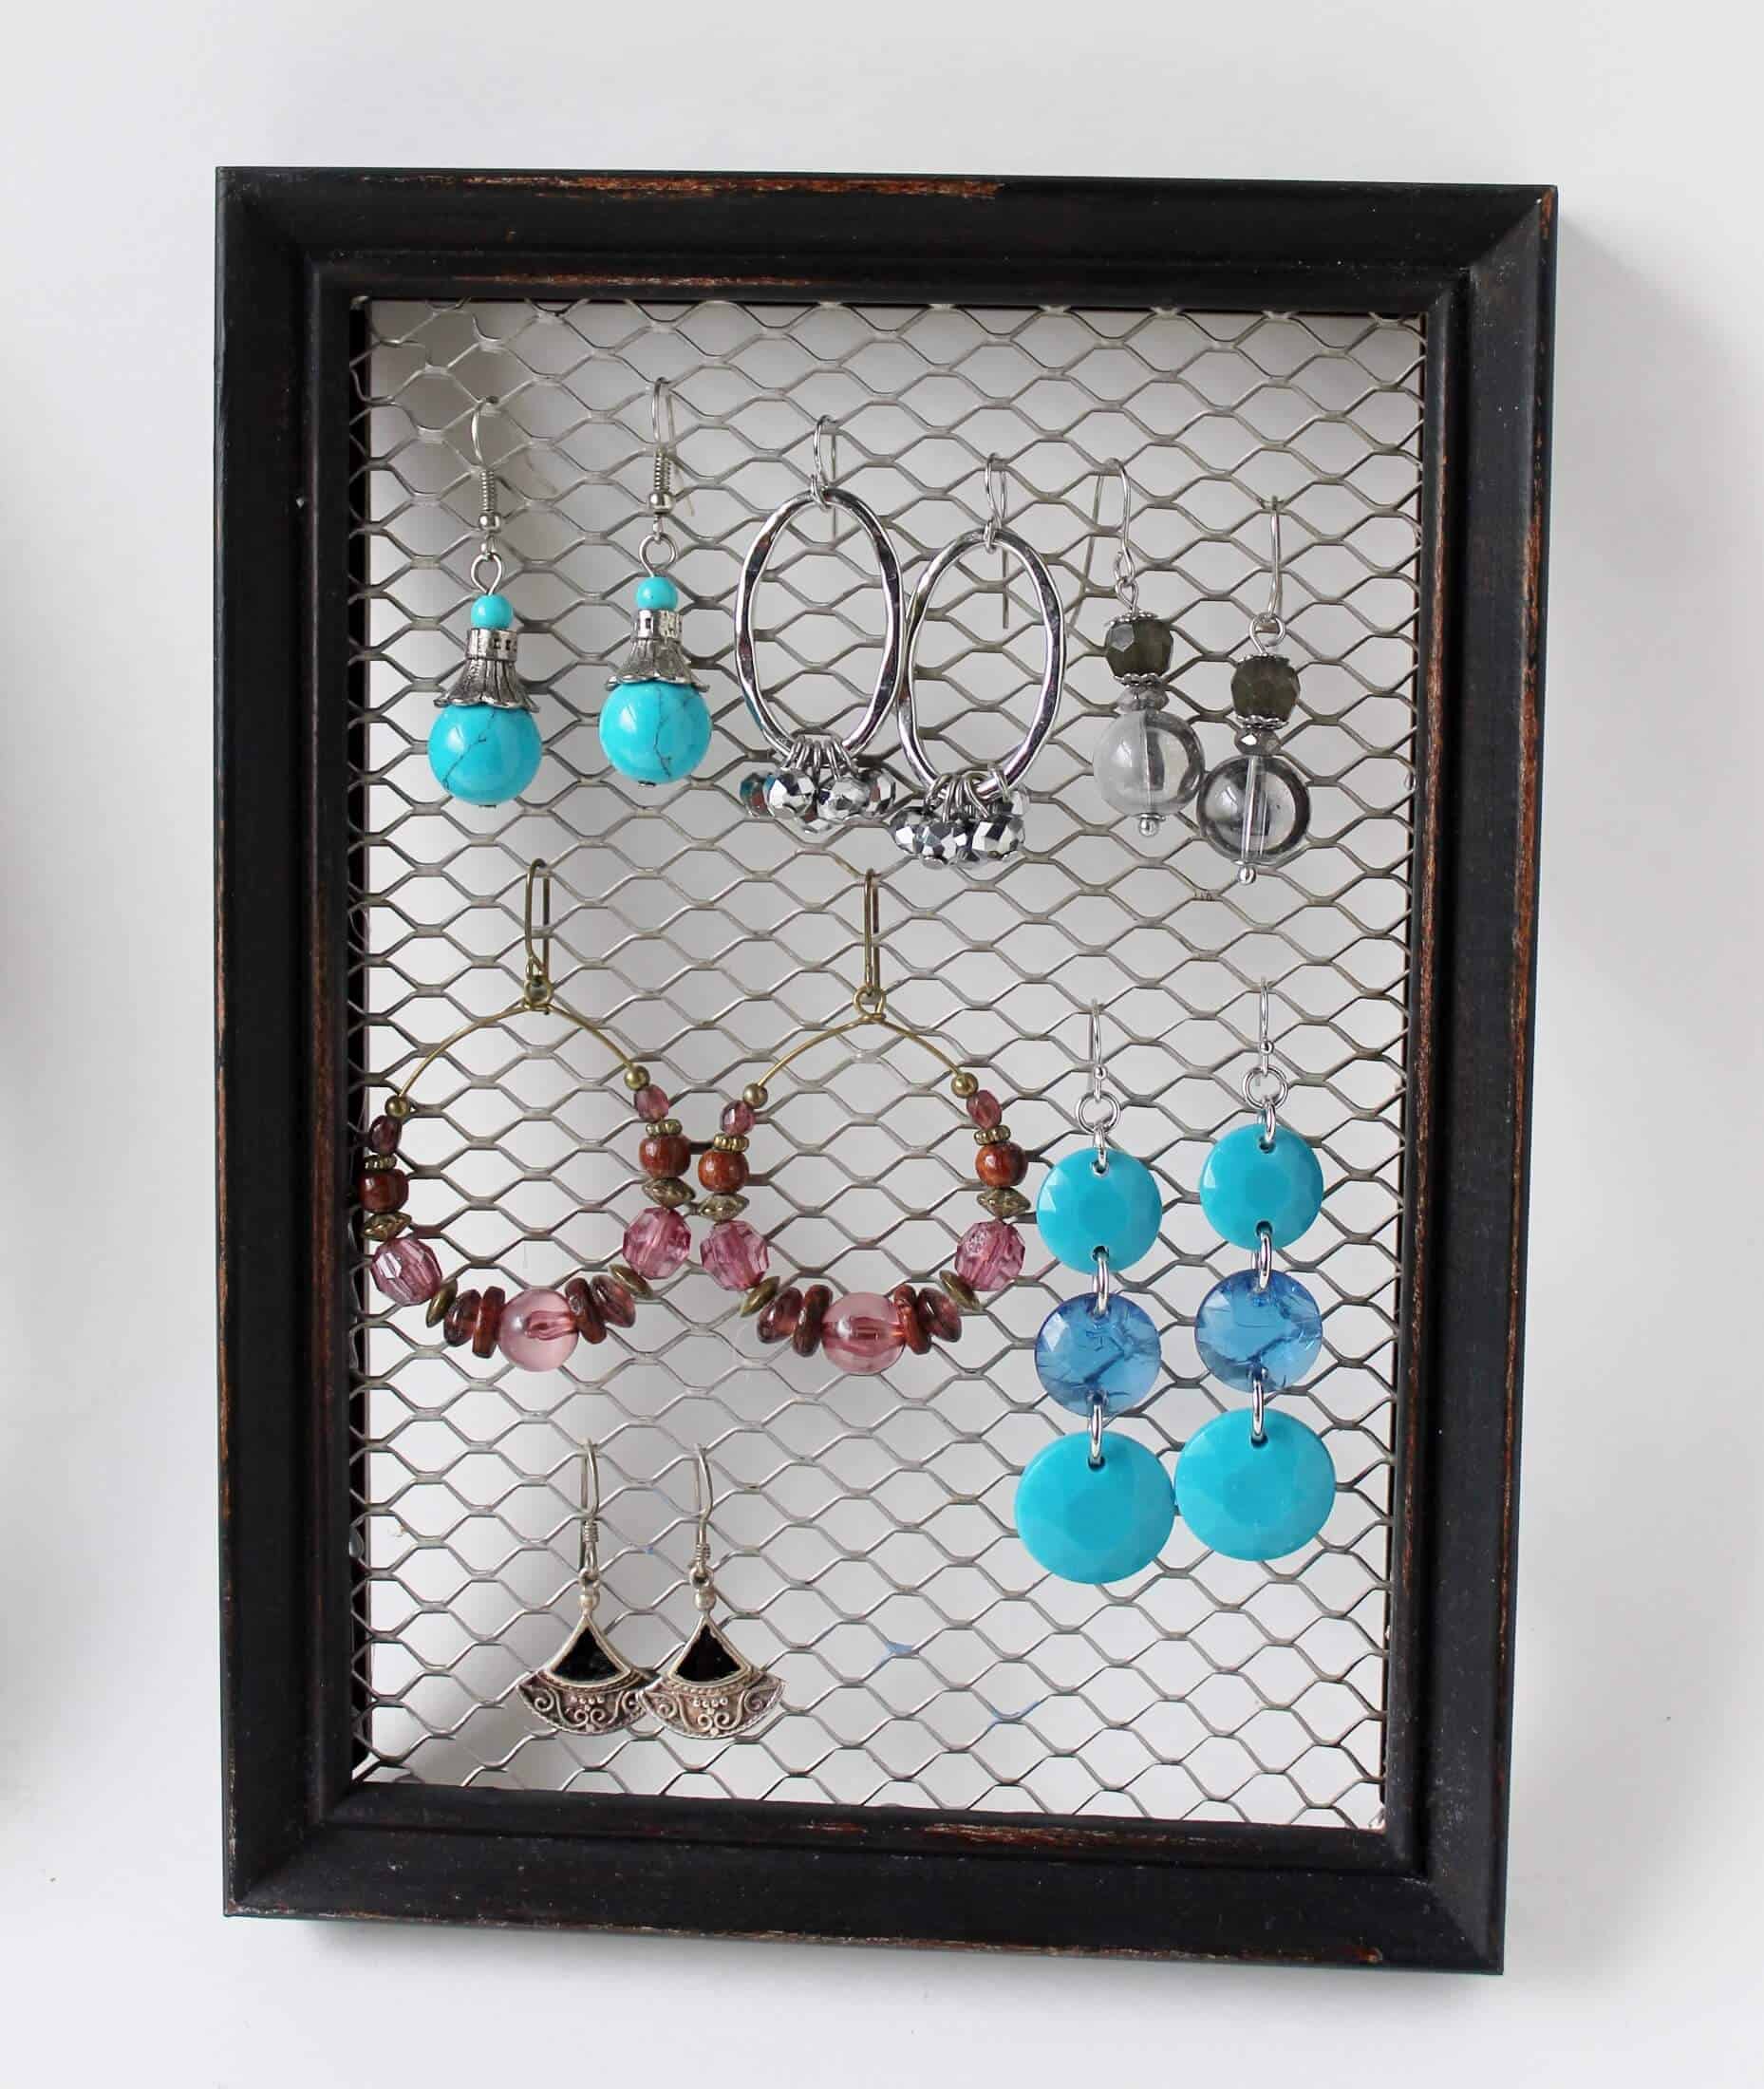
This 5″ x 7″ frame can hold upwards of 7-9 pairs of earrings, more if you like less dangle-y earrings. (I like dangle-y myself.)