Easy Fabric Pumpkins
Creating your own easy fabric pumpkins is a delightful way to add a cozy touch to your home decor. With just a few simple materials and a bit of creativity, you can craft these charming decorations that are perfect for fall. Start by selecting your favorite fabric in autumn hues and cutting it into circles of various sizes. Then, fill each circle with stuffing and gather the edges to shape your pumpkin. Secure with a piece of twine or ribbon at the top and embellish with a twig for the stem. These handmade fabric pumpkins are a fun and festive project that will bring a warm and inviting feel to your space.
Fabric Pumpkin Supply List
- Fabric of your choice
- Polyfil
- Embroidery floss
- Felt
- Vine wrapped craft wire
Tools you will need:
- Sewing machine
- Hot glue gun
- Scissors
- Tapestry needle

First, cut fabric into rectangles with a ratio of 2:1. For example, my largest pumpkin measured 11″ x 22″. One of my smallest pumpkins started with a rectangle measuring 4″ x 8″. You can use any size you want, just make sure that the width is twice as long as the height.
You will need 2 rectangles for each pumpkin. Once they are cut, place one of top of the other, right sides facing each other. This particular fabric in the photo is double sided.
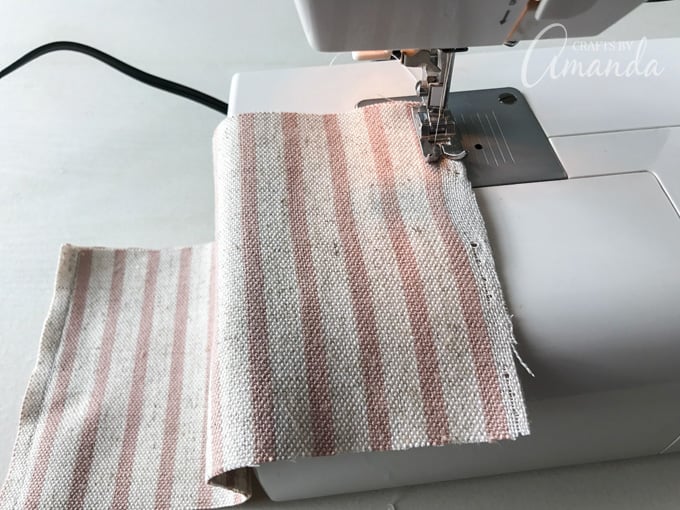
Next sew the two short sides together. Be sure that you back stitch at each end to avoid any accidental unraveling.
Pro Tip: Instead of tying a knot at the end of the thread, leave a 12-inch long tail. This is especially helpful with a fabric that has a high thread count so that you don’t accidentally pull the knot through when gathering (see below).
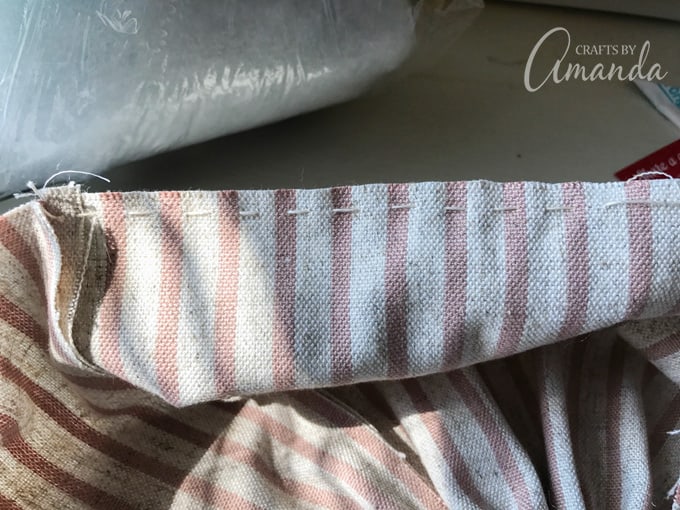
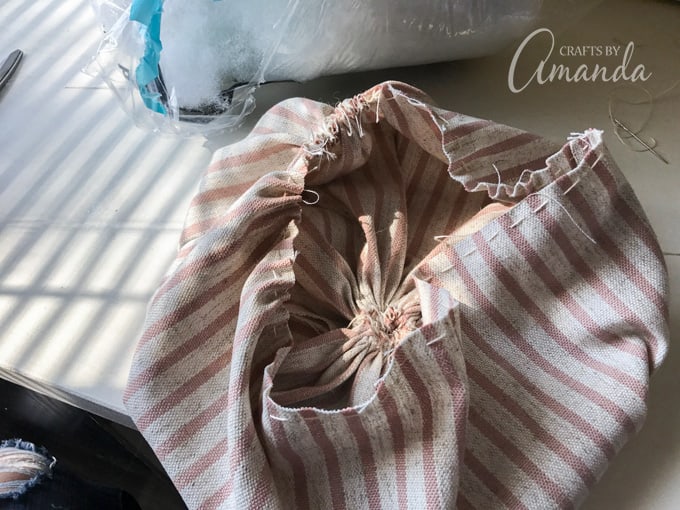
Using your tapestry needle and embroidery floss, sew a simple running stitch along the long edge. Do not sew the two long edges together. Keep them separate and continue the running stitch all the way around.
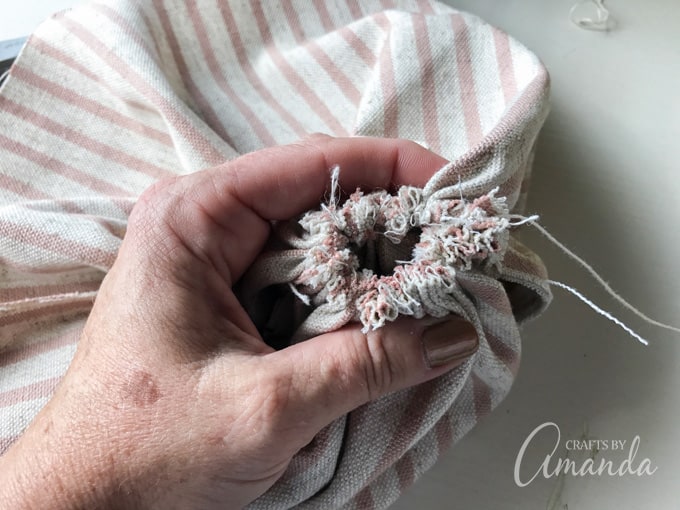
Next, gently pull on both ends of the thread (your needle on one end and the tail you left at the other) which will gather the fabric. Continue gathering until you have a snug circle. Tie the tail end and the needle end together to create a knot, then sew back and forth through the gathered center to close off any gaps.
Turn the fabric right side out. With your gathered circle at the bottom, do another running stitch (with a tail) all the way around the top of the “pumpkin”. Do not start pulling and gathering just yet.
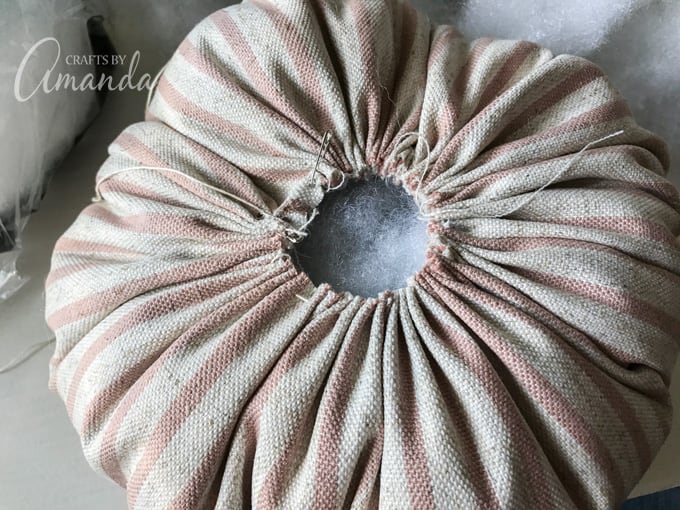
Fill the fabric about 2/3 with Polyfil. Begin gathering by gently pulling on both the needle end and tail end. Gather about half way then start adding more Polyfil, pushing it carefully down into the pumpkin.
Pro Tip: It is very helpful to have a friend assist you during this step. As you are stuffing the pumpkin, you will need to hold both ends of the embroidery floss. This can be challenging at best! Ask a friend to stuff or hold the threads.
Work together to carefully stuff and gather and tighten up the opening. We found it easiest if one gathered the fabric into the center with their hands and the other tightened the threads. This eliminated the massive amount of tension that there would have been without someone holding the center.
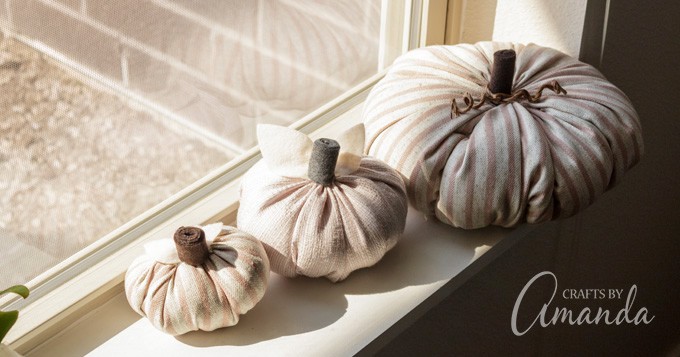
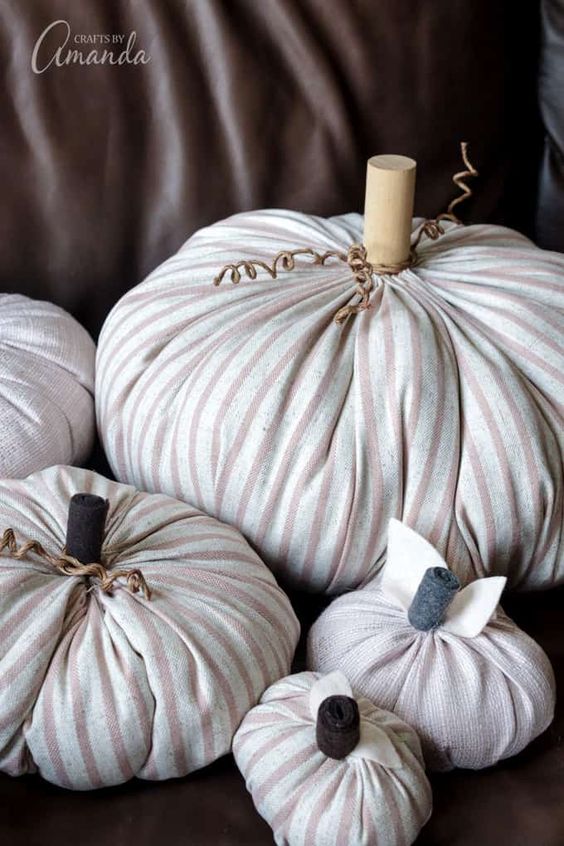
Now you are ready to add leaves, stems and tendrils! For all except the largest pumpkin is simply rolled up strips of felt and secured them closed with hot glue. I also cut very simple leaves from felt and glued everything in place.
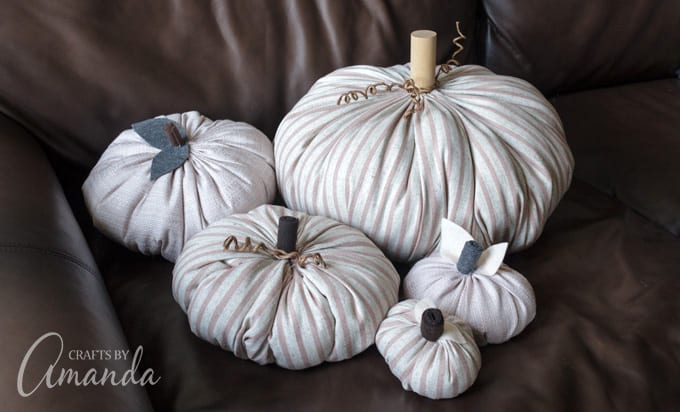
For the largest pumpkin I just happened to have a really fat wooden dowel that fit into the center hole perfectly! To make the tendrils, simply wrap the vine craft wire around a paintbrush handle or pencil to create the curls.
And there you have it. Your very own fabric pumpkin patch! A great way to dress up your fall decor.