Simple Cork Pumpkins
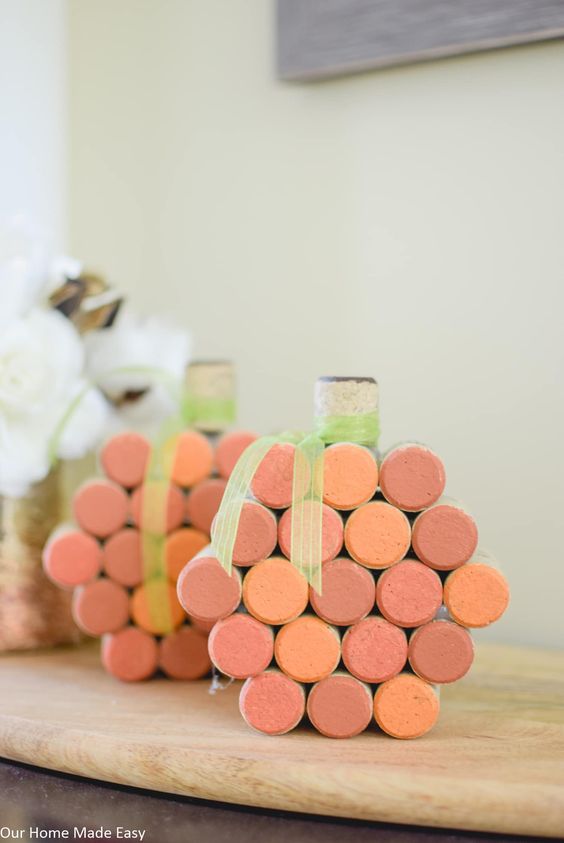
If you're looking for a fun and easy fall craft, DIY Simple Cork Pumpkins are a great choice! All you need are some corks, paint, and a little creativity to make adorable mini pumpkins that are perfect for decorating your home. Simply paint the corks in orange, add a touch of green for the stem, and voilà - you have your own charming pumpkin decorations. These cork pumpkins are a fantastic way to get into the autumn spirit and add a cute touch to your home decor. So gather your supplies, get crafty, and enjoy making these delightful little pumpkins!

Paint Your Corks
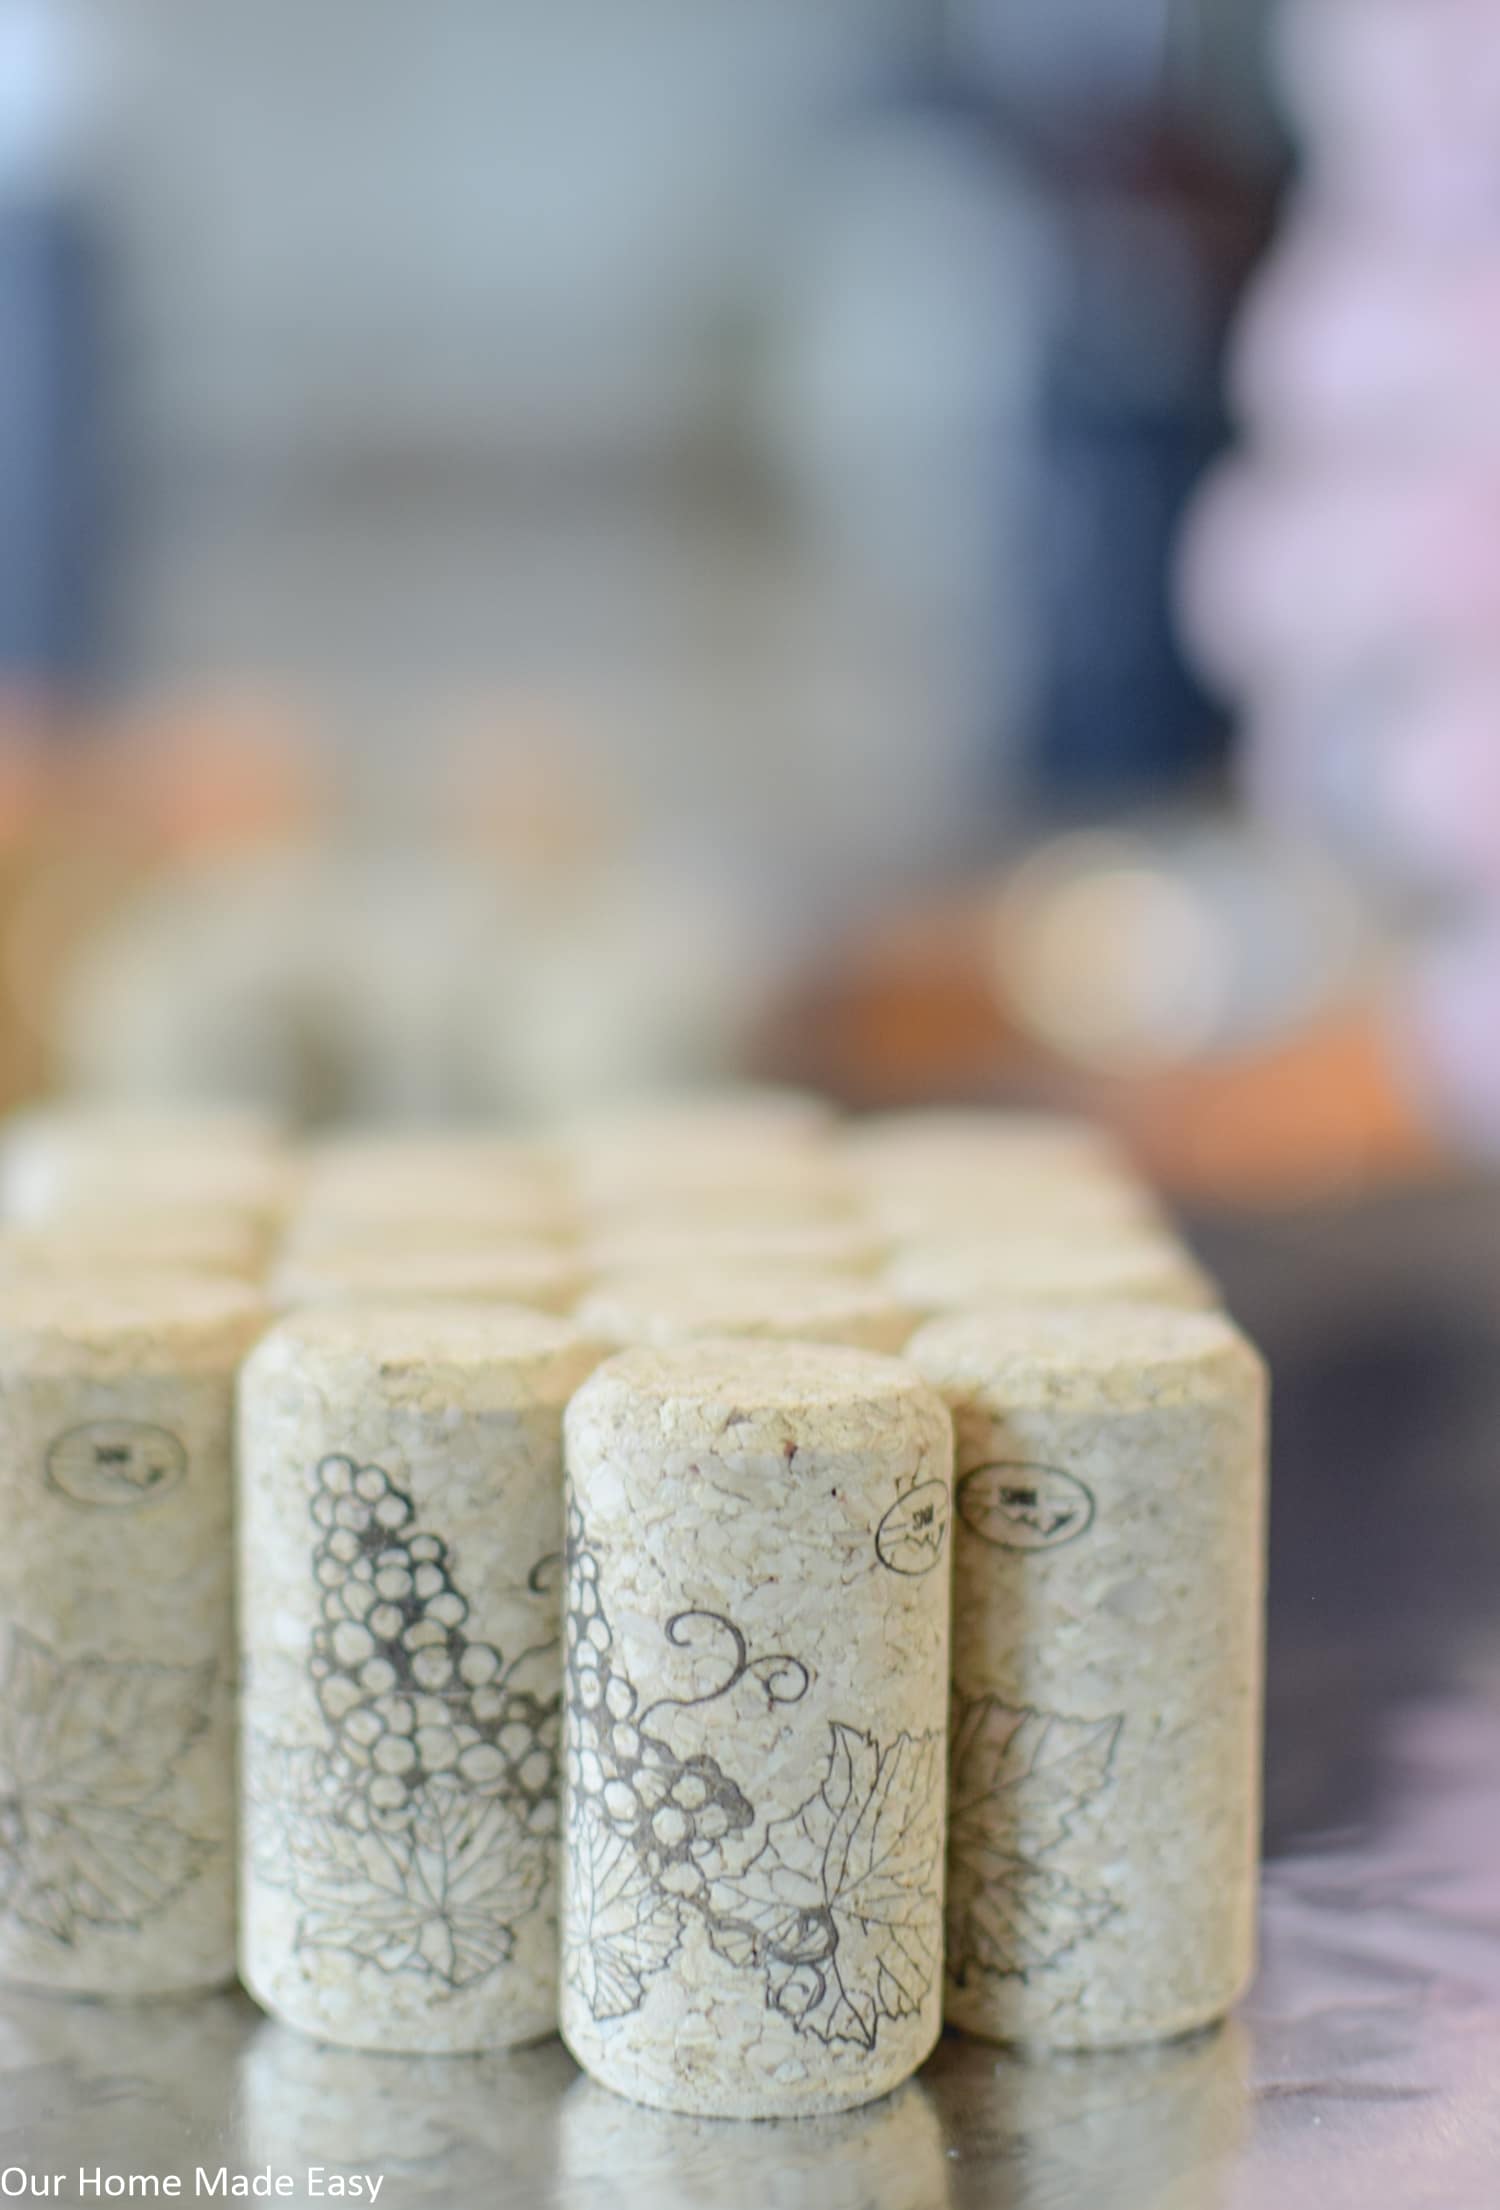
You’ll choose the size of your pumpkin based on whether you want a short & wide pumpkin or a tall & skinny pumpkin. To give you an idea of sizing, if you’re making a 6-inch tall pumpkin, you’ll need 30 corks for the pumpkin body.
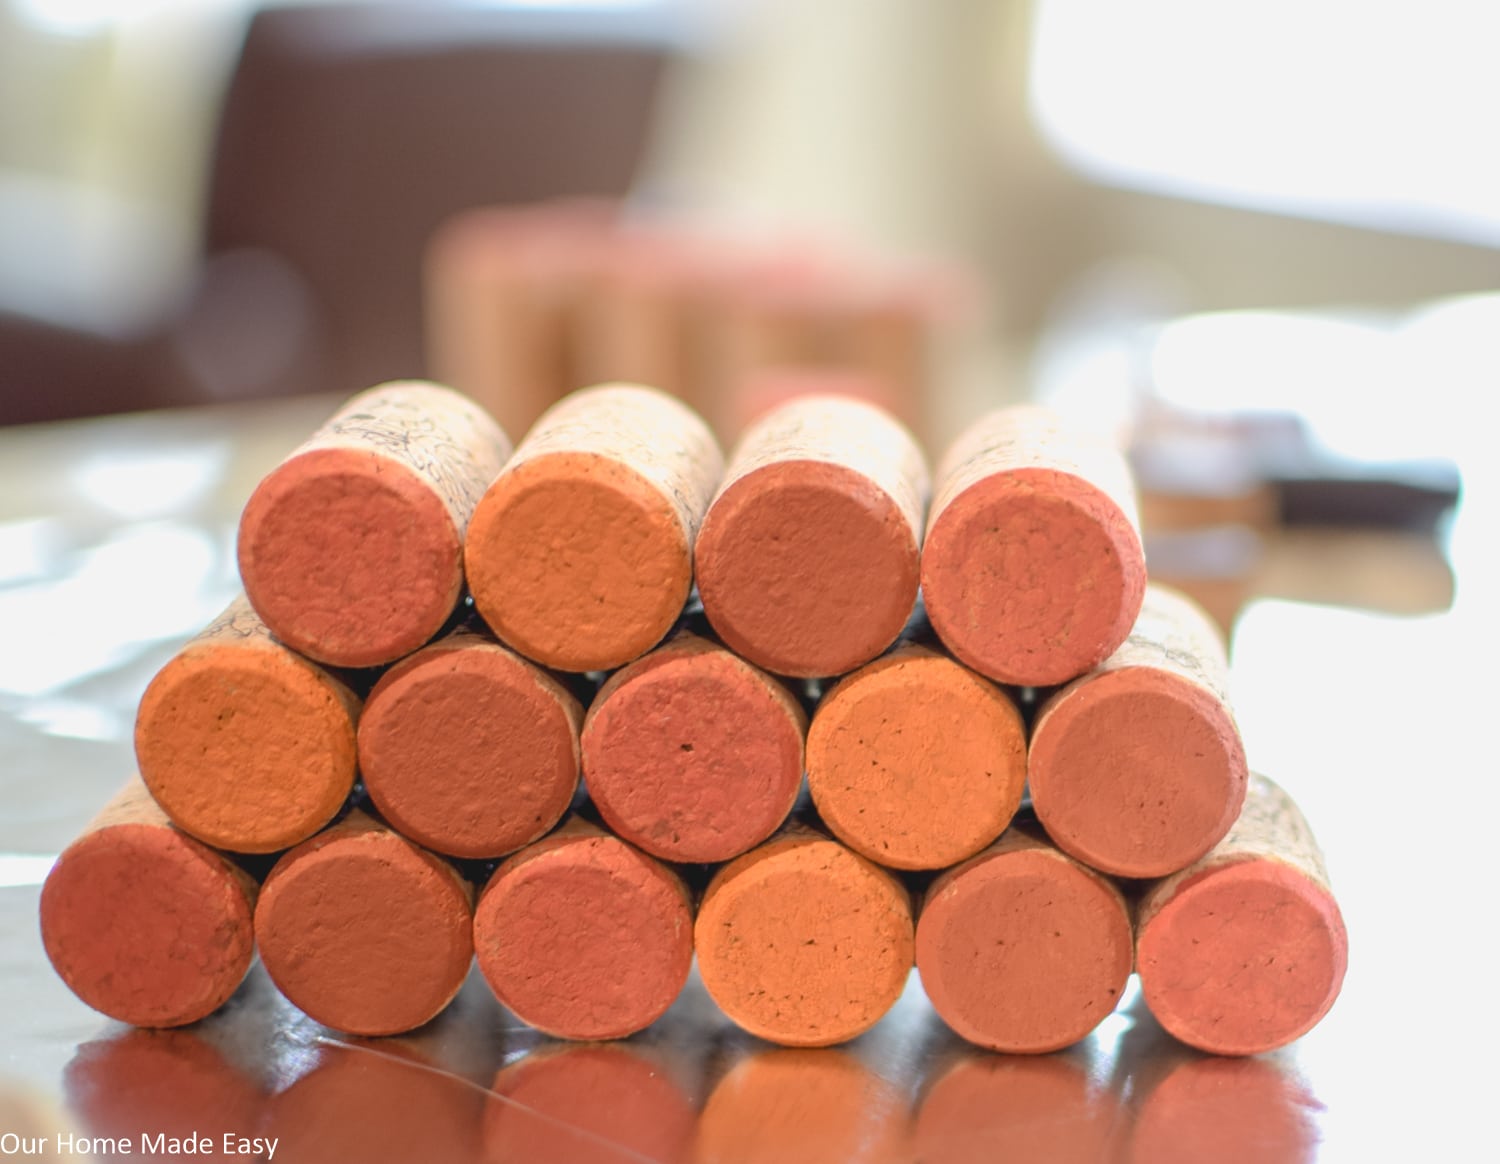
Split them up into 3 different groups and paint the faces of each. If you are doing 2 or 4 colors, split them evenly.
Build Your Pumpkin
Using a hot glue gun, start with your widest width of corks and run a bead of hot glue along the side of one cork. Press another cork against it, making sure it’s flush to the front. Repeat for the entire row.
For the second row, run your glue gun on top the first row and set your second row. Glue on bottom and side. Repeat for the top row.
Now it’s time to build the bottom half of your pumpkin! Using the number of corks width from your second row, start gluing alongside one another. Repeat on top for the last row.
Now you have two parts to your pumpkin. Hot glue the pieces together.
Make Your Stem
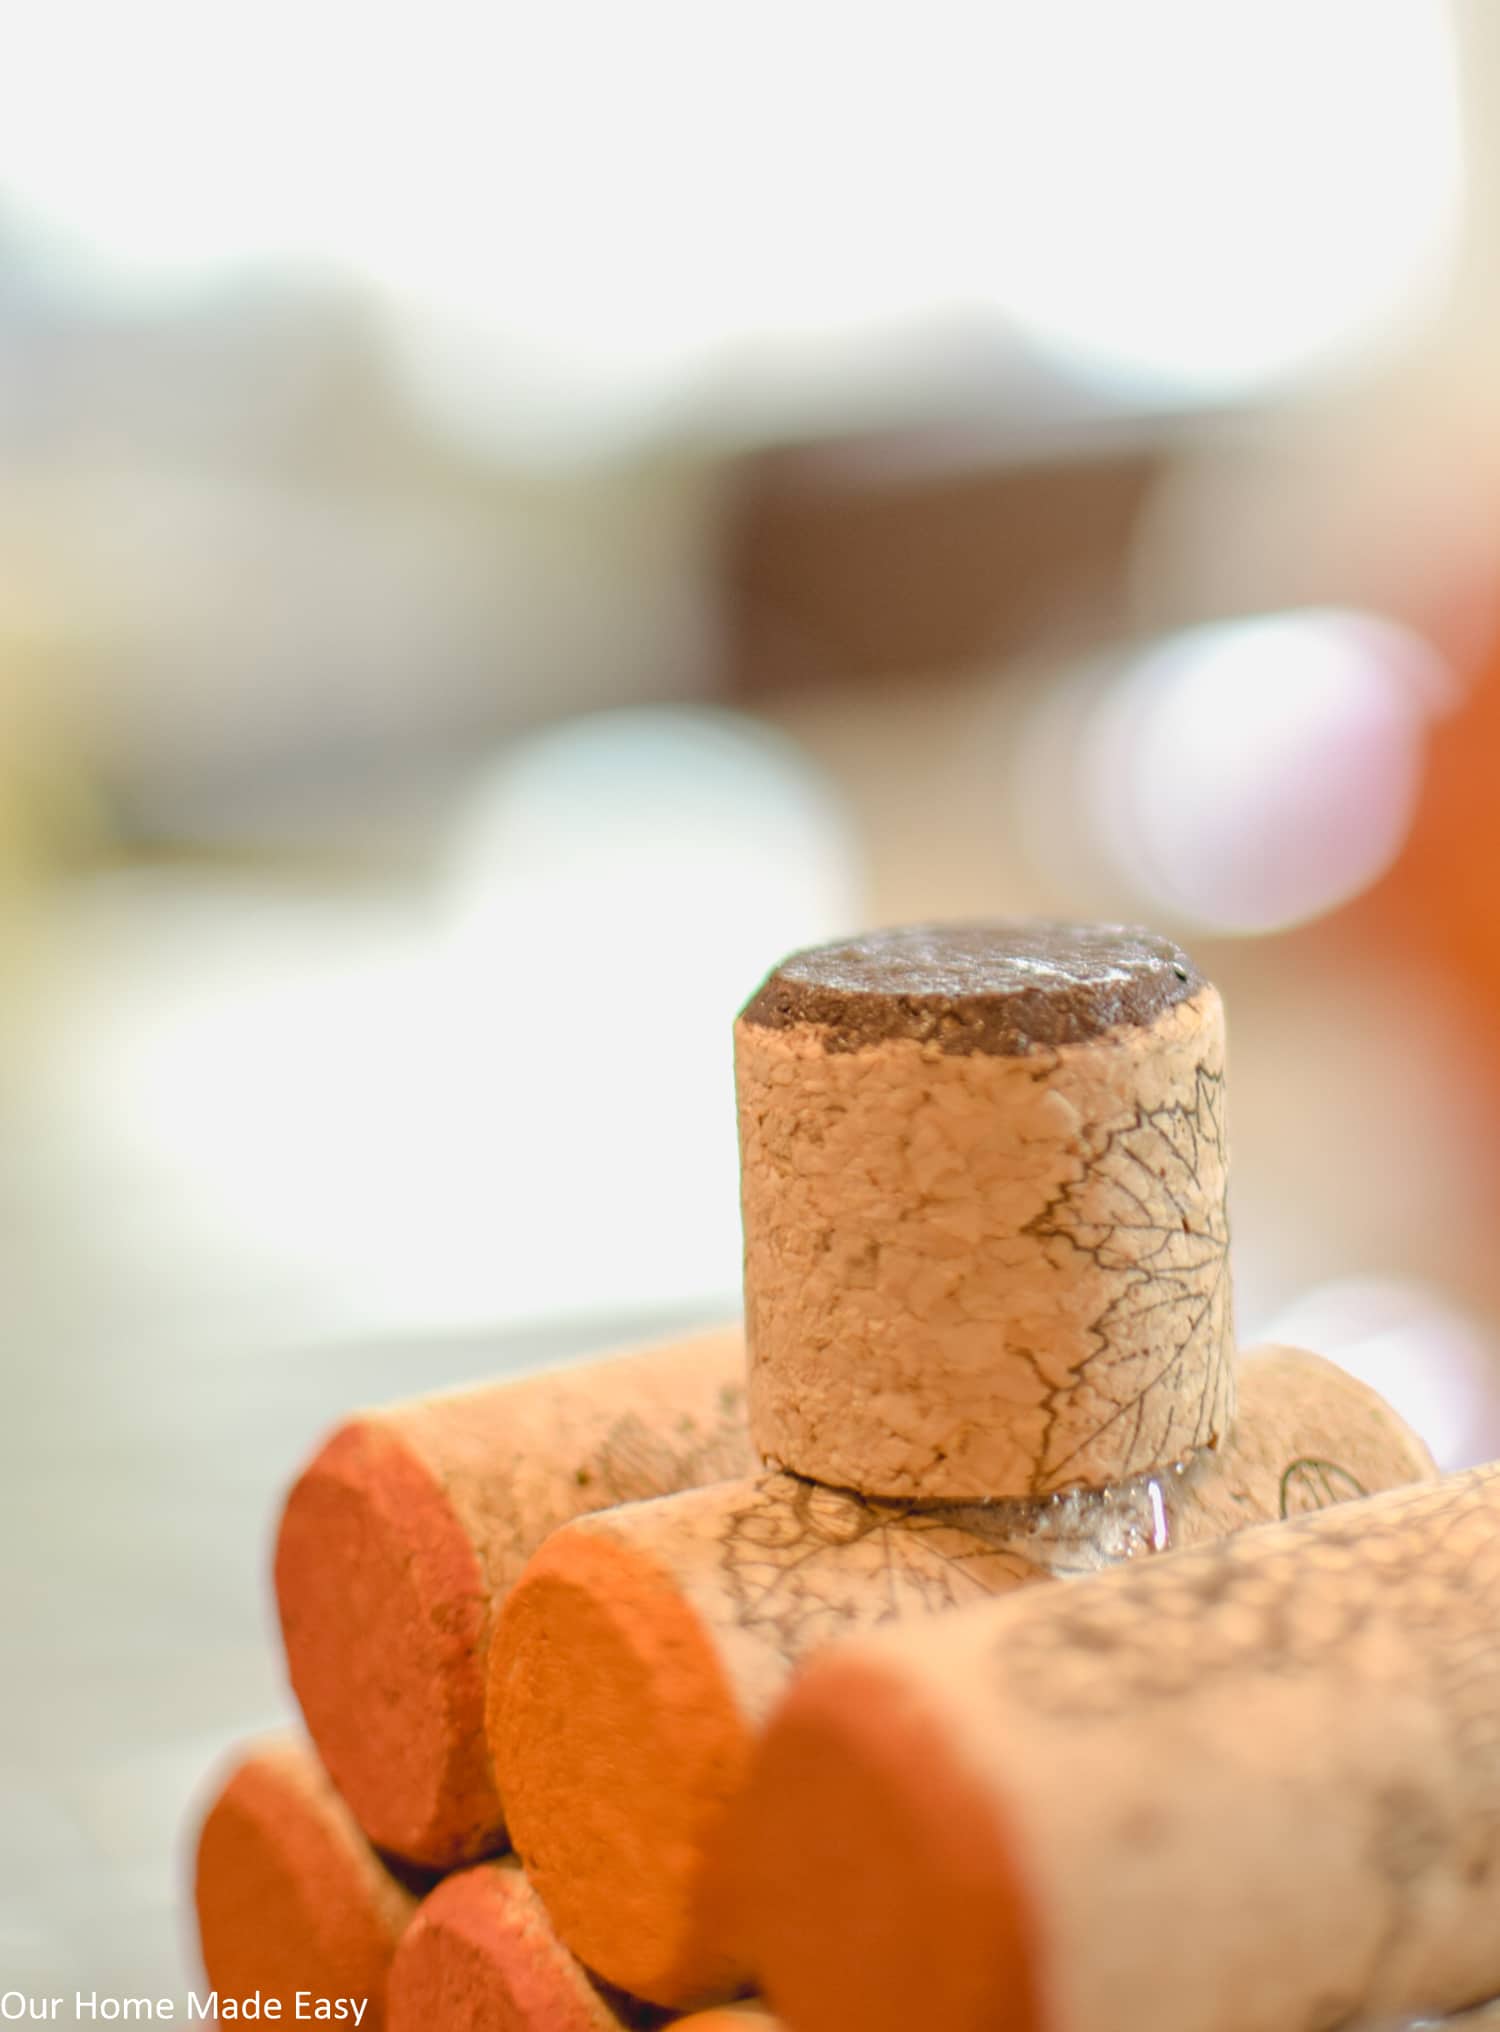
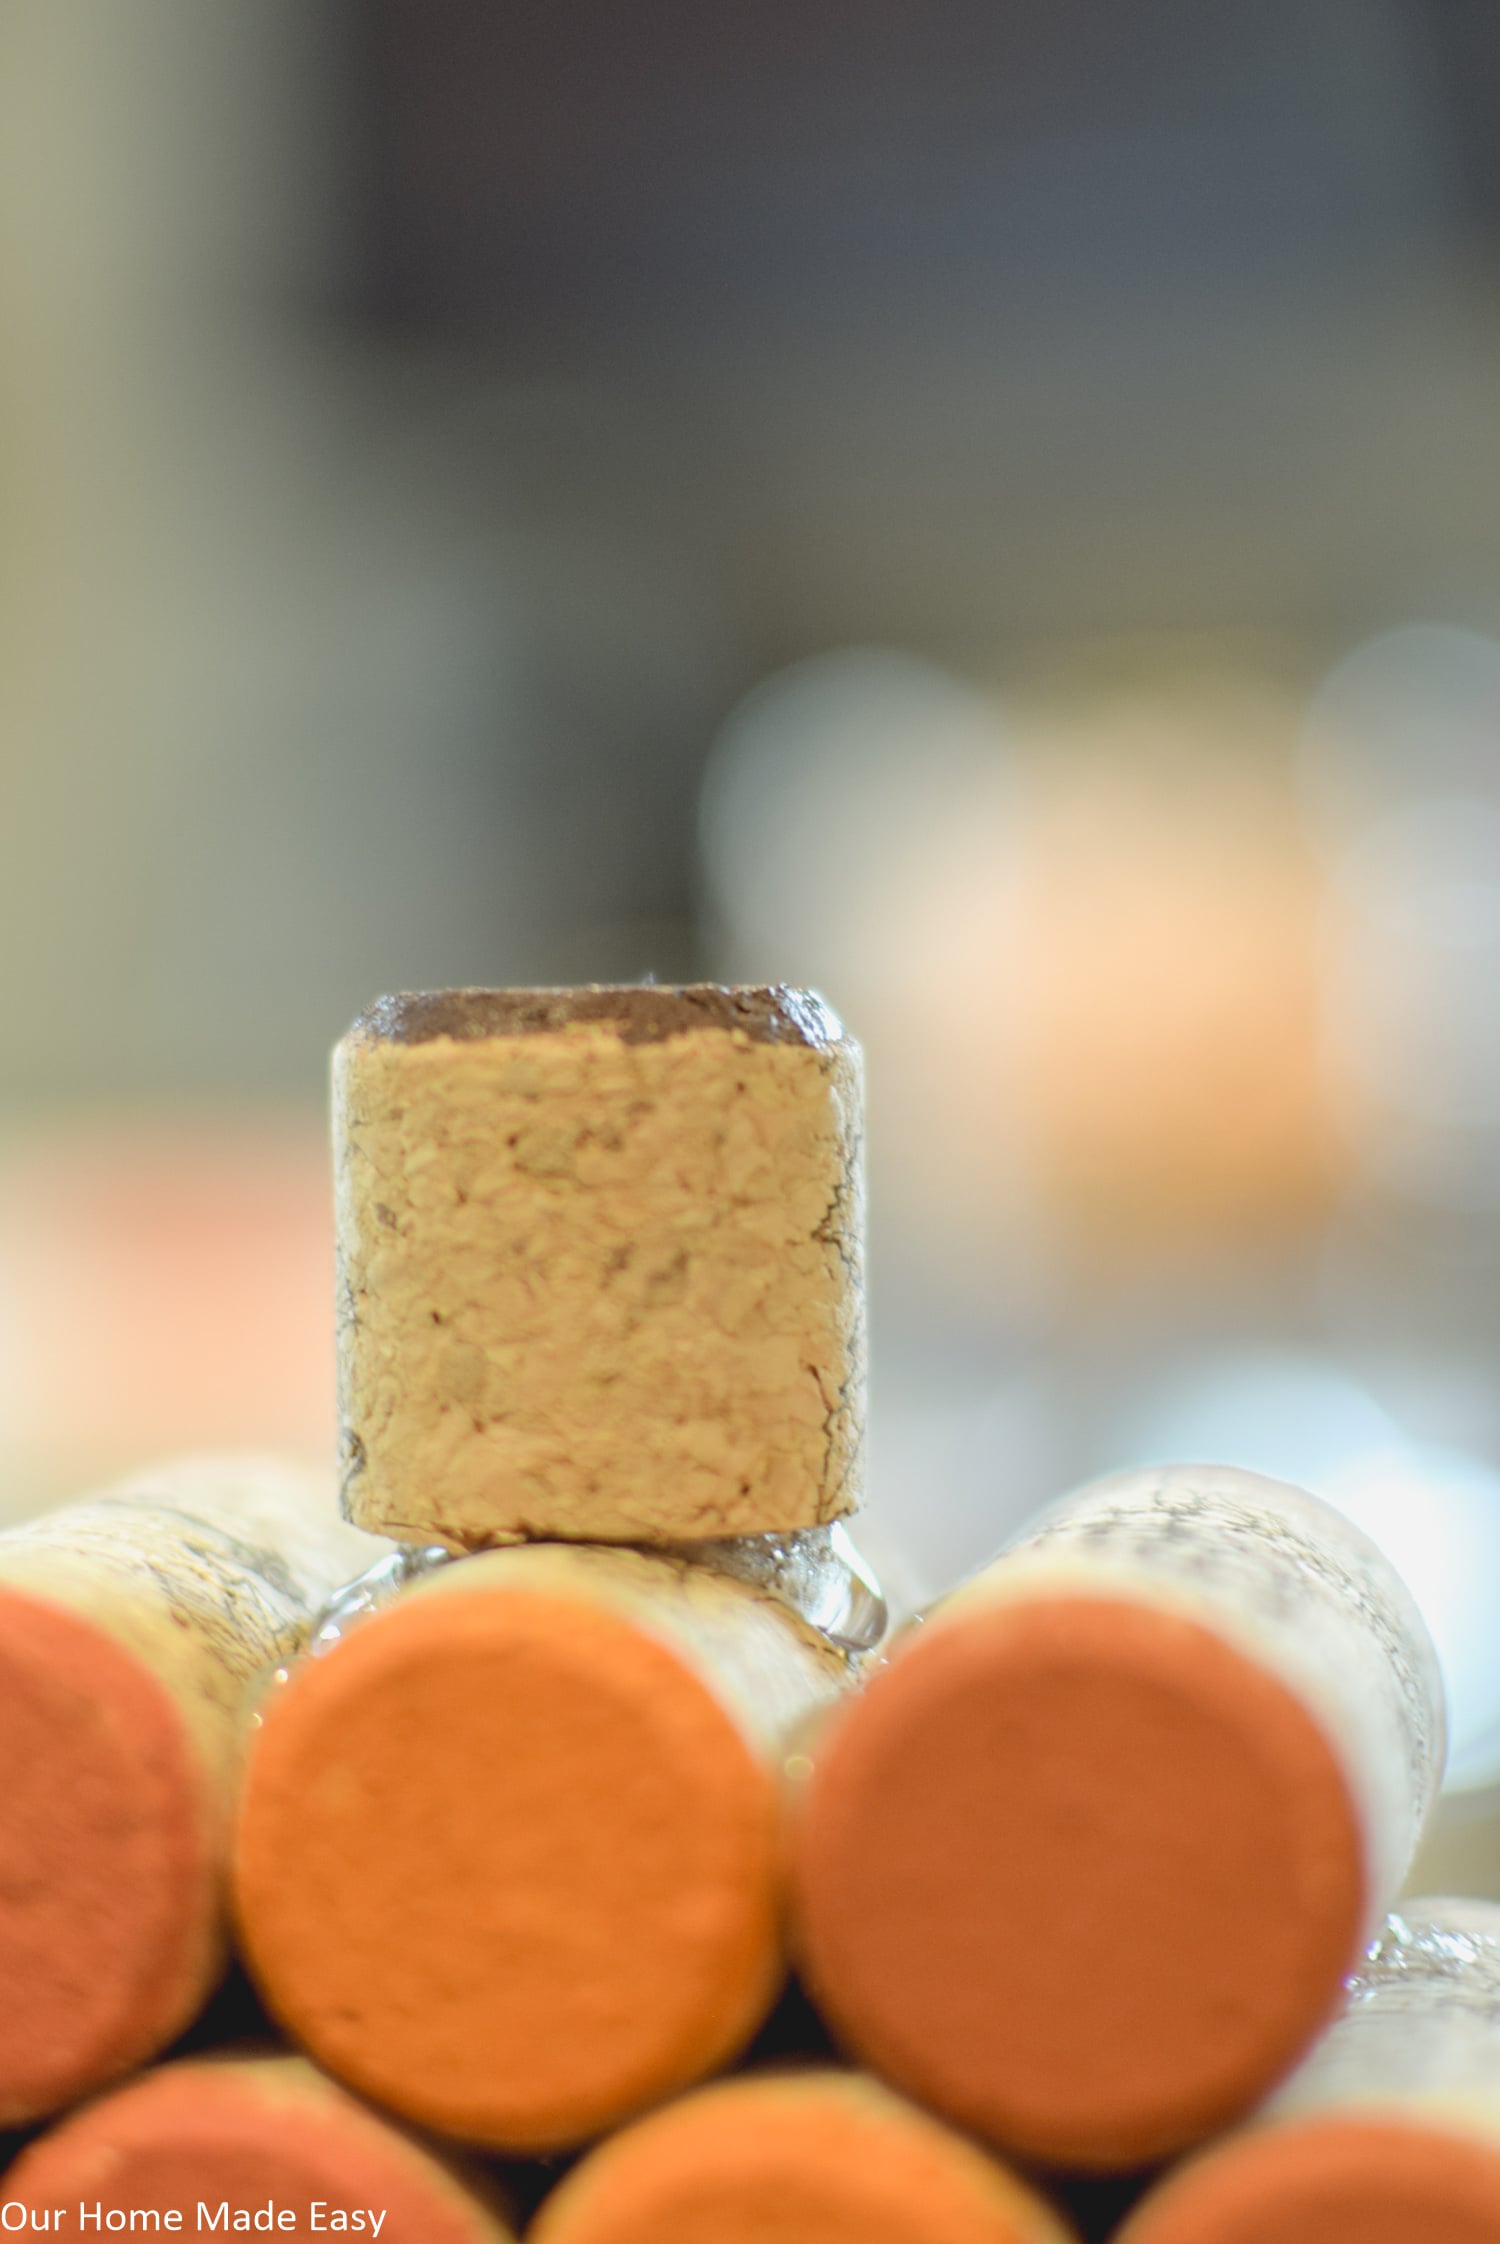
You’re almost finished! Take an extra cork and cut it down to a stem. Any knife should do the trick. Paint the face brown with craft paint.
Hot glue the stem to the pumpkin.
Add Finishing Touches
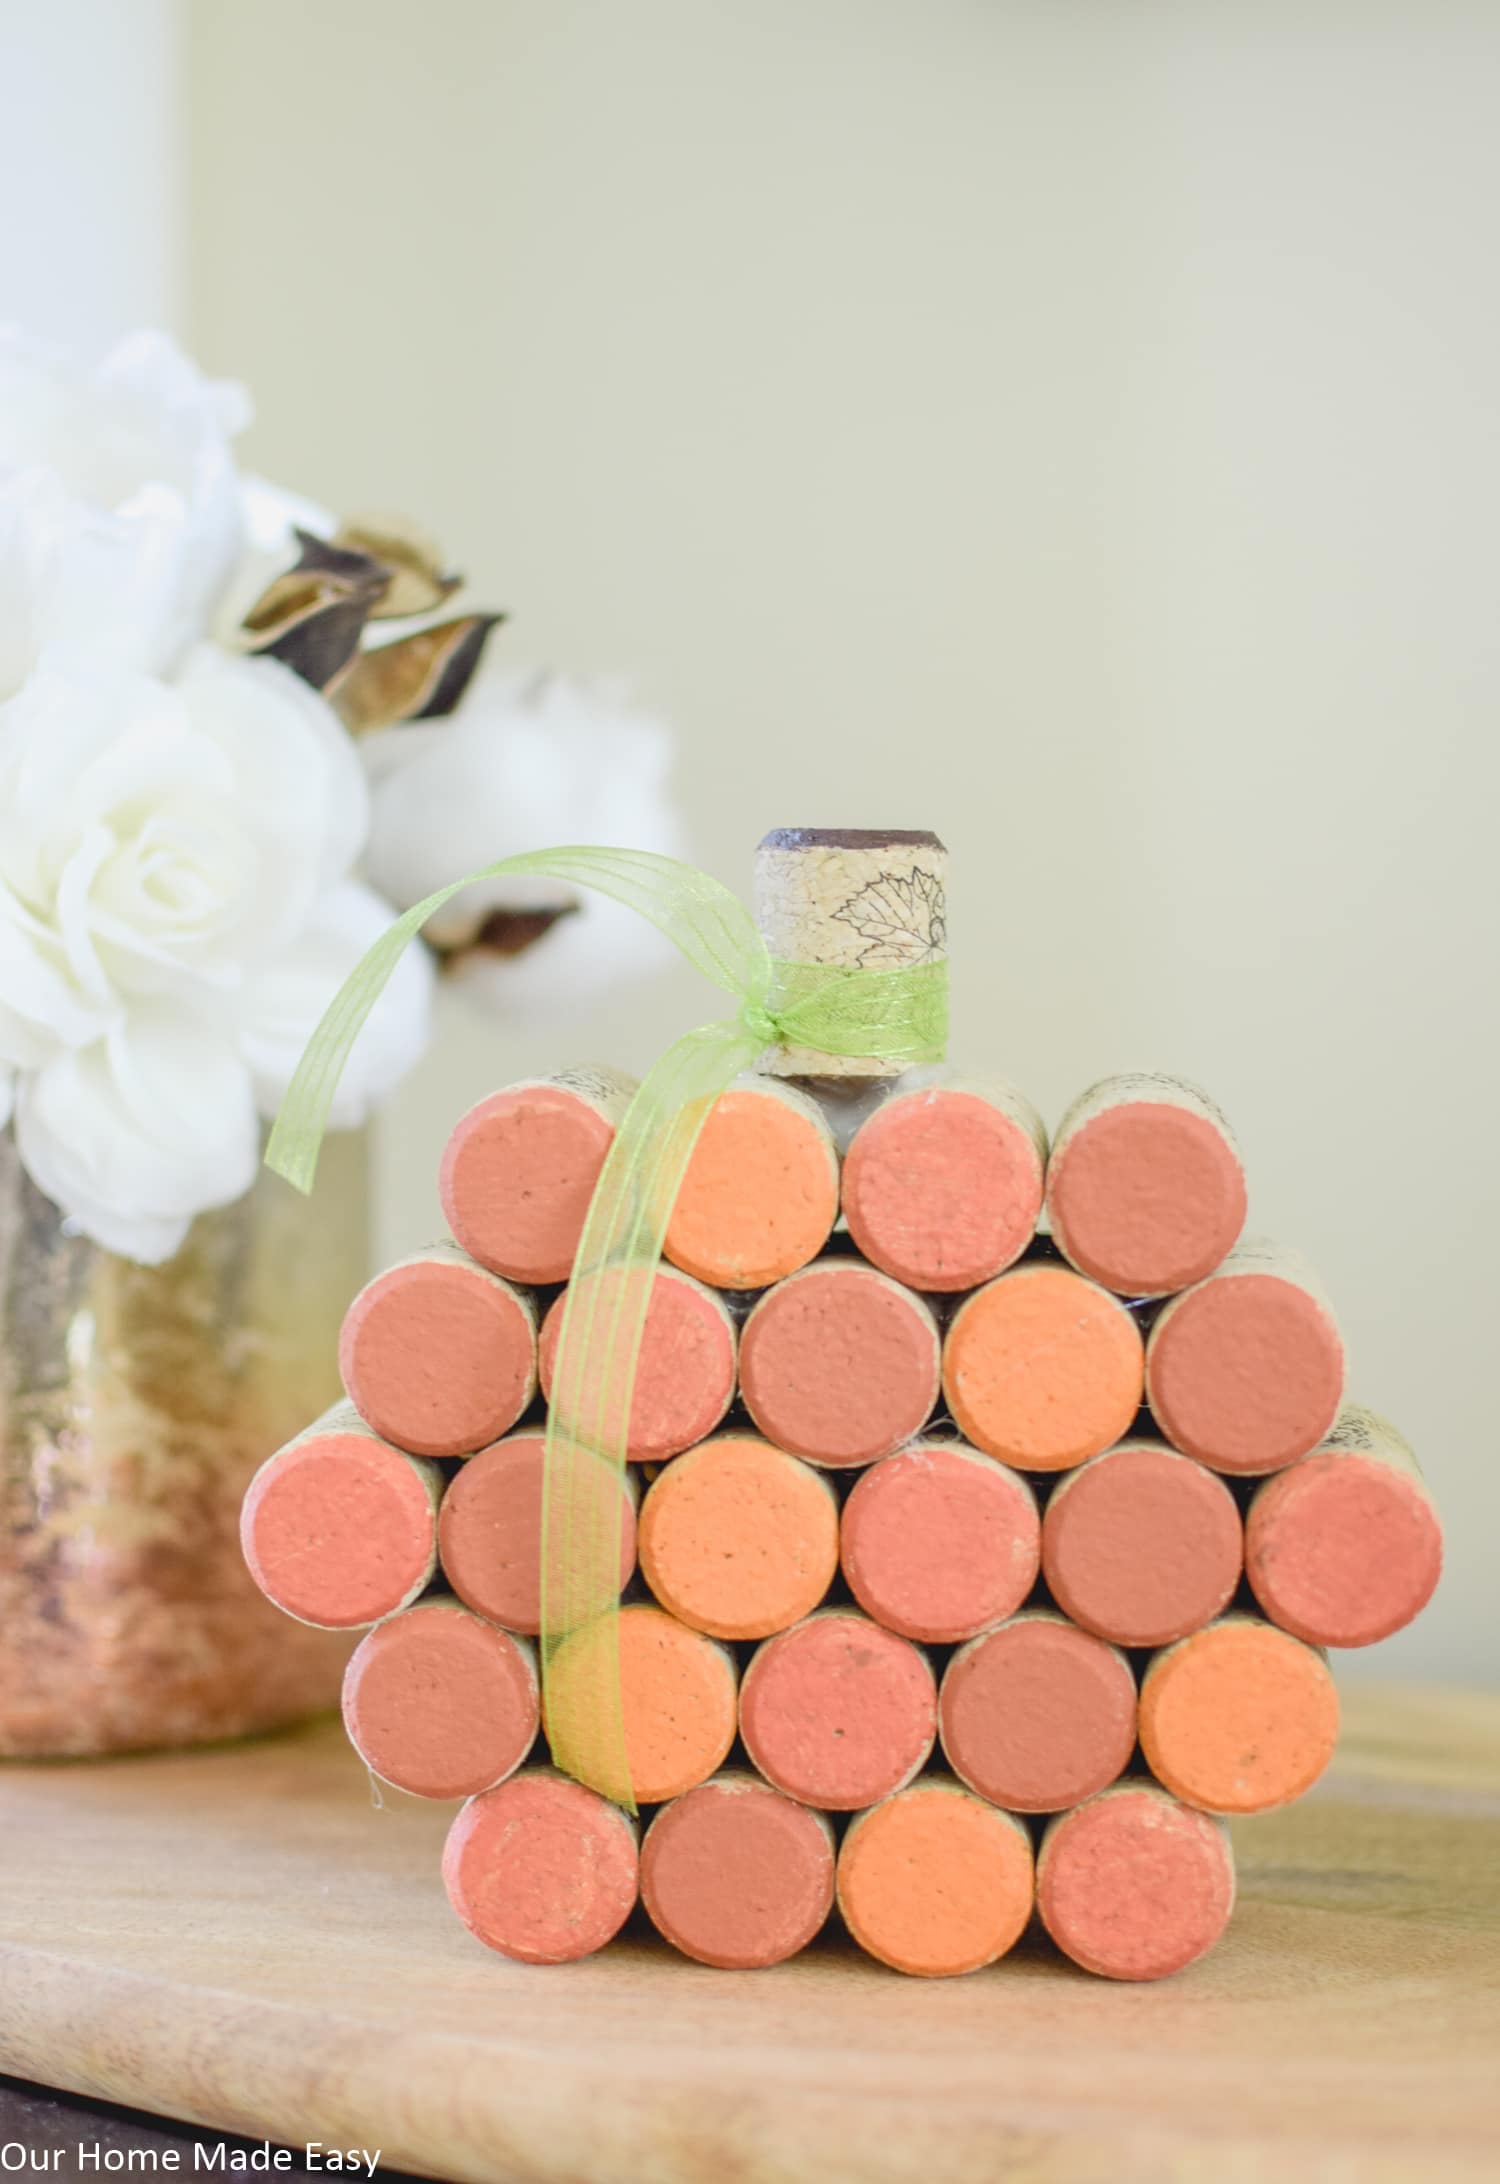
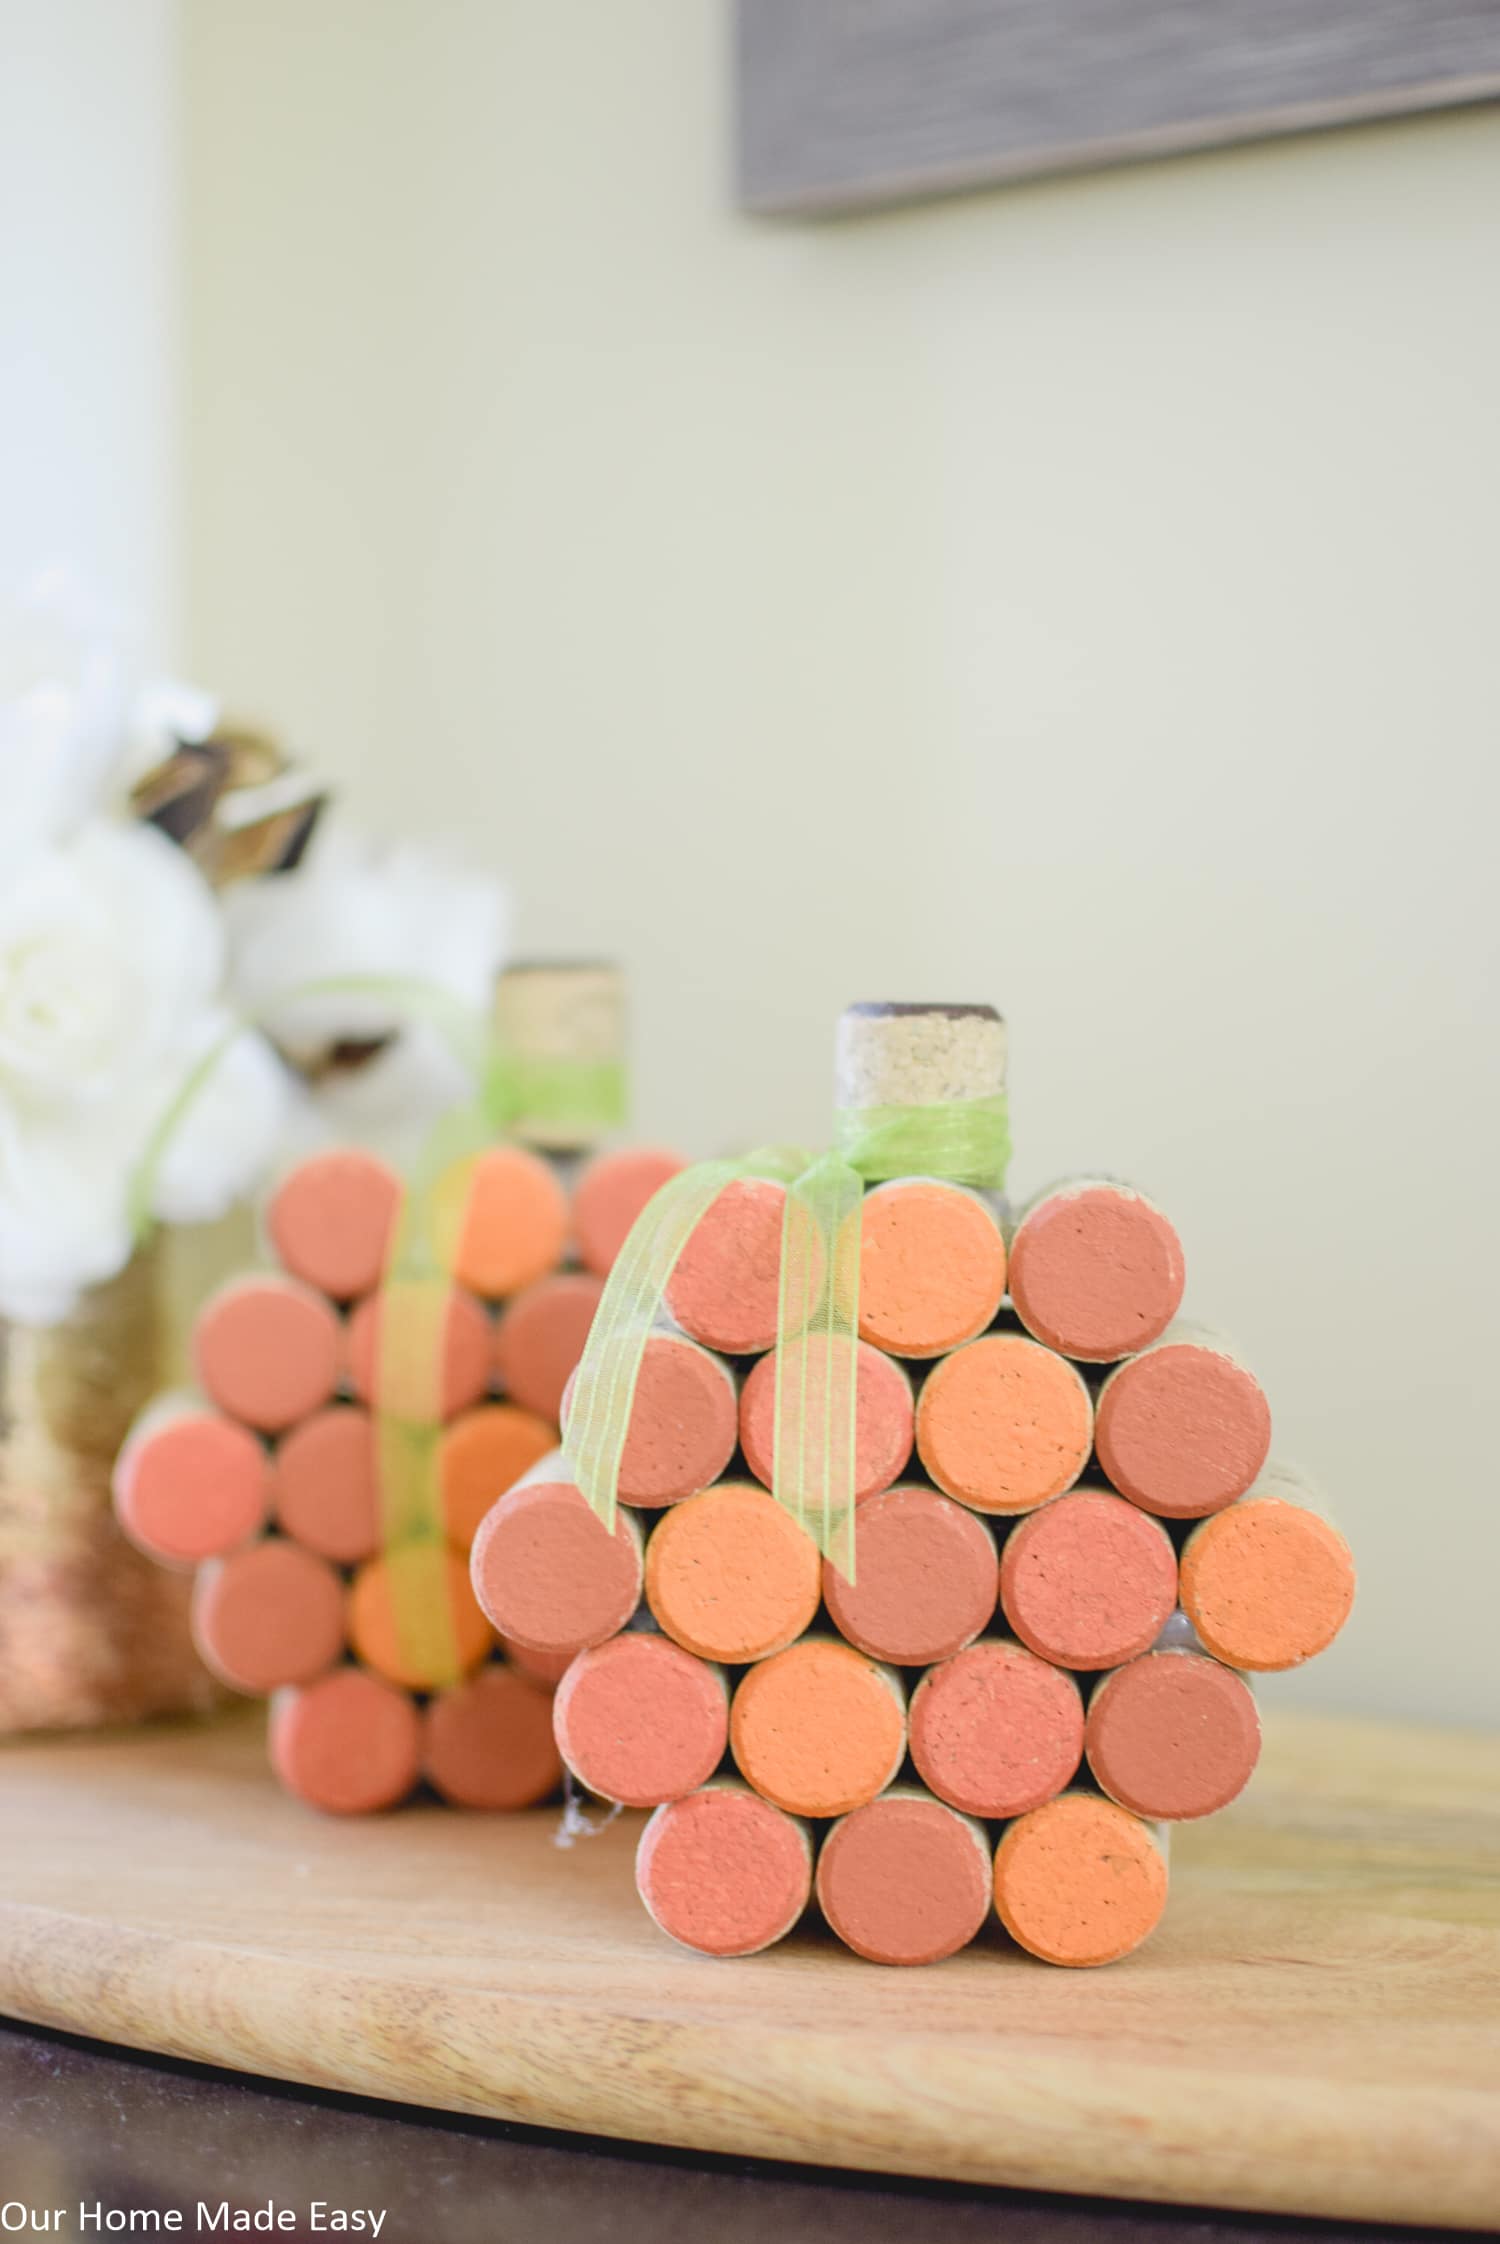
Cut a small piece of thin ribbon to add some personality to your cork pumpkin. You can tie it in a bow or simply knot it.
That's it.