Paper Cup Jack’O’Lantern Craft
Let's get crafty this Halloween season with a fun and easy DIY project - the Paper Cup Jack'O'Lantern Craft! This simple and creative activity is perfect for all ages and will add a festive touch to your home decor. All you need are some orange paper cups, black construction paper for the facial features, and a tealight candle to bring your Jack'O'Lantern to life. Whether you're looking to add some Halloween spirit to your home or want a fun activity to do with the kids, this Paper Cup Jack'O'Lantern Craft is sure to delight and bring a smile to everyone's face!
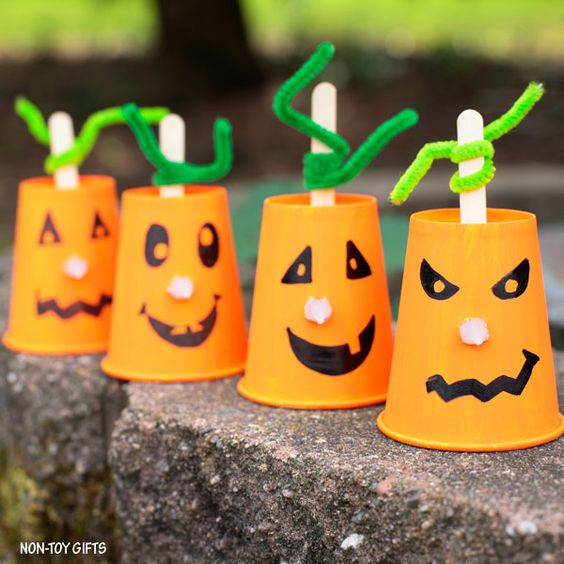
Supplies:
- white paper cups
- orange craft paint and paintbrush
- flameless tea light candles
- pencil
- black marker
- craft knife
- craft stick
- green pipe cleaner
- scissors
How to Make a Paper Cup Jack-O-Lantern Craft
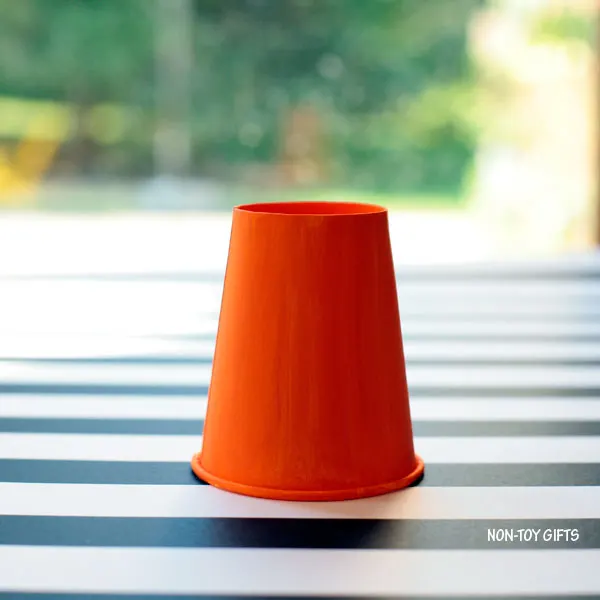
Start by painting the paper cups orange. Wait for the paint to dry completely and apply another coat.
You can skip the painting step and use orange paper cups instead. This would be great if you’re crafting with young kids who don’t have enough patience to wait for the paint to dry.
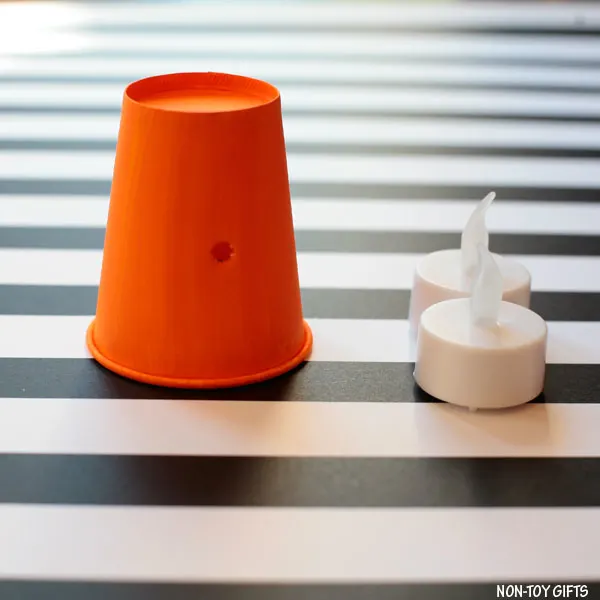
Once the paint has dried completely use a pencil to poke a little hole in the middle of the cup.
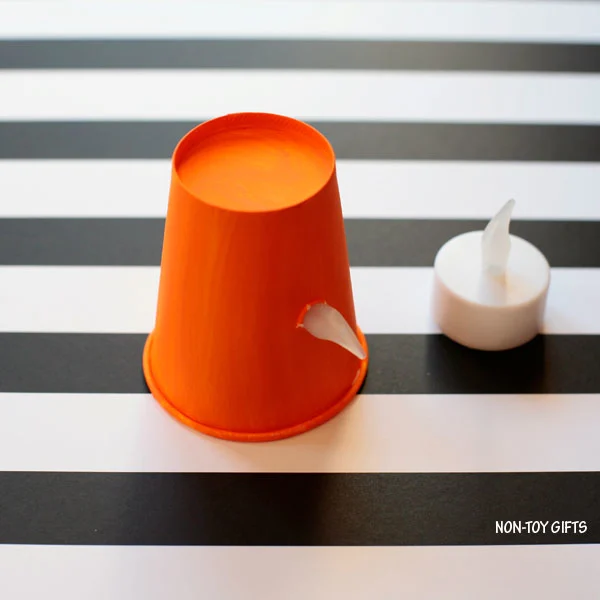
You can add the light candle now, if you like to, but I found it easier to do the face drawing first and only then add the candle.
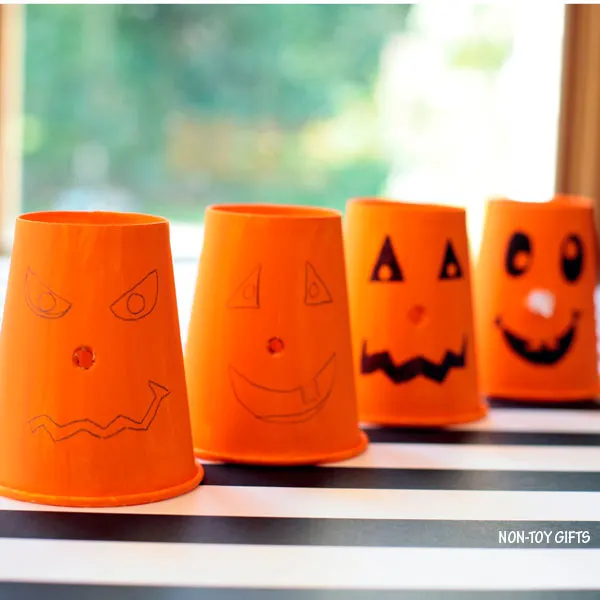
Use a pencil to outline the eyes and mouth and then a black marker to draw the Jack’O’Lantern faces. I used as inspiration these no-carve Jack’O’Lanterns we created a few years back.
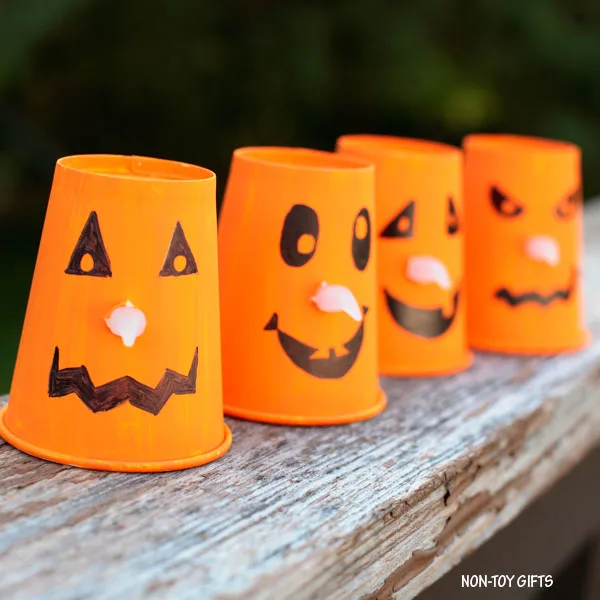
Slide the “flame” of the tea light candle through the hole from the inside.
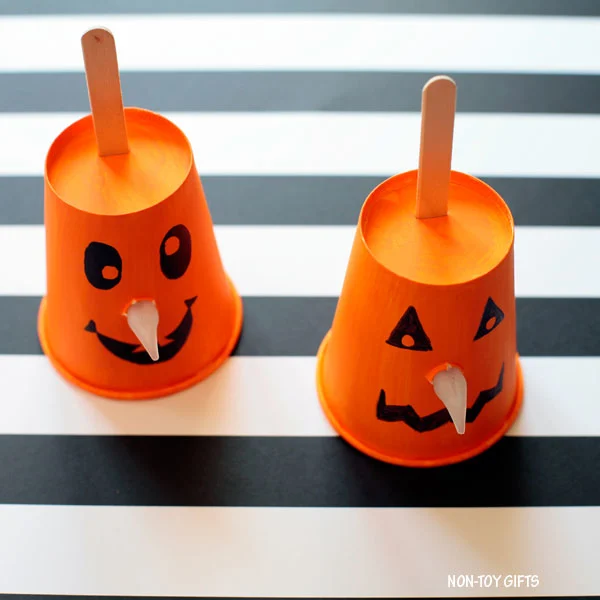
If you want to add the stem and leaf, use a craft knife to make a little slit on top of the paper cups. (adult only step). Slide a craft stick through the slit and wrap a green pipe cleaner around the craft stick. Cut it at the desired length.