Spooky DIY Paper Cup Monster Craft
Looking to add some spooky fun to your Halloween decorations? Why not try creating your very own DIY paper cup monsters? It's a simple and budget-friendly craft that will have your home looking spooktacular in no time! All you need are some paper cups, googly eyes, pipe cleaners, and markers to let your creativity shine. These little monsters make a great activity for kids and adults alike, bringing a playful and festive spirit to your Halloween celebrations. So grab your supplies, unleash your imagination, and get crafting with these adorable and not-so-scary paper cup monsters!

What You’ll Need:
- 2 paper cups (you can paint them any color or choose colored cups)
- Scissors
- 1 large googly eye
- 1 large button
- Pipe cleaners
- Glue
- Markers
- Plain paper


How to Make a DIY Paper Cup Monster Craft
Step 1: Modify The Lower Body
Start by taking a paper cup, and paint it any color you choose (or use colored cups).
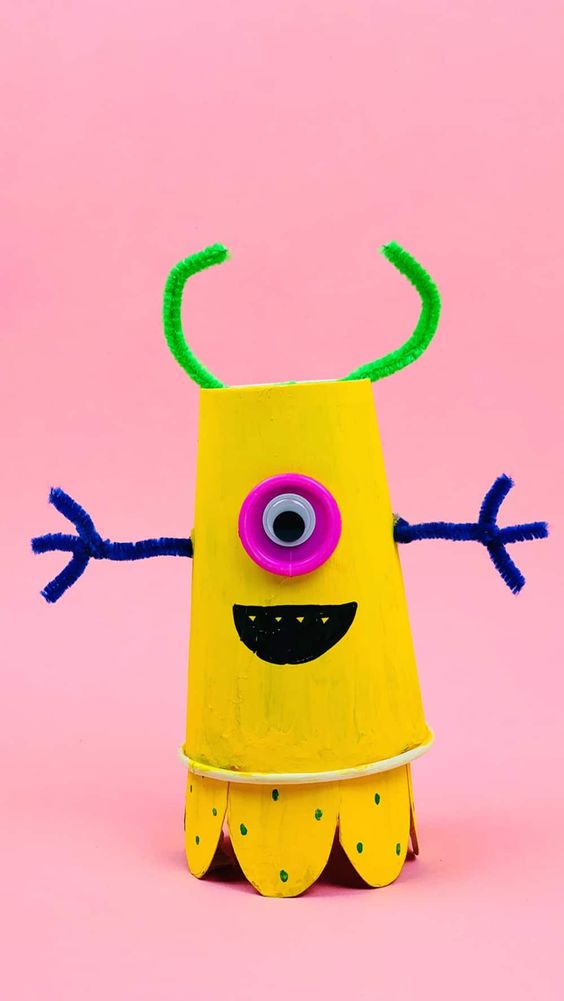
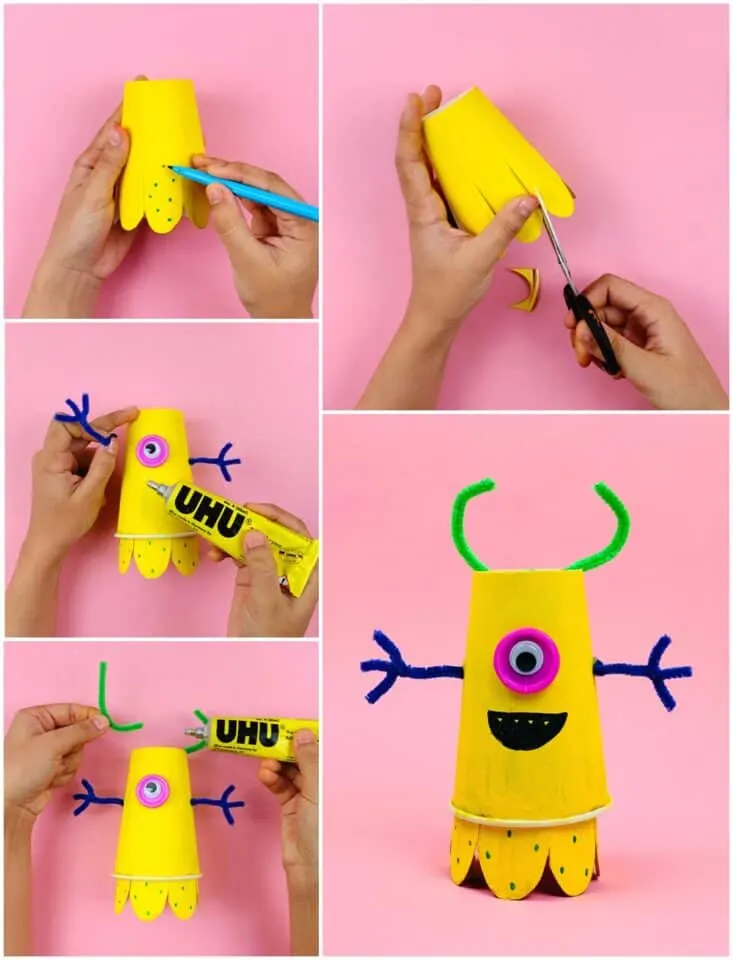
Cut 6 rounded slits around the cup. Use a marker to add a few small cute blue dots on the slits.
If you want your monster to be extra spooky, you can also paint the entire cup black or another color of your choice.
Make sure to let the paint dry completely before moving on to the next step. Also, feel free to get creative with the colors.
Step 2: Assemble the Spring
Next, fetch a piece of paper and cut two strips of paper so that the strips are around 1 inch wide and 11 inches in length. An 8.5 x 11″ piece of plain copy paper works well for this.
Place each of the two strips on top of each other and fold them over one another until they’re folded in a square accordion shape; making a paper spring.
If you want, you can also use pre-made springs from the dollar store. Just make sure that the springs fit inside the paper cups and are the correct size.
Step 3: Combine the Two Cups
When the paint is dry on the first cup, place the bottom of the first cup into a second identical cup without any modifications.
But, before you do this, glue the spring on the bottom of the modified cup. You should now have a two-cup monster with a spring in between!
Many people think the two cups should be glued together, but this isn’t necessary. The spring will keep the two cups together once each side of the spring is glued to the two cups.
Step 4: Build the Extremities
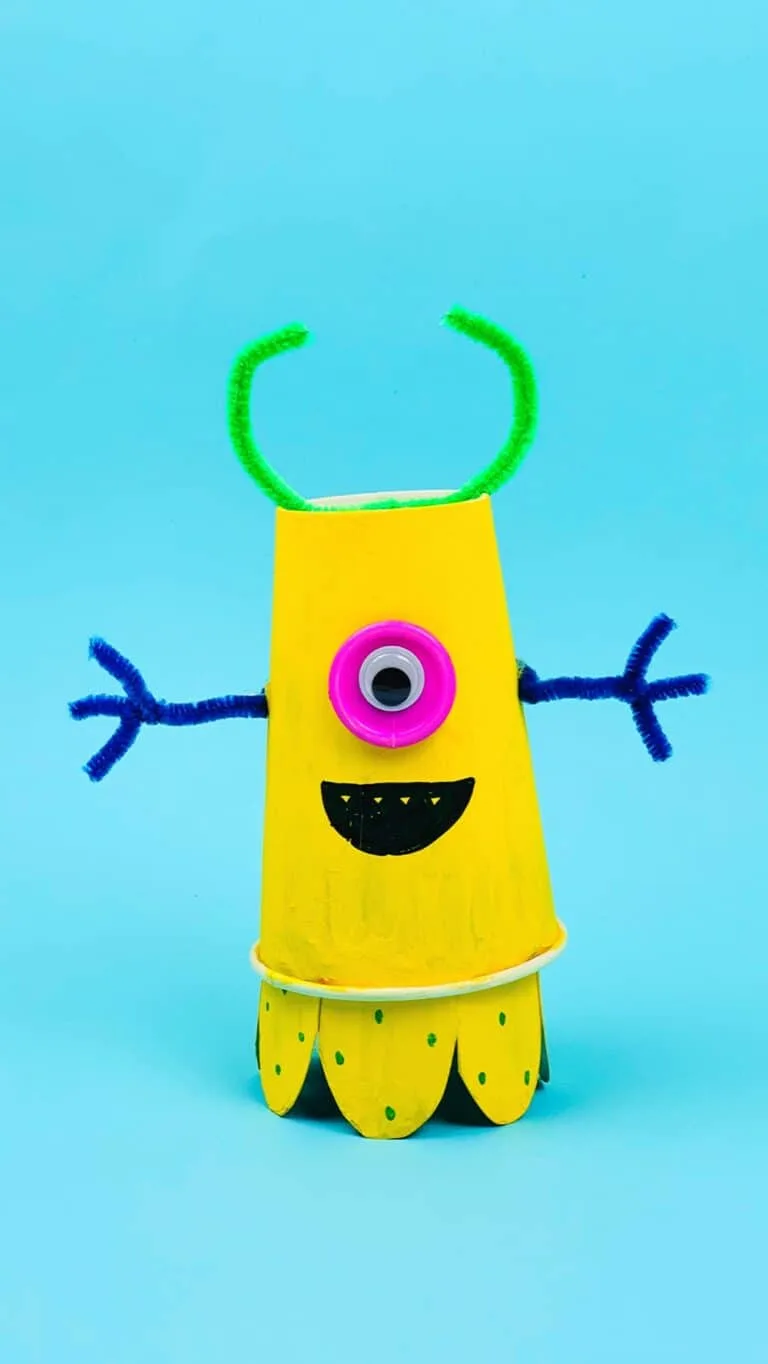
Glue a button onto the unmodified cup and place a googly eye onto it. Take some pipe cleaners and cut then shape them into arms and hands. Then, glue the arms onto each side of the cup.
After this, glue two pipe cleaners up top for antennas. Last, draw a mouth with a black Sharpie!
You can make your monster look however you want. Fangs, different colored eyes, and other features are all up to you. It’s your monster, so make it perfect for you!
Step 5: Let the Fun Begin!
Now that your monster is complete, it’s time to have some fun. Use your hands to bounce the cup that’s over the second cup over to make your monster spring and move!
You can make as many monsters as you want and let your imagination run wild.
Creating your own paper cup monster craft is a great way to get into the spirit of Halloween.
Lastly, try not to get too scared. These monsters are harmless…we think. They’re just a fun way to spruce up your home for the holiday. So, go ahead and give it a try!
How to Boost The Monster Cup Scare Factor
Use black paper cups
This may seem like a no-brainer, but using black paper cups will automatically make your monsters look a lot more menacing.
If you want to take it one step further, you can even use red or green cups to make them look like they’re dripping with blood or slime.
This can be a great way to add an extra bit of fright to your décor.
Give your monster glowing eyes
Nothing says “scary” quite like glowing eyes. You can buy reflective tape at most craft stores, or you can use glow-in-the-dark paint if you want a more permanent solution.
Either way, this is an easy way to take your paper cup monsters from tame to terrifying.
Many stores also sell small LED lights that would work perfectly for this project. If you go this route, simply glue the lights to the back of the cups and point them toward the front.
Make them extra hairy
Another quick and easy way to make your monsters scarier is to add some “hair.” You can use yarn, string, or even strips of paper.
Just beware that longer hairs will make it more difficult for your monster to stand up on its own. You could also glue on some fake spider legs for an extra creepy touch.
Hairy monsters are always a hit on Halloween! Some hair-like materials you could use include yarn, string, feathers, cotton balls, or tissue paper.
Make them extra slimy
For an extra gross touch, you can make your monsters extra slimy by adding some green food coloring to the glue you use to attach the eyes and mouth.
Or, if you want something that looks a little bit more realistic (and less messy), try using clear silicone caulk instead.
Many hardware stores sell this product, and it can be easily molded into any shape you desire. Just keep in mind that it will take longer to dry than regular glue.
Hang them up
The final touch is to hang up your monsters so they’re floating in midair. This will definitely give your guests a scare when they walk into the room!
All you need is some fishing line or clear thread and a few thumbtacks. You can also use clear tape if you don’t want to put any holes in your walls.
Be careful not to use too much tape, as it may cause your paper cup monster to fall. This is also a great way to display your monsters if you don’t have a lot of space on the ground.