Wooden Peg Snowman Ornament
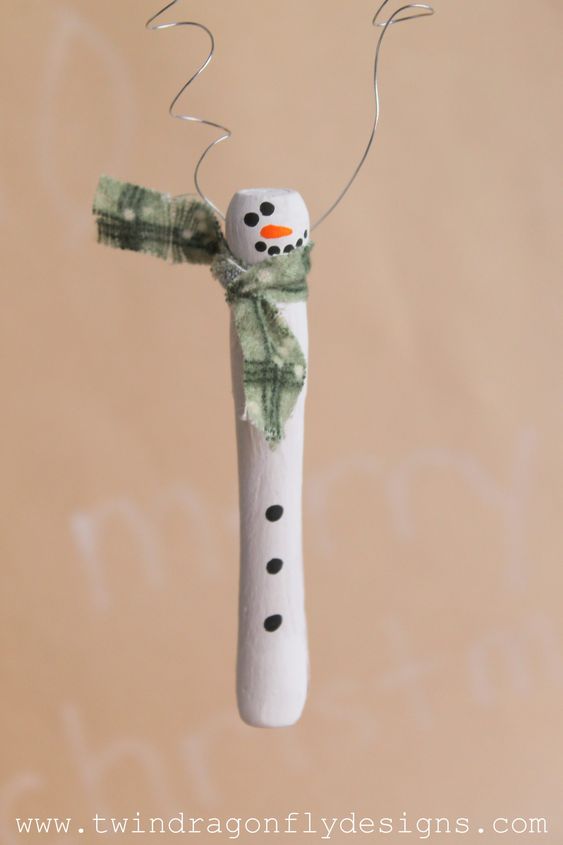
Create a charming snowman ornament using wooden pegs. This adorable craft project involves painting the pegs white, stacking them on top of each other, and adding details like a carrot nose, buttons, and a scarf. You can get creative with different colors and patterns to make each snowman unique. Hang these ornaments on your Christmas tree or give them as thoughtful handmade gifts to friends and family. Transform simple wooden pegs into festive decorations that will bring holiday cheer to your home. This DIY snowman ornament is a fun and easy way to get into the spirit of the season. You can personalize each snowman by adding accessories like tiny hats or mittens, making them even more special. Get the whole family involved in making these cute ornaments for a fun and memorable holiday activity.

Materials:
- Wood Doll Pin
- White Acrylic Paint
- Black Acrylic Paint
- Orange Acrylic Paint
- Fine Tip Paintbrush
- 22 Guage Silver Wire
- Fabric Scraps

Directions:
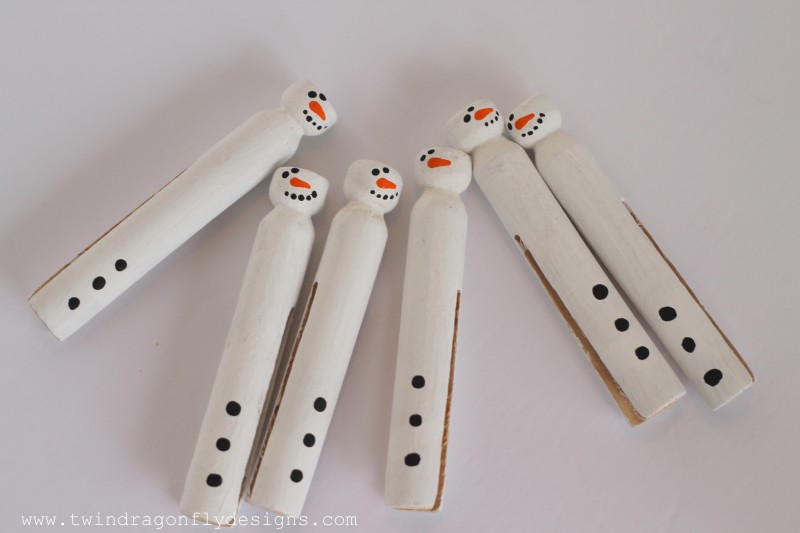
1. Paint the wooden clothes pegs white.
Cameron and Isaiah did an awesome job painting everything (and I mean everything) white.
Tip: fasten the wooden pins on a cup or tin can for easier painting.

2. Using a fine tip paintbrush, add snowman features and buttons with black and orange acrylic paint.

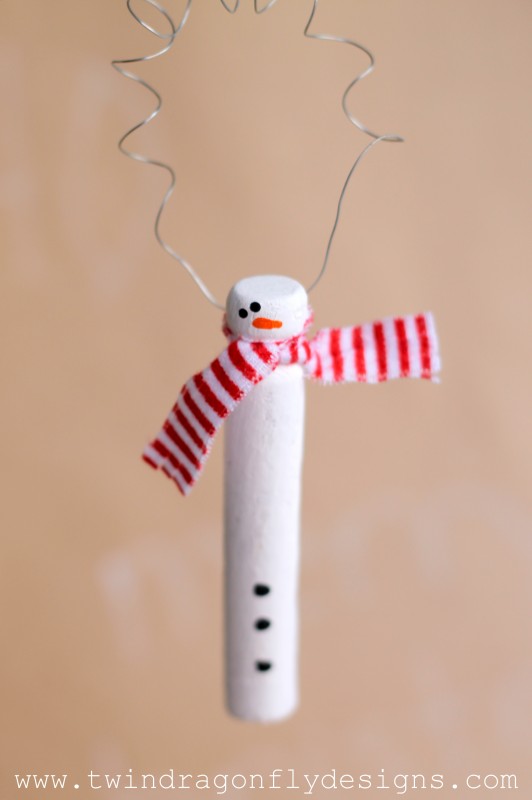
3. Finally, use a 10″ length of wire, curled around a pencil, to hang the snowman with.
We twisted the wire around the snowman and hid the wire with a scrap fabric scarf tied around his neck.
