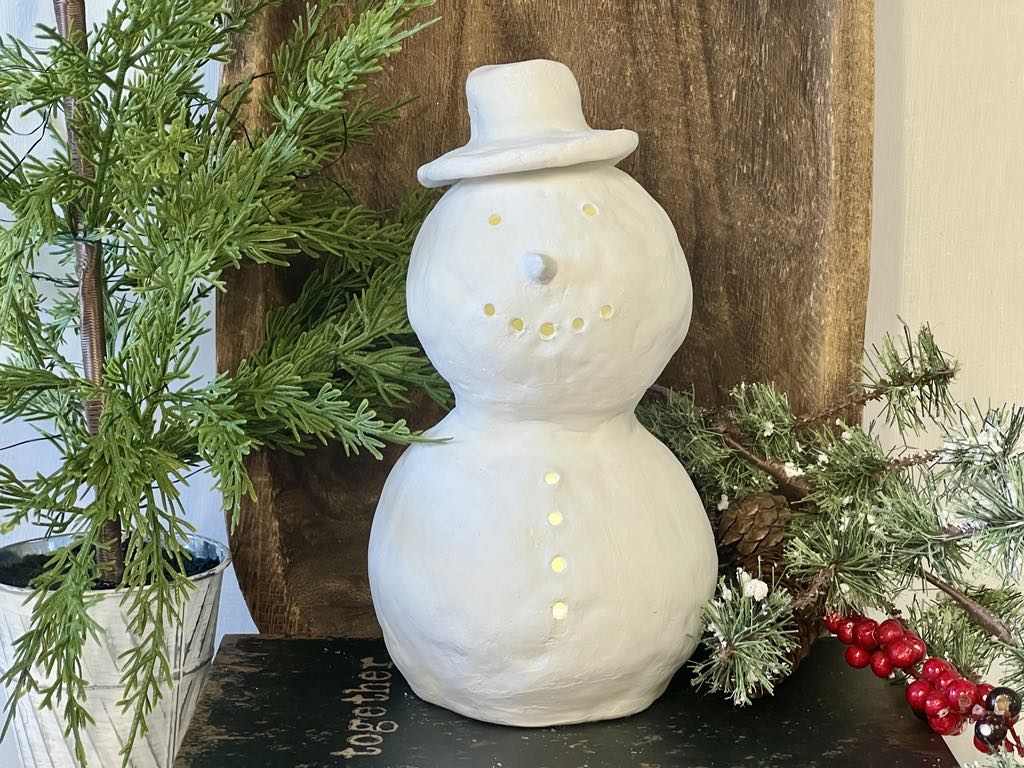
DIY Air Dry Clay Snowman
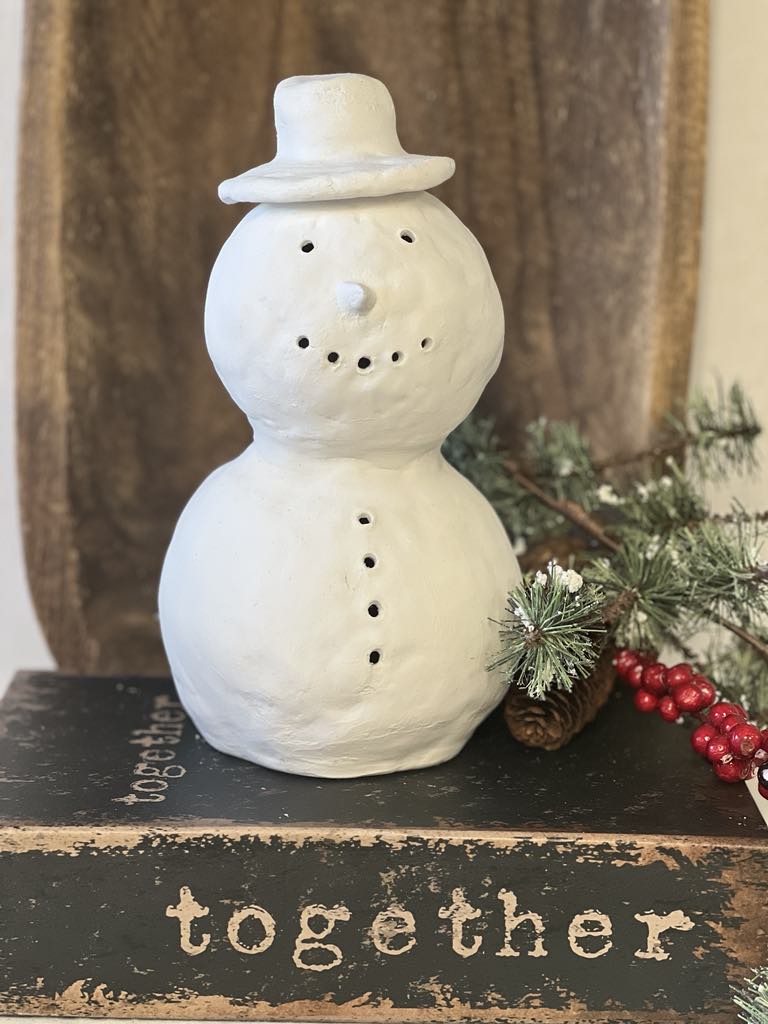
Creating your very own DIY Air Dry Clay Snowman is a delightful and easy crafting project sure to bring some winter magic into your home! All you need is some air dry clay, a few basic crafting tools, and your imagination to shape and mold the cutest little snowman. This snowman project is a fun way to get creative and spread some winter cheer!
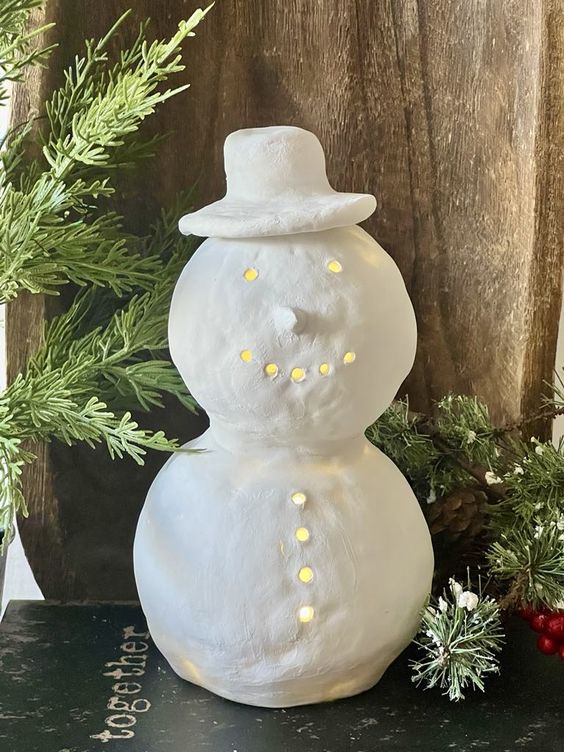
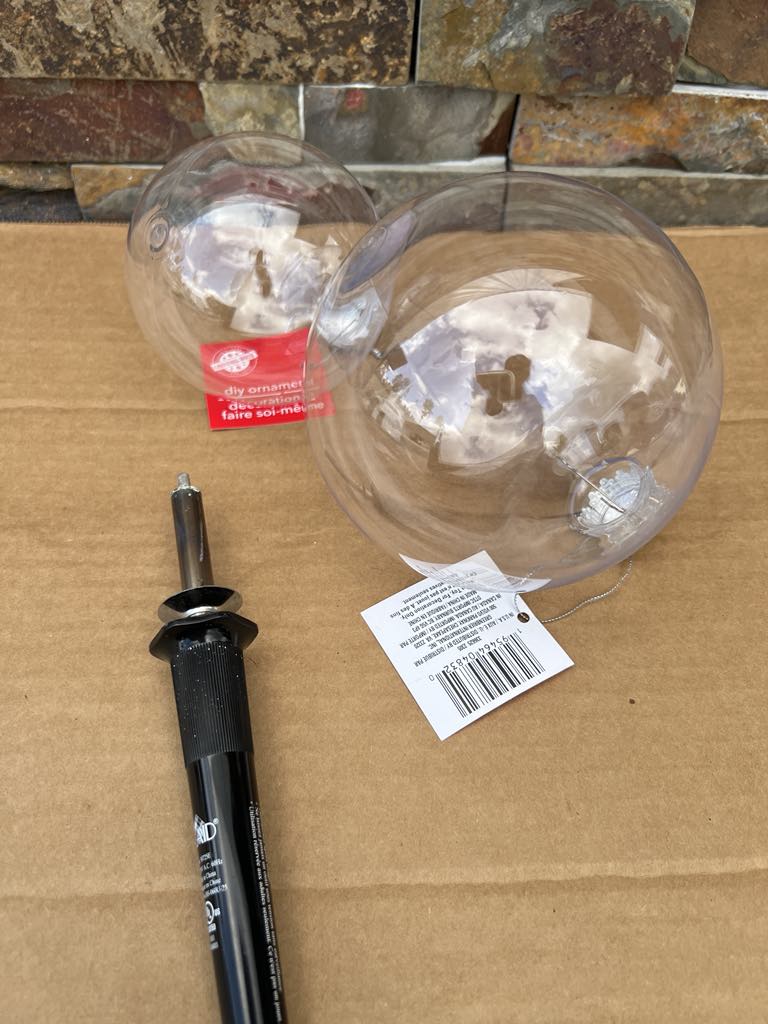
The first step is to use the wood burning tool to cut an opening at the top of the large ornament.
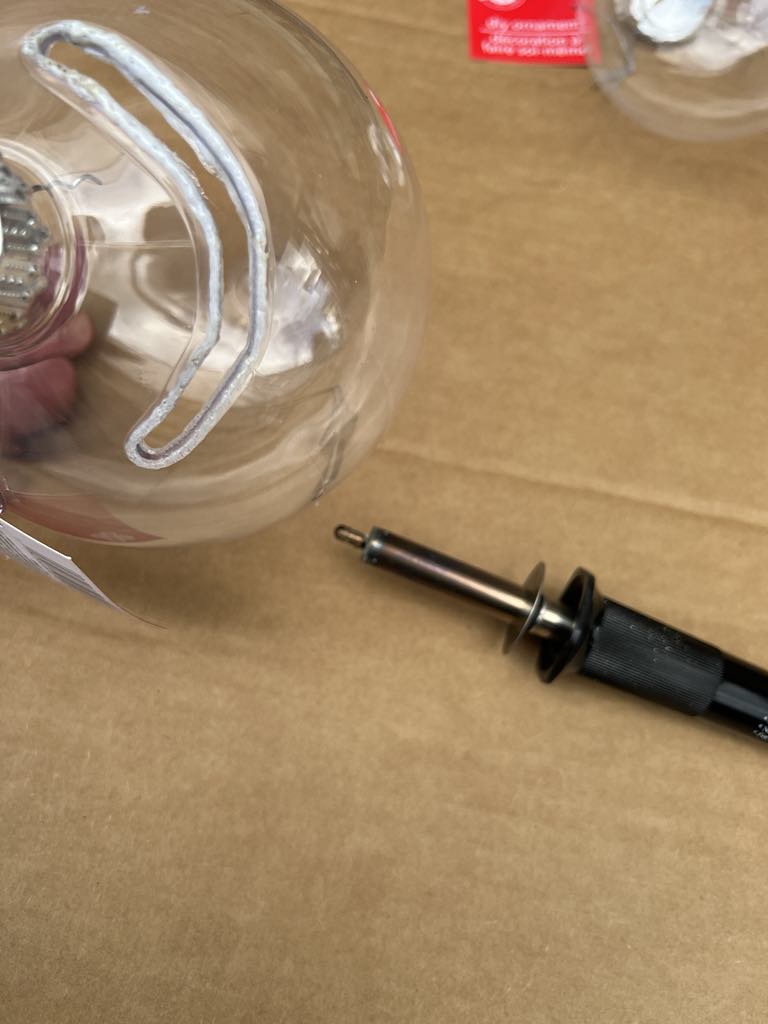
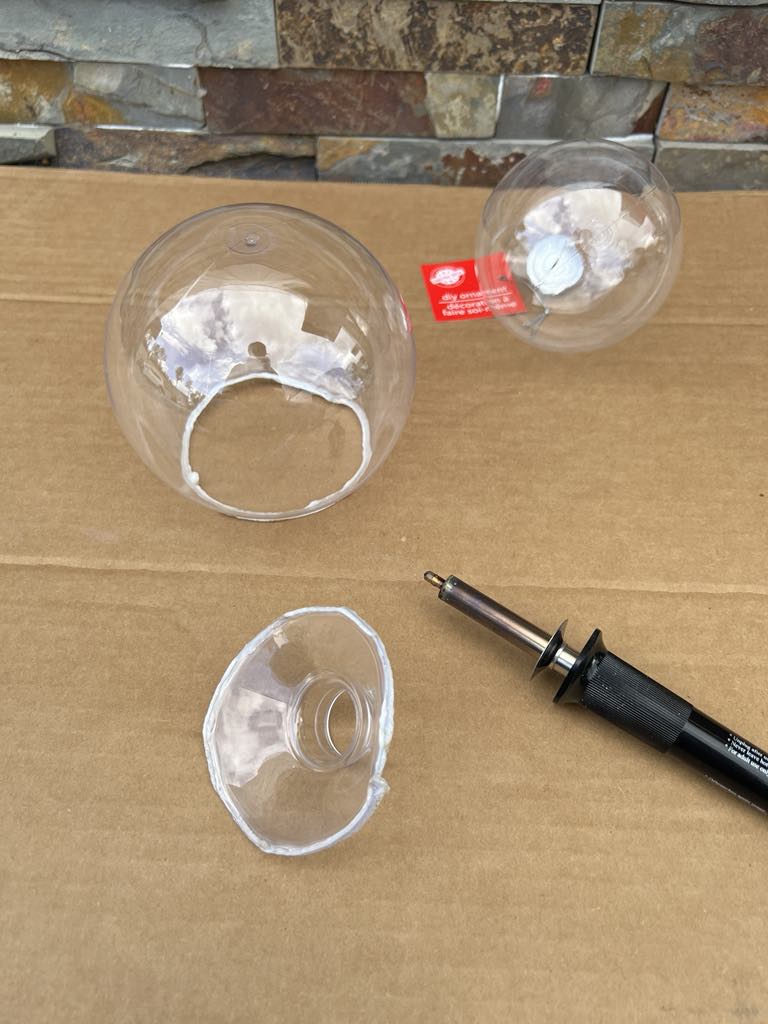
Once you have the top opening cut you’ll then place that opening down to be the bottom of the snowman. The next step is to cut another smaller opening at the top of that ornament.
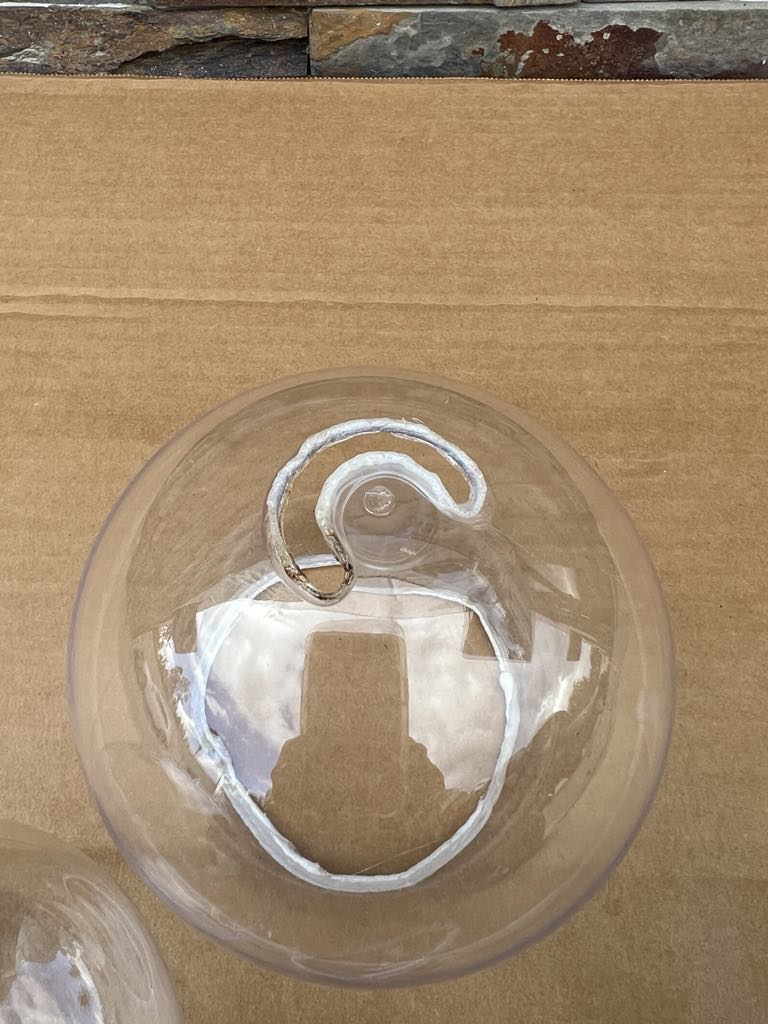
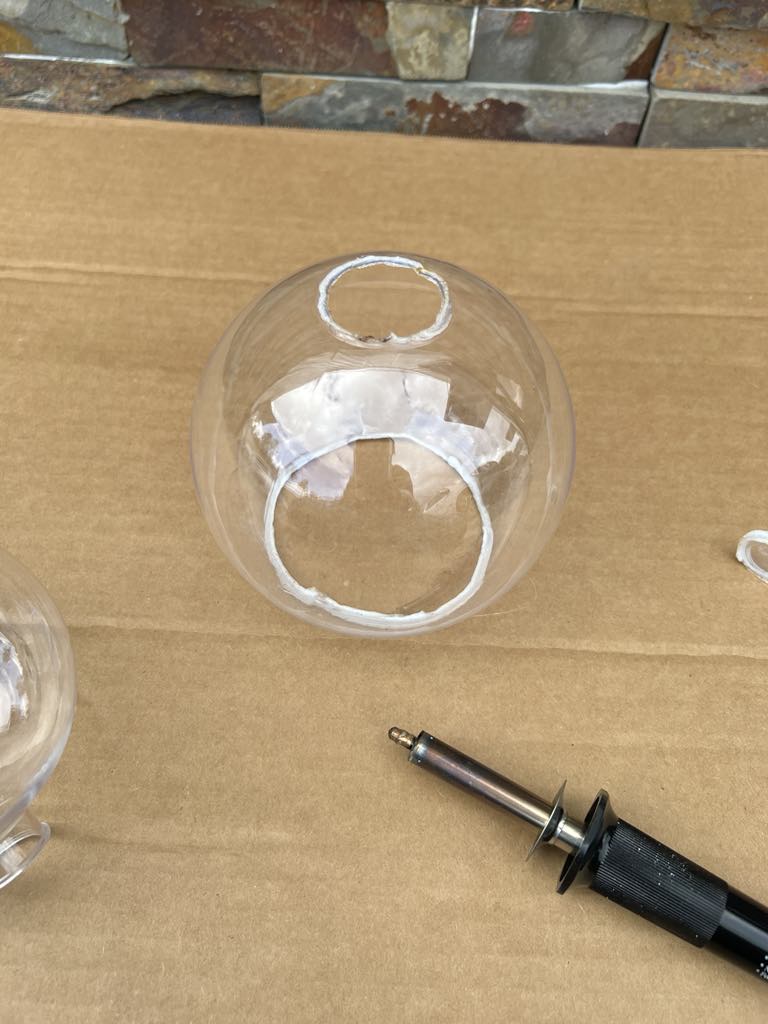
Once you have the opening on the top you’ll then place the next ornament on top as shown in photo below.
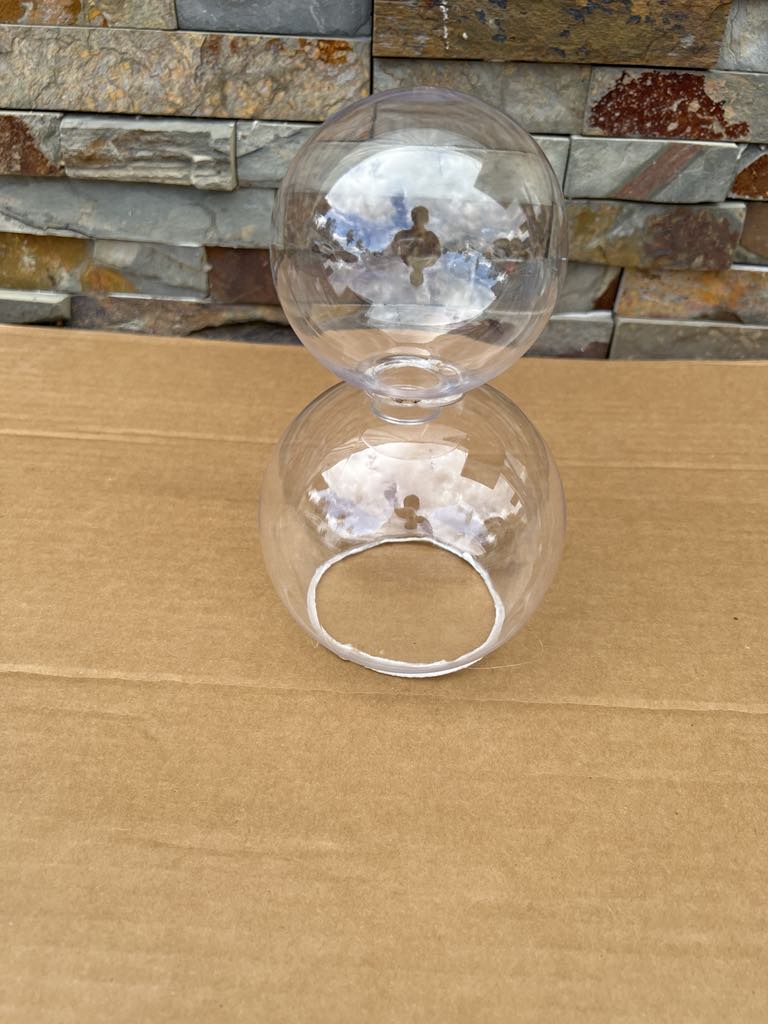
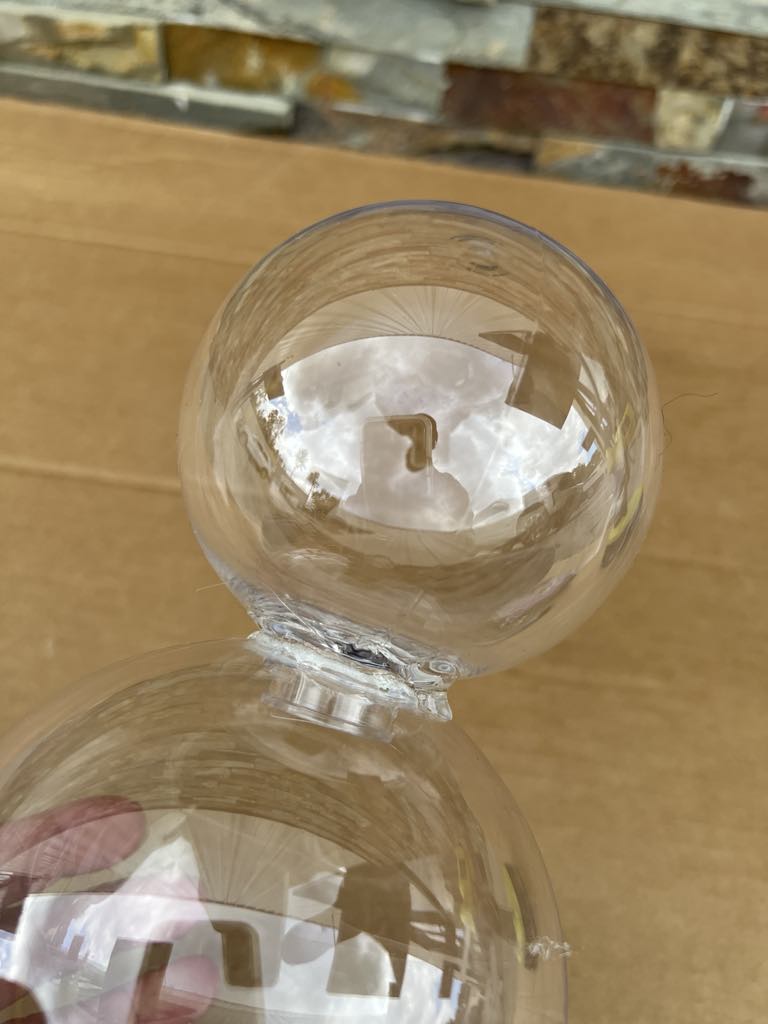
I used some hot glue to secure the two ornaments together.
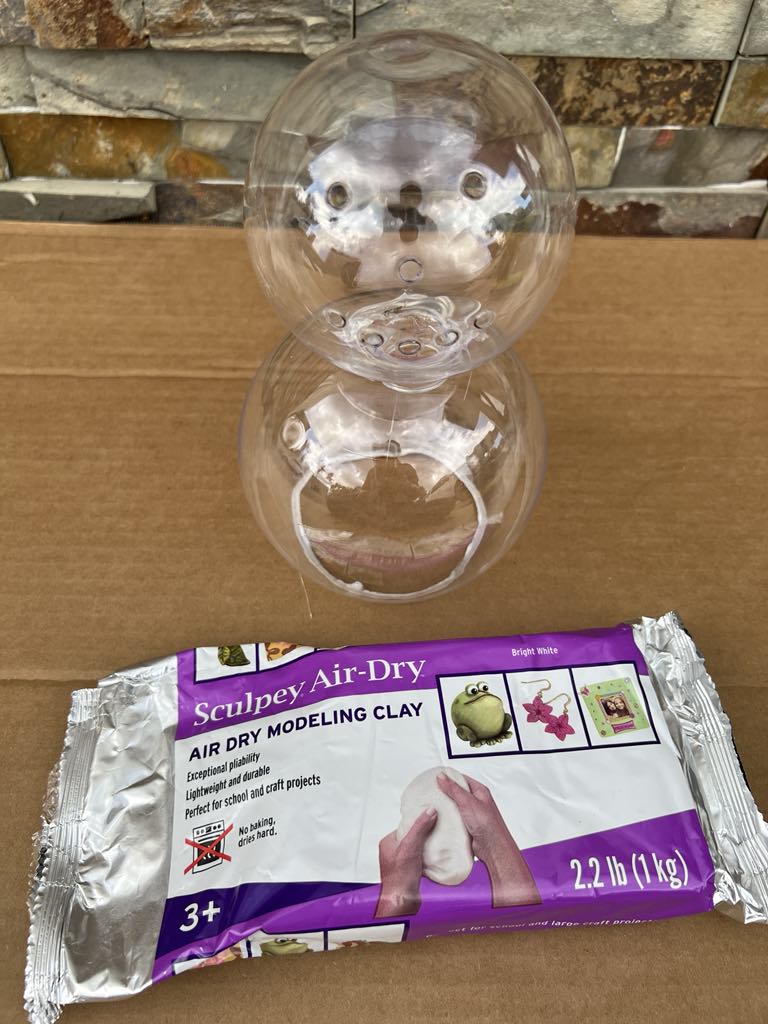
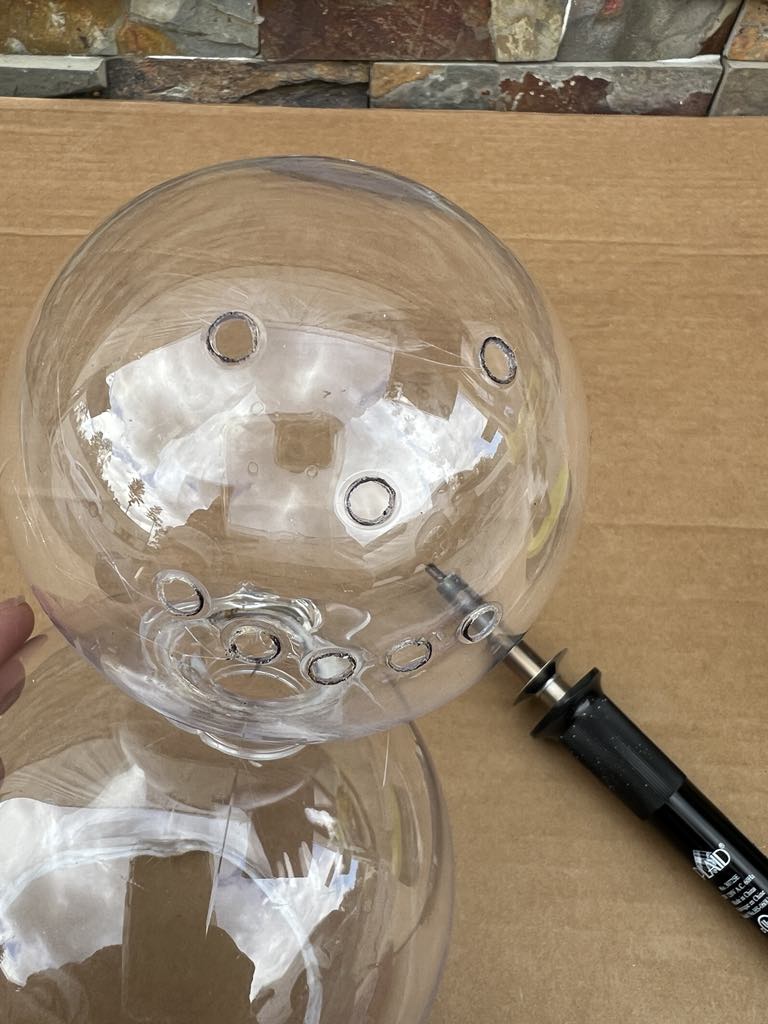
The next step is to use the wood burning tool to create the eyes, mouth and button holes down your snowman. I did burn a hole for the nose but I would say skip that.
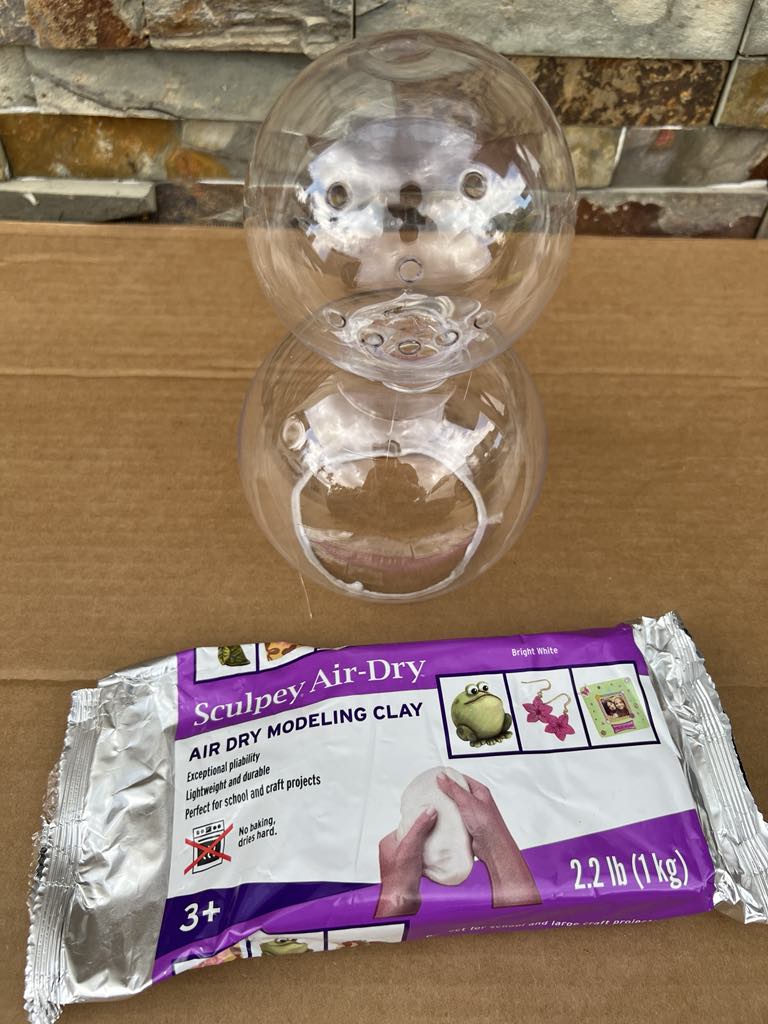
The last step is to cover the snowman with the air dry clay.
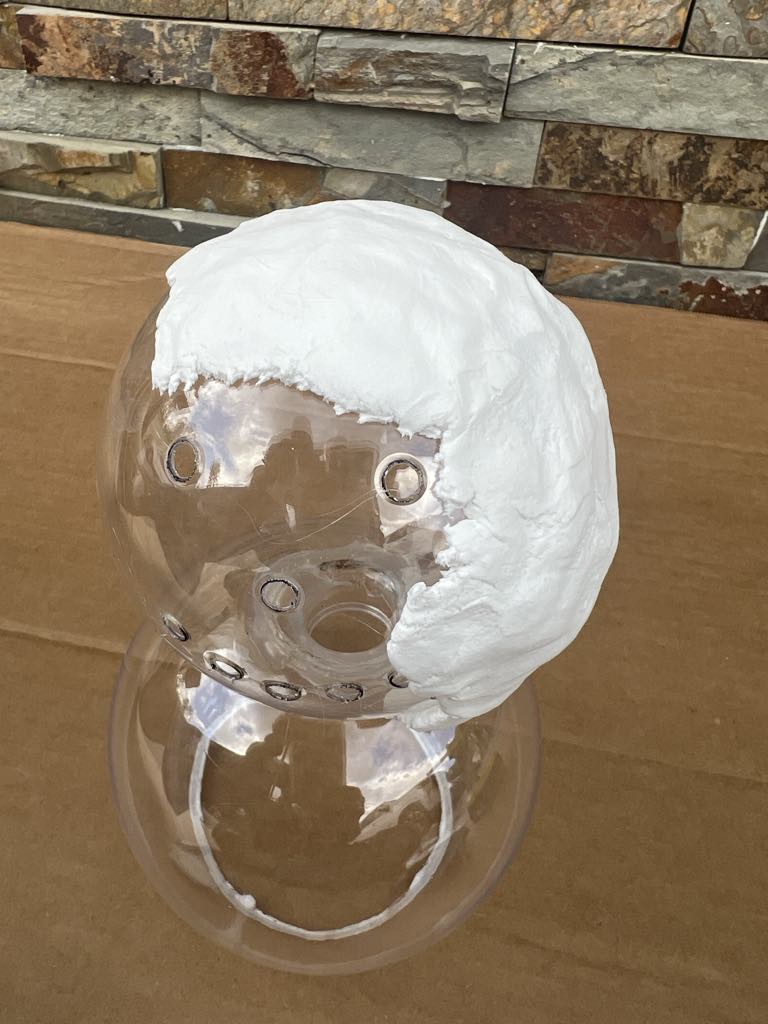
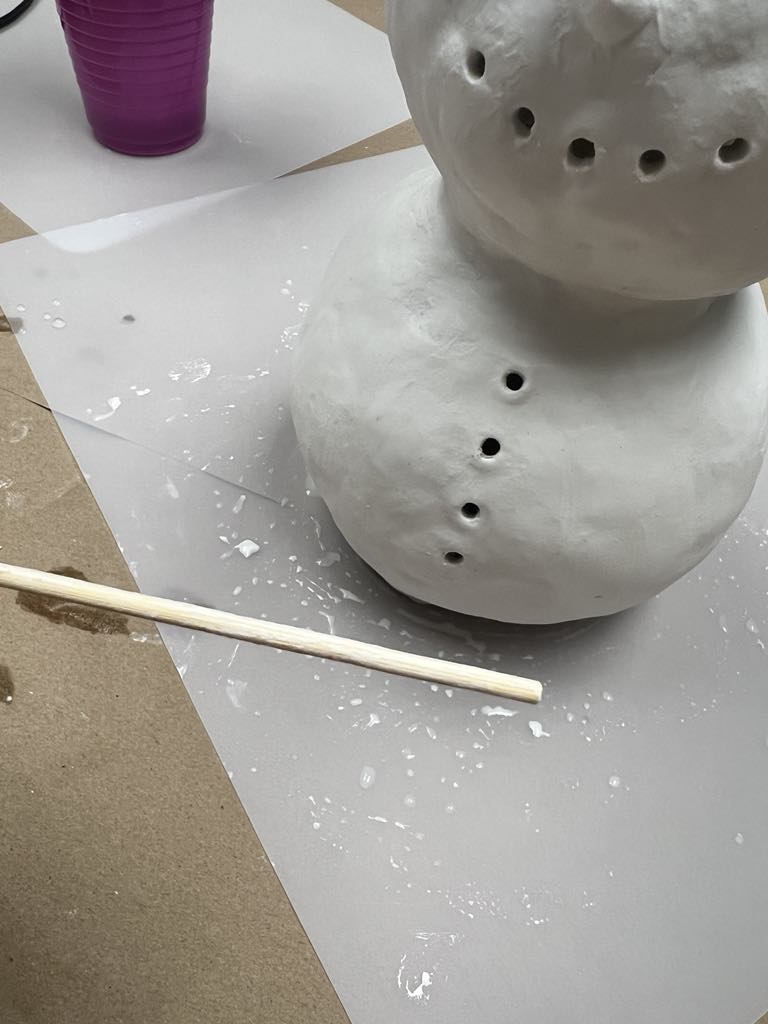
I used a wooden kabob stick to poke the holes as shown in photo above.
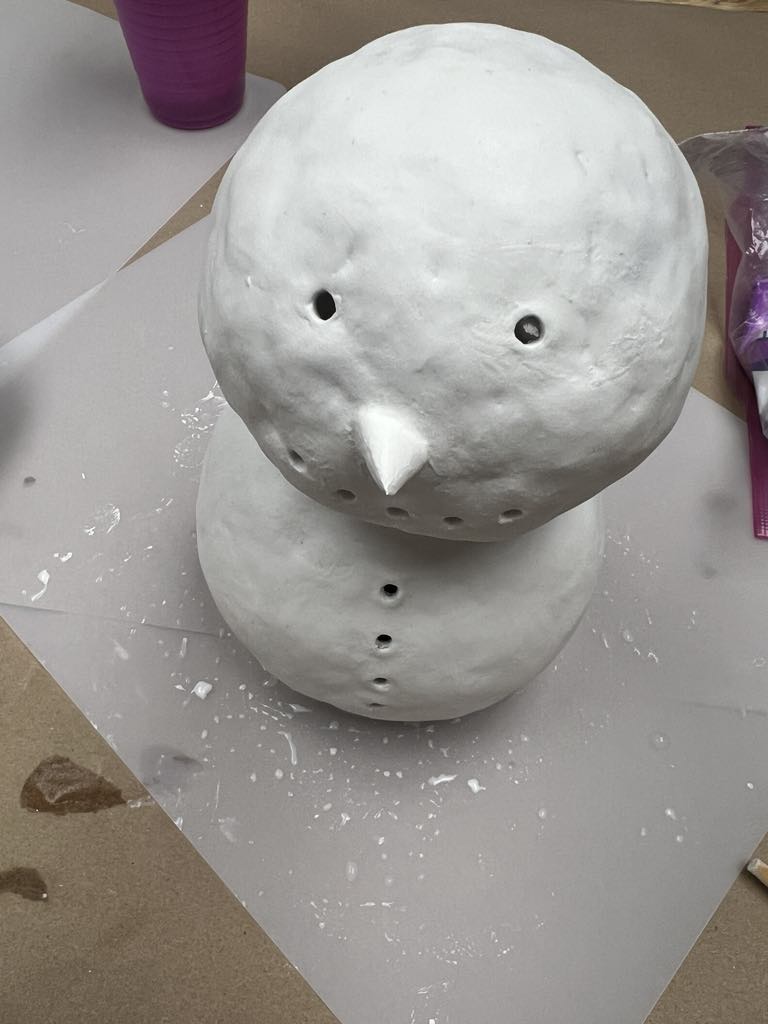
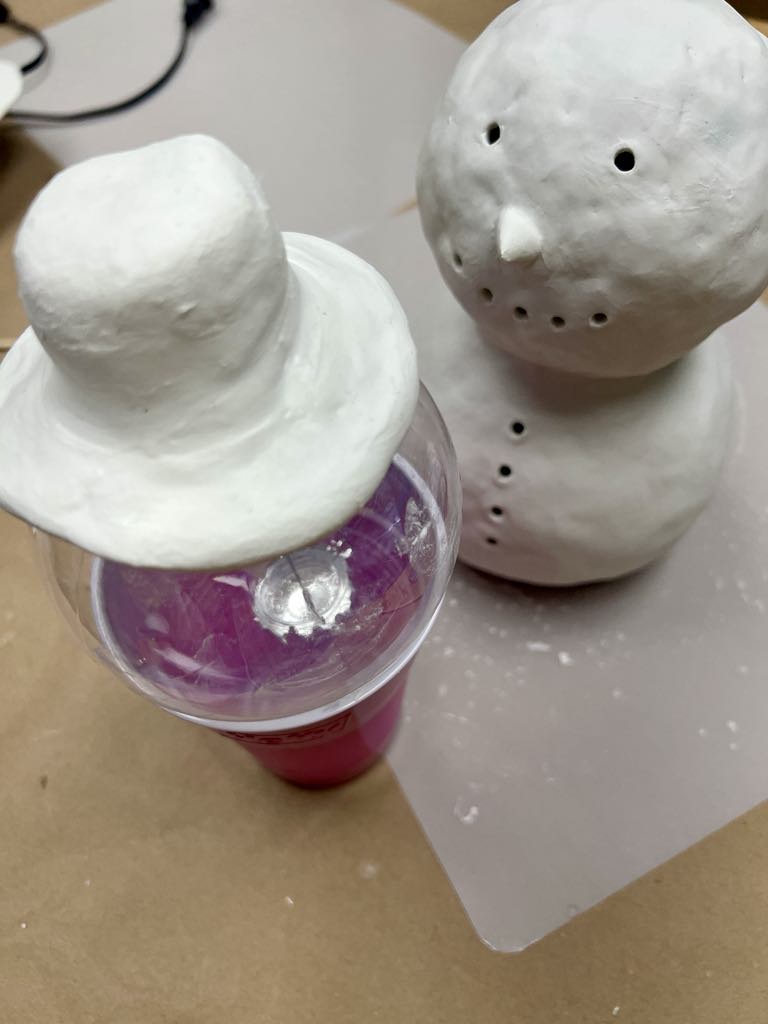
I formed the shape of a hat with some of the air dry clay. This will take a day or two to fully dry.
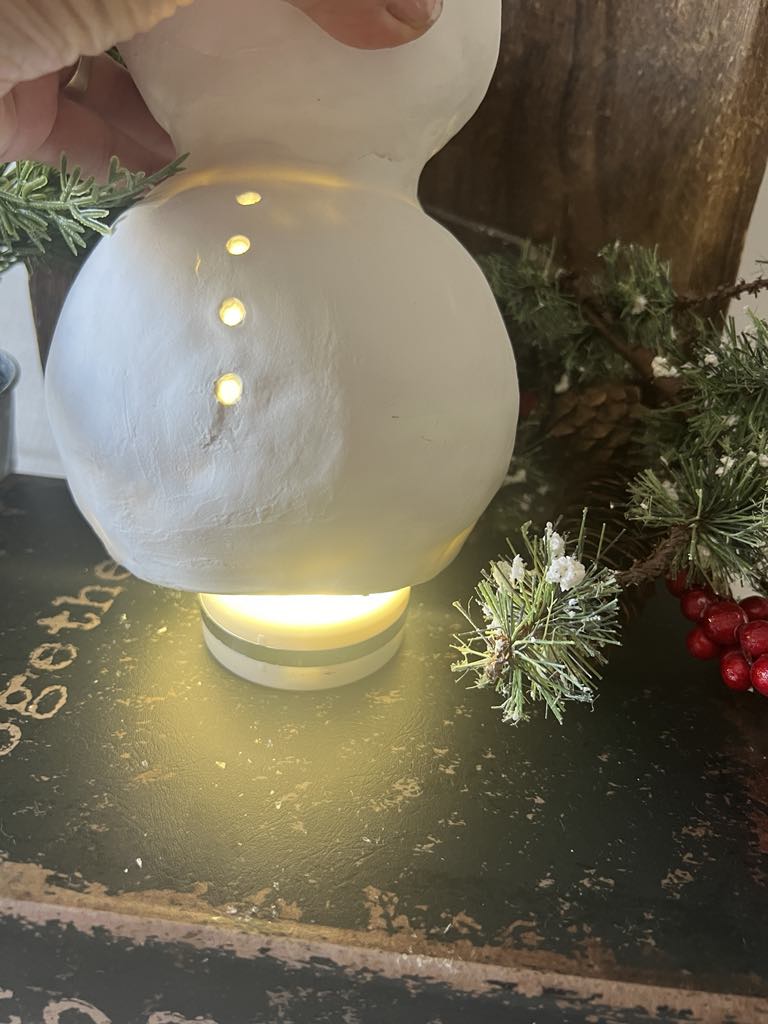
I added a small puck light to have my snowman light up.
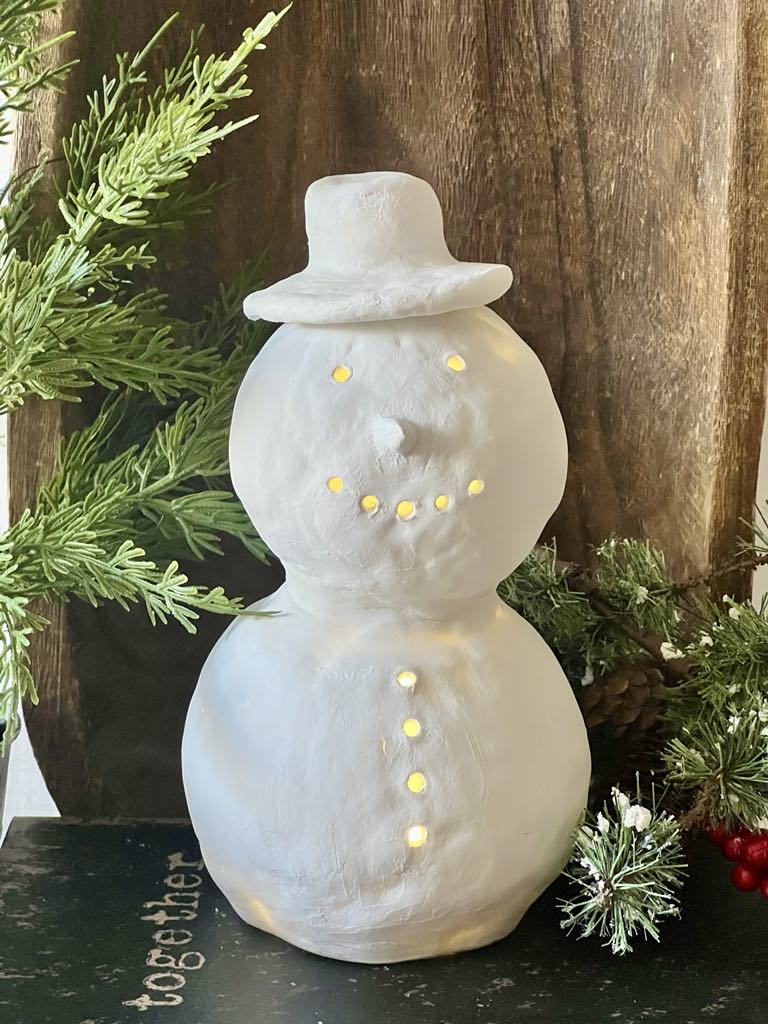
This snowman will look great any where in your home. I hope you’ll get creative and give this a try.
