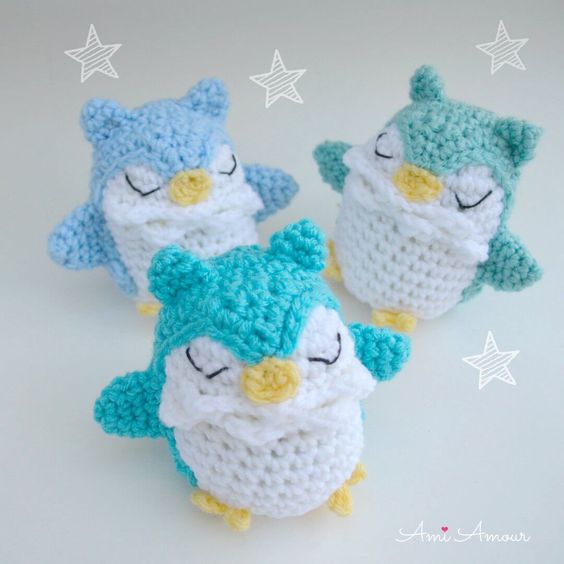
Crochet Owl Amigurumi “Dreamland”
The Crochet Owl Amigurumi "Dreamland" is an adorable and whimsical creation that will surely bring joy to anyone who lays eyes on it. Crafted with intricate details and vibrant colors, this little owl is the epitome of cuteness. From its big round eyes to its fluffy wings, every stitch is made with love and dedication. Perfect for both children and adults, this charming amigurumi makes for a delightful gift or a charming addition to your own collection. So, why not add a touch of magic to your life with the Crochet Owl Amigurumi "Dreamland"?
LEVEL: Easy Intermediate
CROCHET HOOK: 5.0mm hook
YARN:
Red Heart Super Saver (worsted weight acrylic yarn )
– White
– Light Blue (or any other contrasting color)
– lemon
Aunt Lydia’s crochet cotton thread – size 3 (black)
You just need a tiny amount to embroider the eyes.
NOTIONS:
– Polyester Fiberfill
– Yarn Needle
– Stitch Marker
– Scissors
ABBREVIATIONS: (American English crochet)
ch – chain
hdc – half double crochet
sc – single crochet
sl st – slip stitch
sc2tog – single crochet 2 together (sc dec)
st – stitch
APPROXIMATE SIZE: 4 in/10cm tall
BODY
With white yarn
Round 1: 6 sc into magic ring.
Round 2: 2 sc in each st around – 12 sc.
Round 3: [2 sc in next st, sc in next st] around – 18 sc.
Round 4: [2 sc in next st, sc in next 2 st] around – 24 sc.
Round 5-7: Sc in each st around – 24 sc.
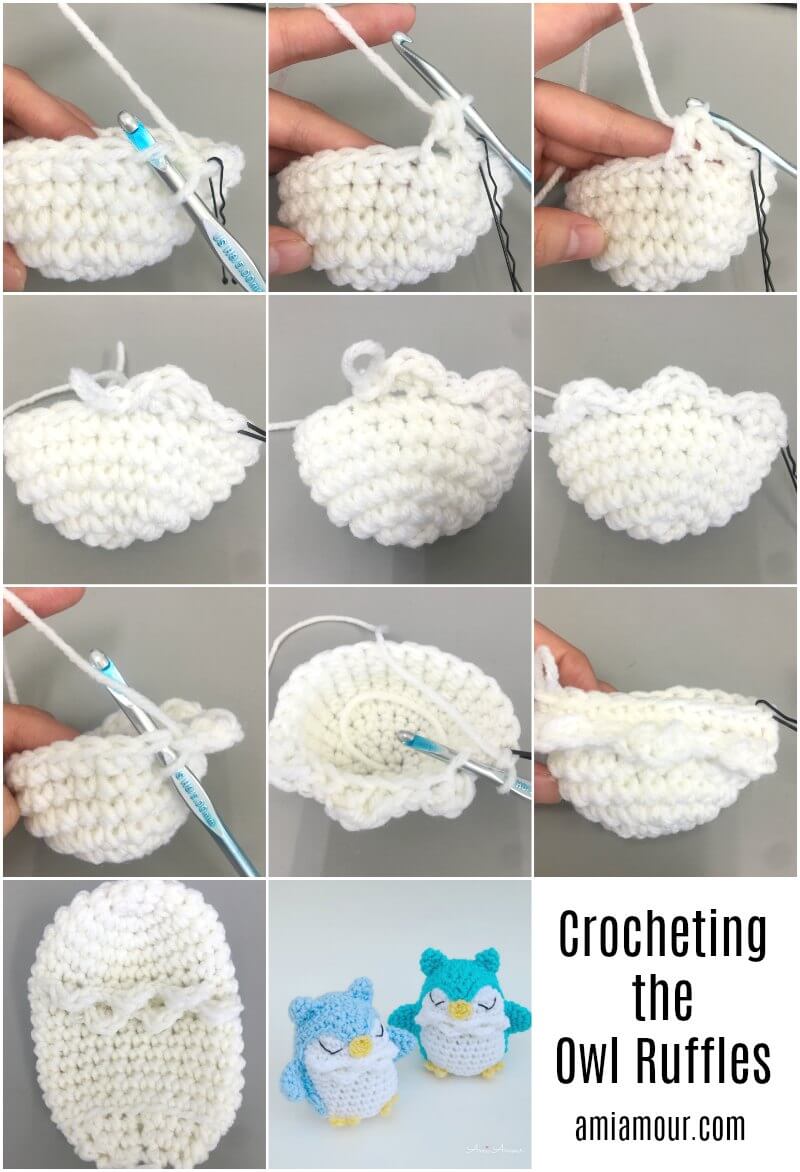
Round 8: In front loop only, [(sl st, hdc) in next st, (hdc, sl st) in next st, sl st in next st] 3 times. Through both loops, sc in next 15 sc. (Note: You should have 3 ruffles. See photos below for reference. You can also check out my video tutorial.)
Round 9: Sc in next 24 st. (Note: the first 9 sts will be through the back loop, and the rest of the 15 sts will be through both loops).
Sc in next 2 st only. (Move stitch marker to last stitch made. This will mark the end of the round now)
Round 10: In front loop only, [(sl st, hdc) in next st, (hdc, sl st) in next st, sl st in next st] 3 times. Through both loops, sc in next 15 st.
Round 11: Sc in next 24 st. (Note: the first 9 sts will be through the back loop, and the rest of the 15 sts will be through both loops).
Round 12-16: Sc in each st around – 24 sc.
Sc in next 12 st only. Move stitch marker to last st made. This will now mark the end of the round.
Round 17: In back loop only, [Sc2tog, sc in next 2 st] around – 18 sc.
Round 18: [Sc2tog, sc in next st] around – 12 sc.
Round 19: Sc2tog all around – 6 sc.
Fasten off, leaving a long tail. Stuff and sew closed.
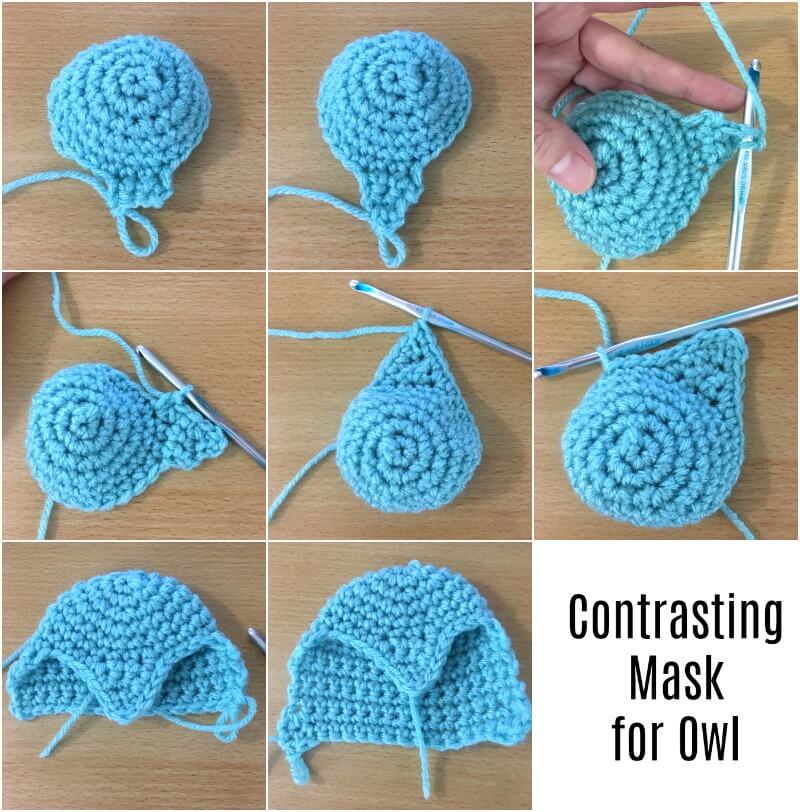
CONTRASTING MASK
With contrasting color (in the photos I chose shades of blue, but you can choose whatever color you like!)
Round 1: 6 sc in magic ring.
Round 2: 2 sc in each st around – 12 sc.
Round 3: [2 sc in next st, sc in next st] around – 18 sc.
Round 4: [2 sc in next st, sc in next 2 st] around – 24 sc.
Round 5-6: Sc in each st around.
We will now begin working in rows
Row 7: Ch 1, turn, sc in next 3 st – 3 sc.
Row 8: Ch 1, turn, skip first st, sc in next 2 st – 2 sc.
Row 9: Ch 1, turn, skip first st, sc in next st – 1 sc.
Round 10: Ch 1, turn, continue to do a sc border around the entire shape.
Once back at the tip of the V, continue to slip stitch up the side. Sl st in next 3 st.
Row 11: Sc in next 16 st – 16 sc.
Row 12-17: Ch 1, turn, sc in next 16 st – 16 sc.
Row 18: Ch 2, turn, 2 hdc in next st, sc in next 14 st, 2 hdc in last st – 18 st.
Row 19: Ch 2, turn, hdc in next 2 st, sc in next 14 st, hdc in next 2 st – 18 st.
Fasten off, leaving a super long tail.
EAR (make 2)
With contrasting color
Round 1: 4 sc into magic ring.
Round 2: 2 sc in each st around – 8 sc.
Round 3: Sc in each st around – 8 sc.
Fasten off, leaving a long tail. Do not stuff.
ARM (make 2)
With contrasting color
Round 1: 4 sc into magic ring.
Round 2: 2 sc in each st around – 8 sc.
Round 3: Sc in each st around – 8 sc.
Round 4: [2 sc in next st, sc in next 3 st] around – 10 sc.
Round 5: Sc in each st around – 10 sc.
Fasten off, leaving a long tail. Do not stuff.
FEET (make 2)
Ch 4, sl st back 3 st, ch 3, sl st back 3 st, ch 3, sl st back 3 st.
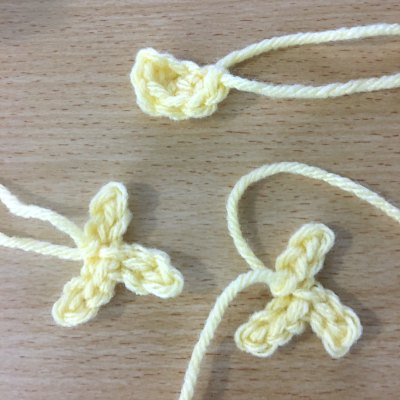
BEAK
With yellow yarn
Ch 4, sc in 2nd ch from hook, 2 hdc in next st, (sc, sl st) in last st – 5 st.
AMIGURUMI OWL ASSEMBLY
1. Sew Mask onto Body. The V point of the mask should be 2 Rounds up from Ruffles of Body.
2. Sew Beak onto Face. It will slightly overlap on top of the Mask.
3. Sew Wings onto Body. Placement: It should be about 1 Round below the line of where the Ruffles are placed and placed evenly against the edge of the contrasting mask.
4. Sew Ears onto Head.
5. Sew Feet to Bottom. 2 Talons will stick out and the last stem will be used to sew onto bottom of Owl.
5. With Crochet Thread Size 3 in black, embroidery sleepy eyes onto the Face.
6. Cut and hide all ends.