DIY Christmas Map Ornament
The DIY Christmas map is a fantastic project for adding a touch of festive cheer to your home during the holiday season. It's both fun and easy to create your own personalized map that highlights all your favorite Christmas spots, from twinkling light displays to cozy hot cocoa spots. You can get creative with colorful markers, stickers, and pins to make your map uniquely yours. It's a great way to involve the whole family in a creative and joyful activity, perfect for cozy evenings by the fireplace. So gather your materials, let your imagination run wild, and get ready to map out your very own winter wonderland!
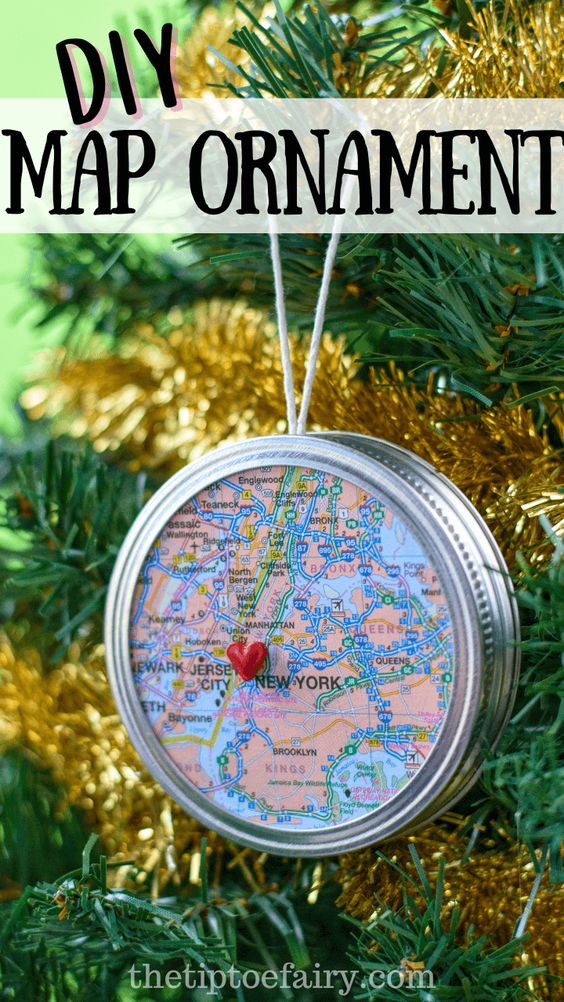
Supplies:
- World maps/Atlas
- Scissors
- Glue gun and sticks
- Pencil
- Canning jar lids and rings
- String/ribbon/twine
- Tiny Heart trinket
- Drill and drill bit
How to make a Map Ornament
Using your map, find the location special to you.
Take the canning jar lid and place it over your desired location making sure the destination is in the center of the lid.
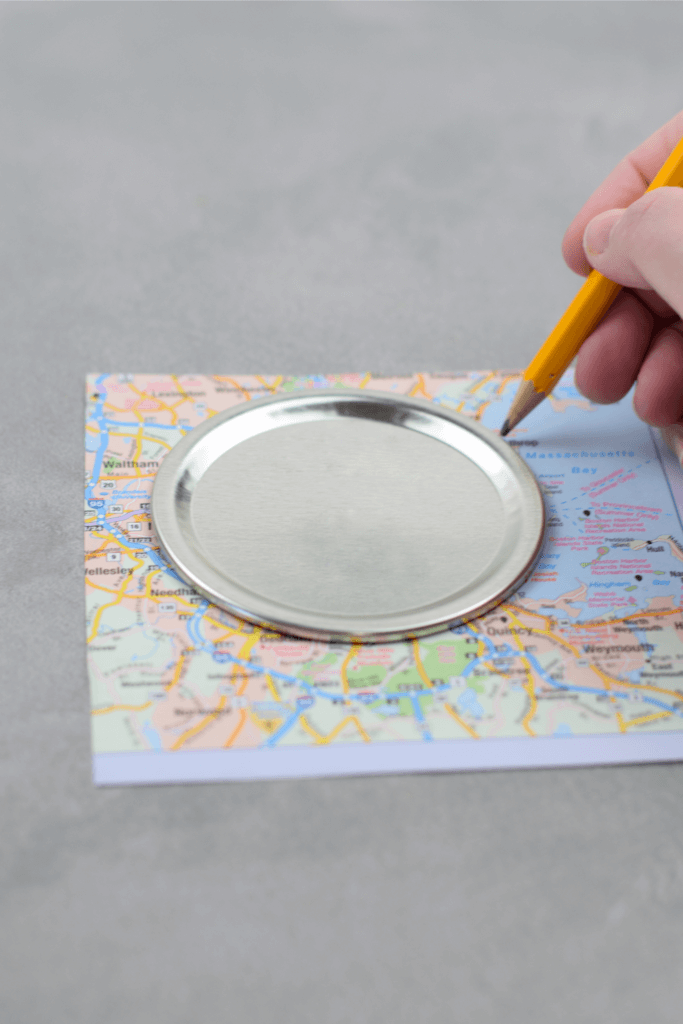
Using your pencil, trace around the lid and then cut out the circle. Do this again for however many rings and destinations you are planning to make.
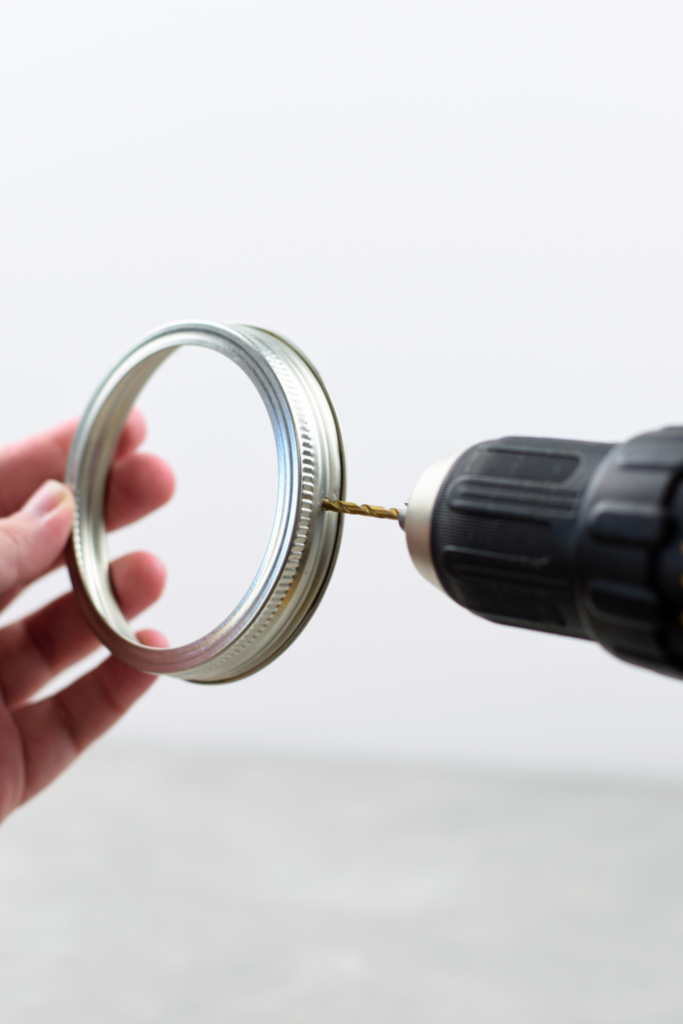
Take the canning rings and carefully drill a hole in each ring to attach a piece of string.
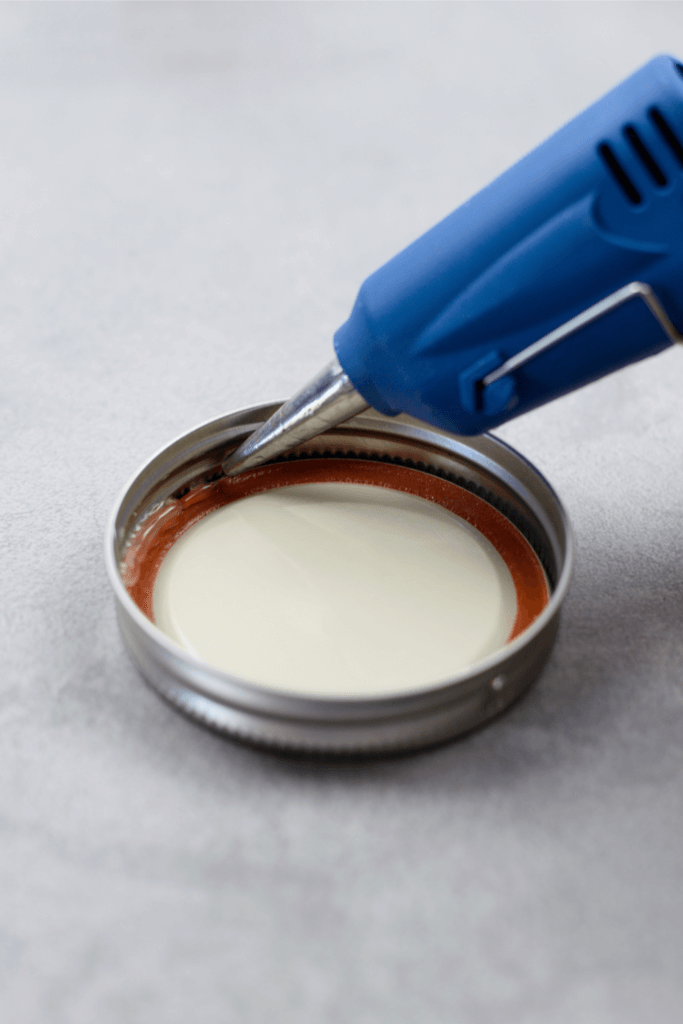
Put the canning ring face down, place the circular map cut out inside the ring facing down, and add the canning lid insert.
Before you start gluing, make sure all is aligned with the hole you drilled at the top and that you can properly see your chosen destination.
Once all is aligned, start placing a bead of glue all around the inner rims making sure to leave the hole bare to easily insert your string.
Carefully glue your hearts at their desired spots to highlight your meaningful destinations.
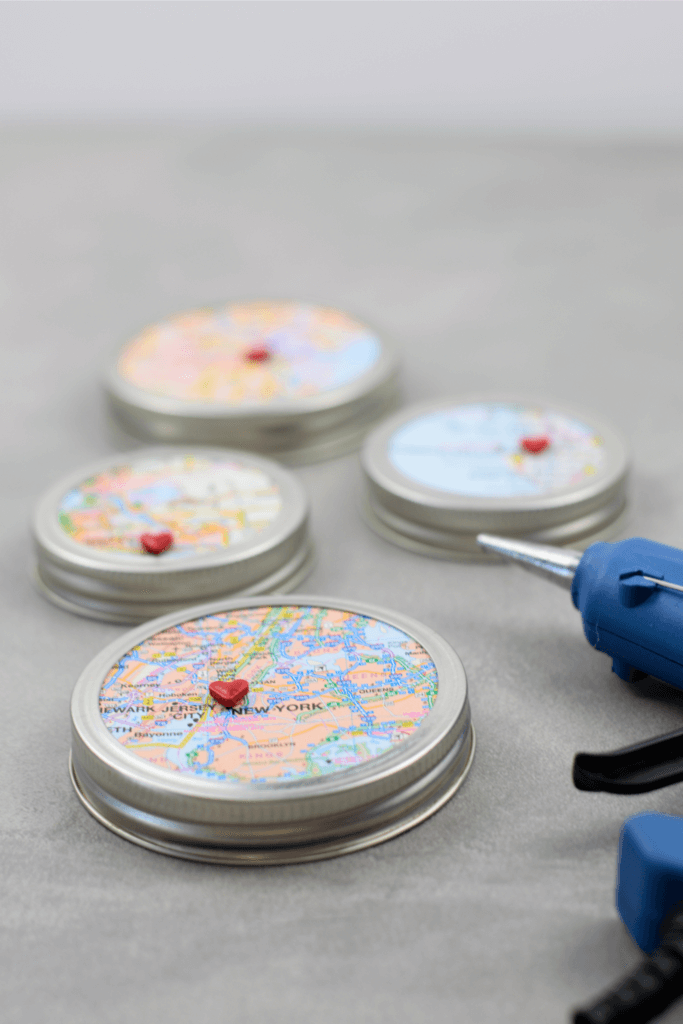
Finally, once your hearts have set, take your strings and insert them at the top of each completed ornament and tie a knot.
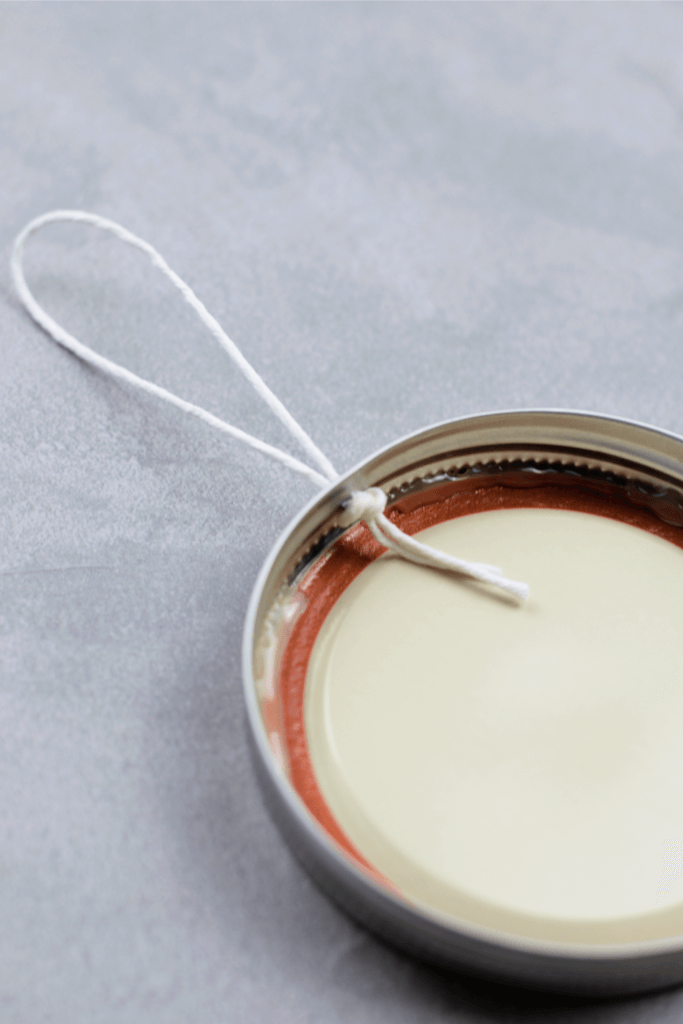
Hang your ornaments in your tree and cherish the memories of your destination wedding/ honeymoon/ anniversary/ family vacation, etc.